
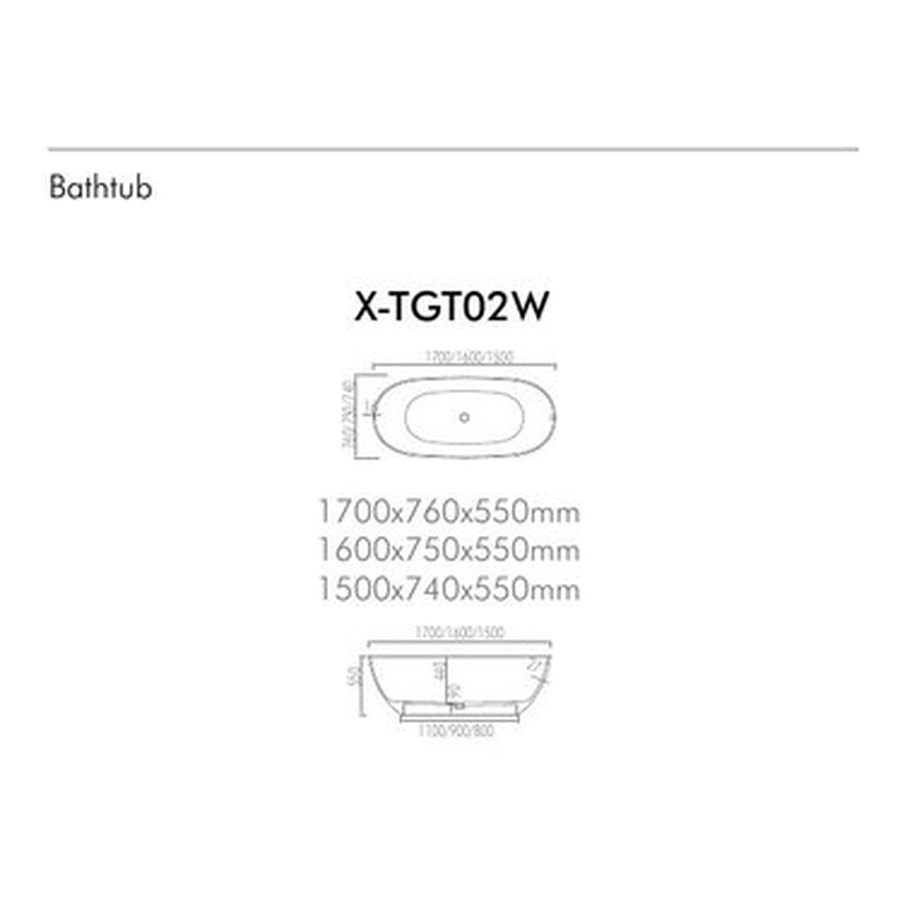
Before Installation

Solid surface tubs sit heavier than acrylic across the market generally — commonly in a range of roughly 120 to 180 kg empty, and once filled with water and a bather, the combined load can pass 500 kg. Ground-floor installations on standard construction usually carry this without extra work, but an upper-floor bathroom, an older building, or a hospitality project with several units in one area is worth a structural check before the tub arrives. Confirm the actual weight for the specific model against its own specification sheet rather than assuming a figure — it varies by size and wall thickness.
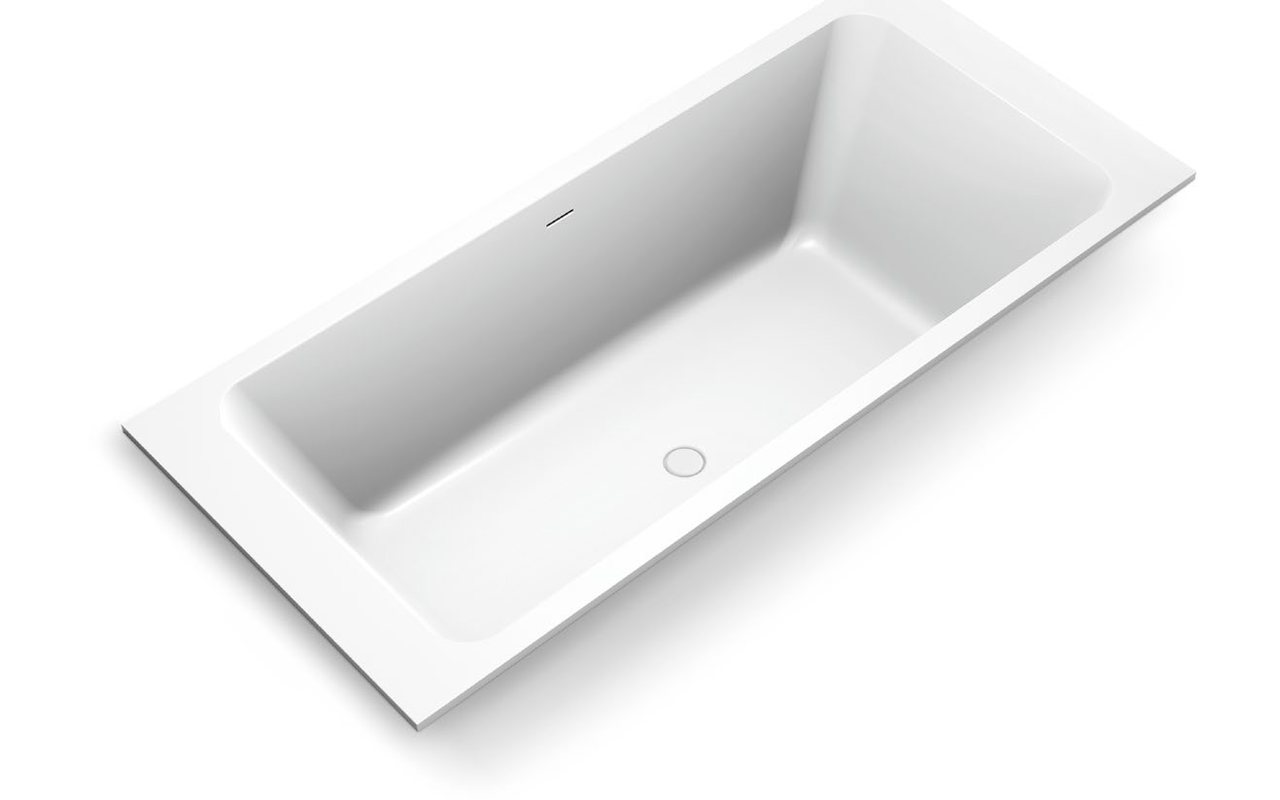
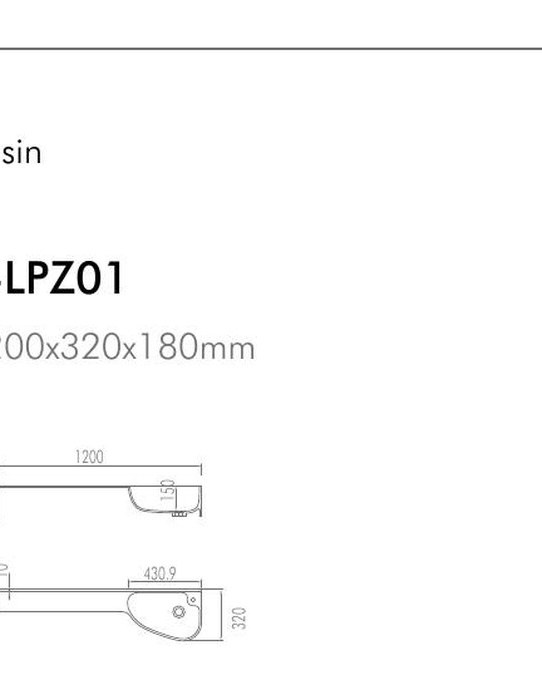
Because the fittings are factory-fixed, treat the manufacturer's shop drawing as the single reference for the room's rough-in, and confirm it before the plumber sets anything. This includes the drain location, the overflow height, and the faucet-deck position if the model has one. A rough-in set from a generic assumption instead of the actual drawing is the single most common cause of a delayed installation with this product type.
- Confirm floor load capacity ahead of delivery, particularly above ground level
- Get the actual weight (empty and filled) from the specific model's spec sheet, not a general assumption
- Check drain, overflow and faucet-deck position against the shop drawing before rough-in plumbing is set
- Inspect the tub for transit damage before it is moved into its final position
Positioning and Support

Support the tub across its full base rather than at isolated points. A support built only under the feet or the outer edge concentrates the load exactly where the material is least able to spread it, which is a common cause of stress cracking over time in cast materials generally. A continuous, level bed — commonly a mortar bed or a manufacturer-specified support frame — distributes the load the way the material is designed to carry it.
Given the weight, plan the lift as a multi-person job from the outset rather than improvising once the crate is open, and keep the tub in its protective packaging until it is in its final position. Level the tub before final fixing; a solid surface shell will not flex to hide an uneven base the way a thinner acrylic shell sometimes can.
- Full-contact support base, not point support at feet or edges alone
- Level before final fixing — the shell will not disguise an uneven base
- Plan the lift for multiple people given the material's weight
- Keep protective packaging on until the tub is in its final position
Plumbing and Sealing
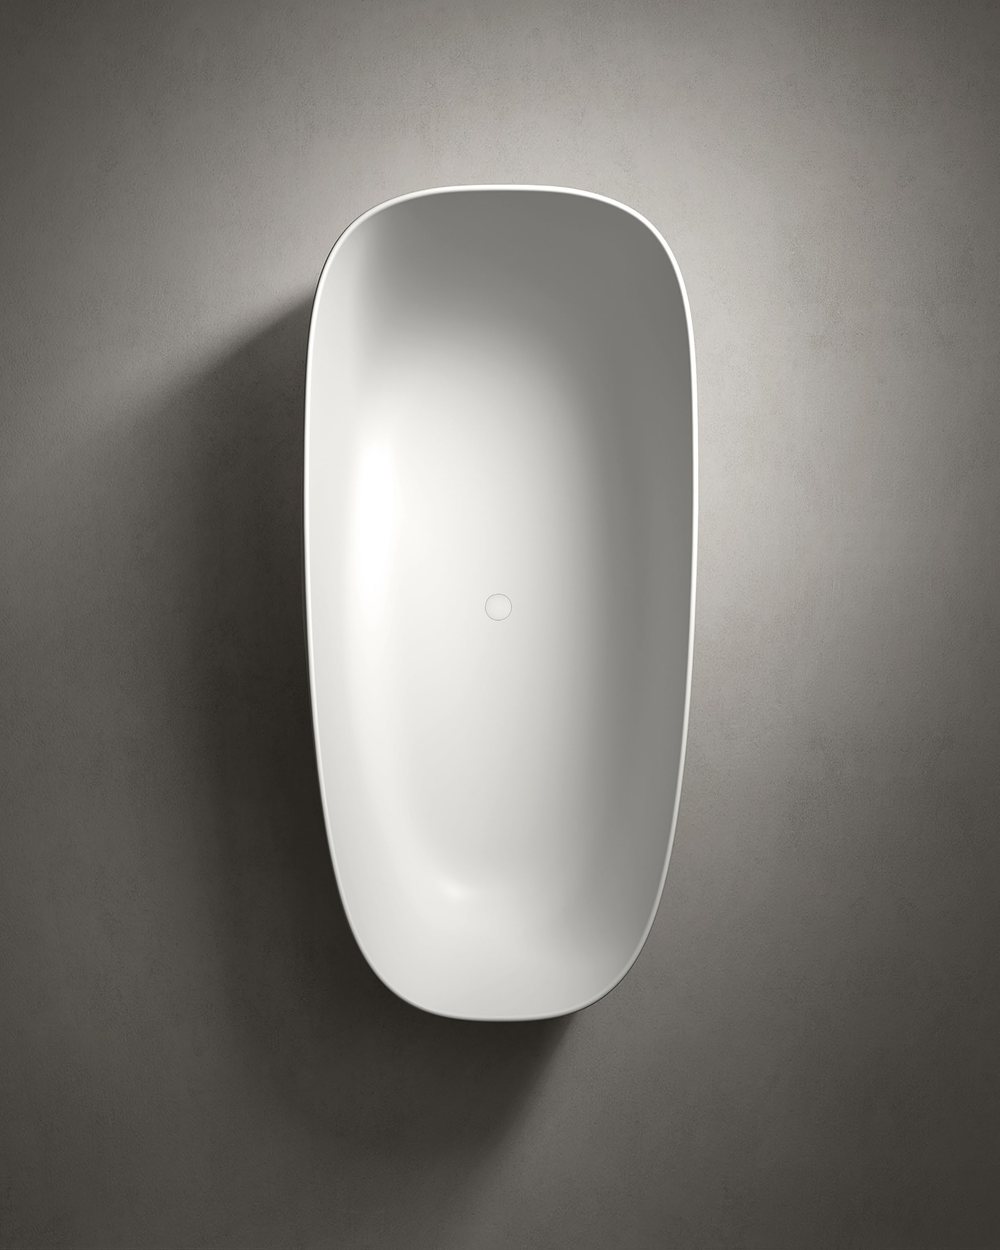
Connect the drain and overflow and test them before any sealant goes down — fill the tub and release it rather than only running water briefly, since a slow joint leak often only shows itself under a full head of water. Where the tub has a seam or an apron joint, that detail is normally finished with a color-matched adhesive designed for the material rather than a generic caulk, and it is worth confirming with the supplier which product that installation calls for.
Seal the tub-to-wall or tub-to-floor junction last, using a sanitary-grade silicone on clean, dry surfaces. Silicone sealants commonly need in the range of 24 to 48 hours to fully cure before they should be exposed to running water, though this varies by product — check the specific sealant's own label rather than assuming one number applies universally. Keep the tub protected from paint, adhesive and dropped tools during any trades that follow.
- Test drain and overflow under a full tub before sealing
- Confirm the correct adhesive for any seam or apron joint with the supplier
- Sanitary-grade silicone at the wall/floor junction, applied to clean dry surfaces
- Check the sealant's own label for cure time — commonly 24–48 hours, but product-dependent
- Keep the tub protected from later trades until handover