
Installation

How to Brief an Installer for Imported Bathroom Fixtures

Imported fixtures are installed by people who did not choose them and may never have seen the product line. They install correctly when the installer knows what was decided at the factory and what is left to adjust on site, and badly when that is discovered by trial. This guide describes the briefing pack to hand over before the first unit is opened, and the pre-start meeting that goes with it.

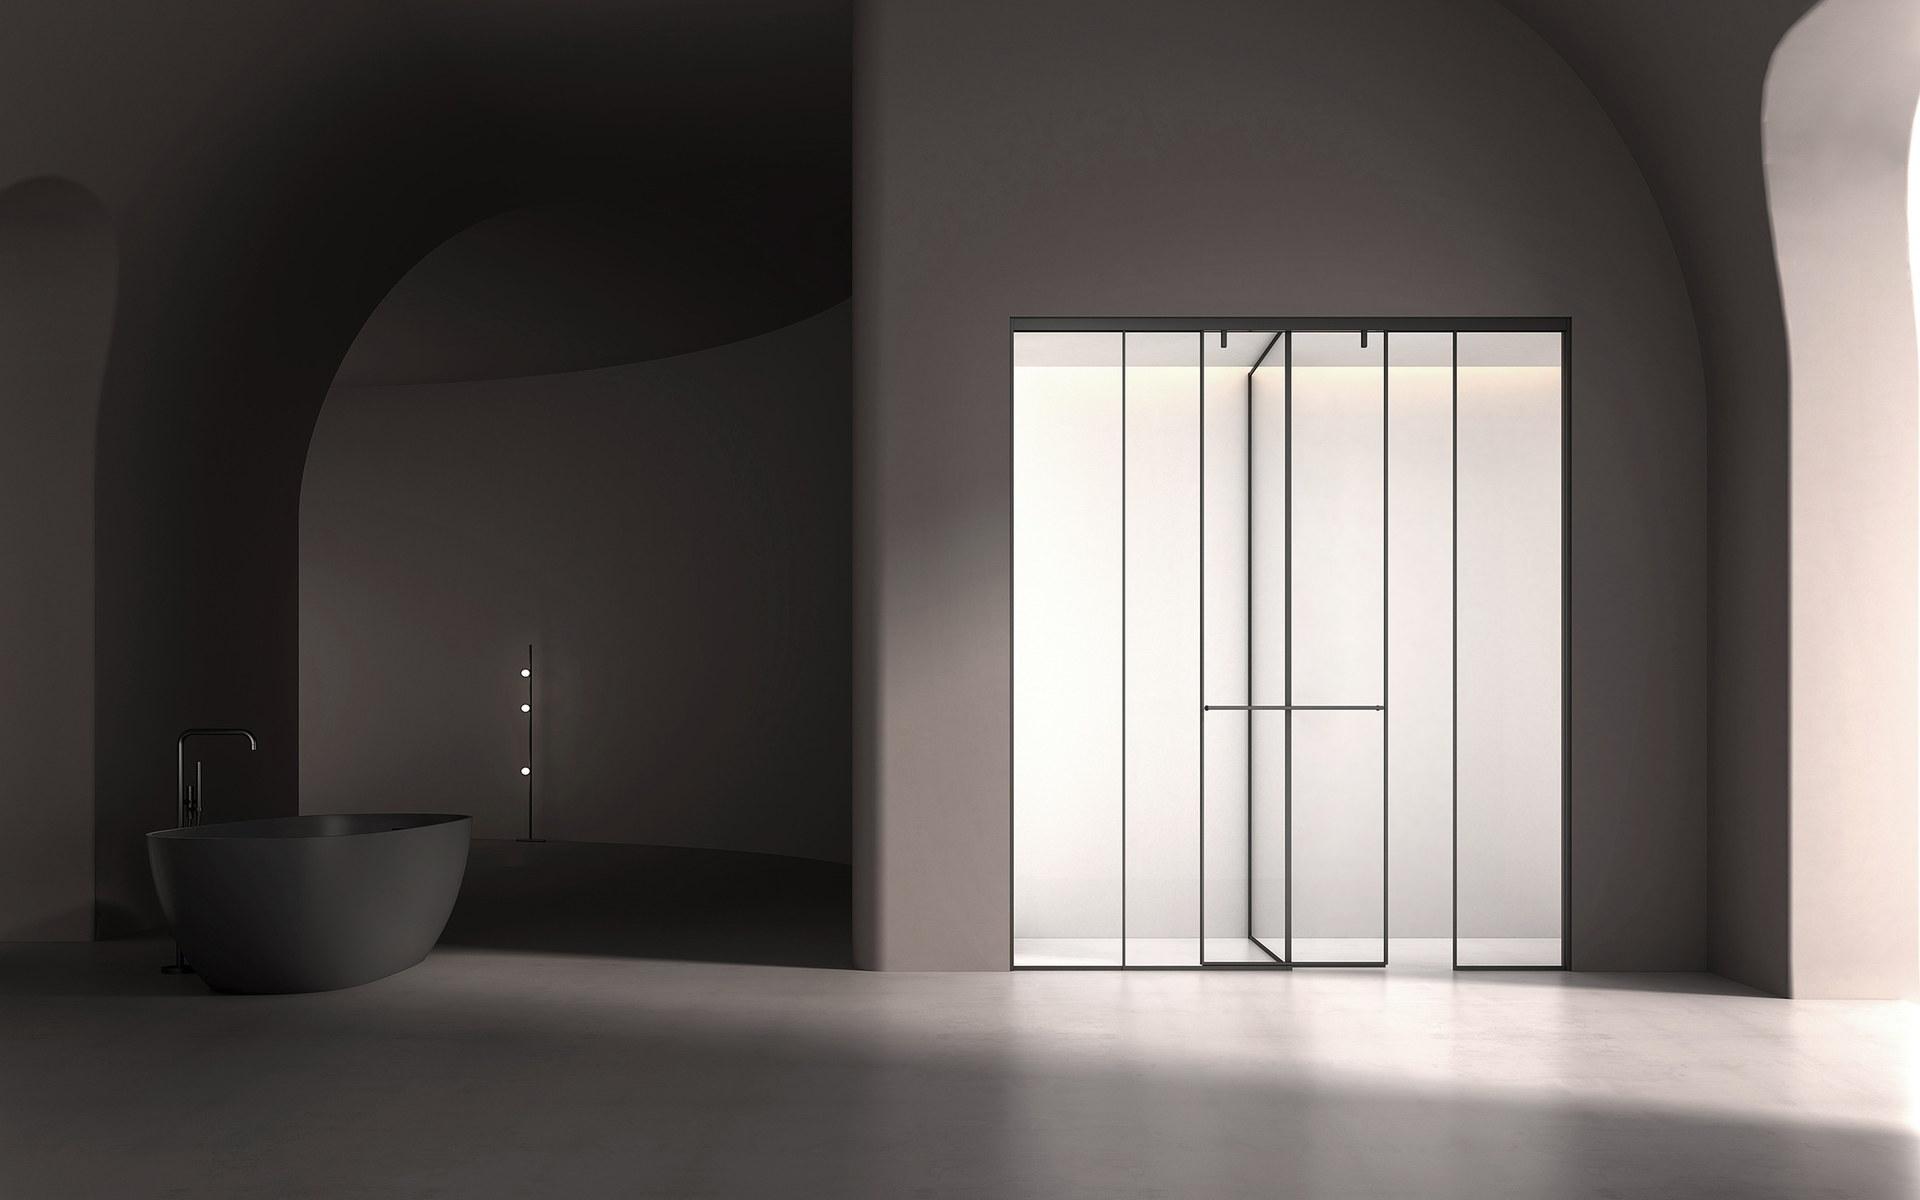
Checking a tiled wall condition before fitting a bathroom niche

The short answer

Quick Reference

Point 01
The pack: drawings, sequence, tolerances, fixed points, sealants, adjustments, care sheet, reference sample and reporting route.
Point 02
Tell the installer what is fixed at the factory and cannot be adjusted: cast drain and overflow positions, pre-drilled glass, cut-outs in tops.
Point 03
Name the sealants and adhesives as specified by the supplier; the wrong one marks solid surface.
Point 04
Give them the golden sample or its photographs, so that correct is a reference and not an opinion.
Point 05
Hold a short pre-start meeting per room type, with the first unit open, before the crew starts.
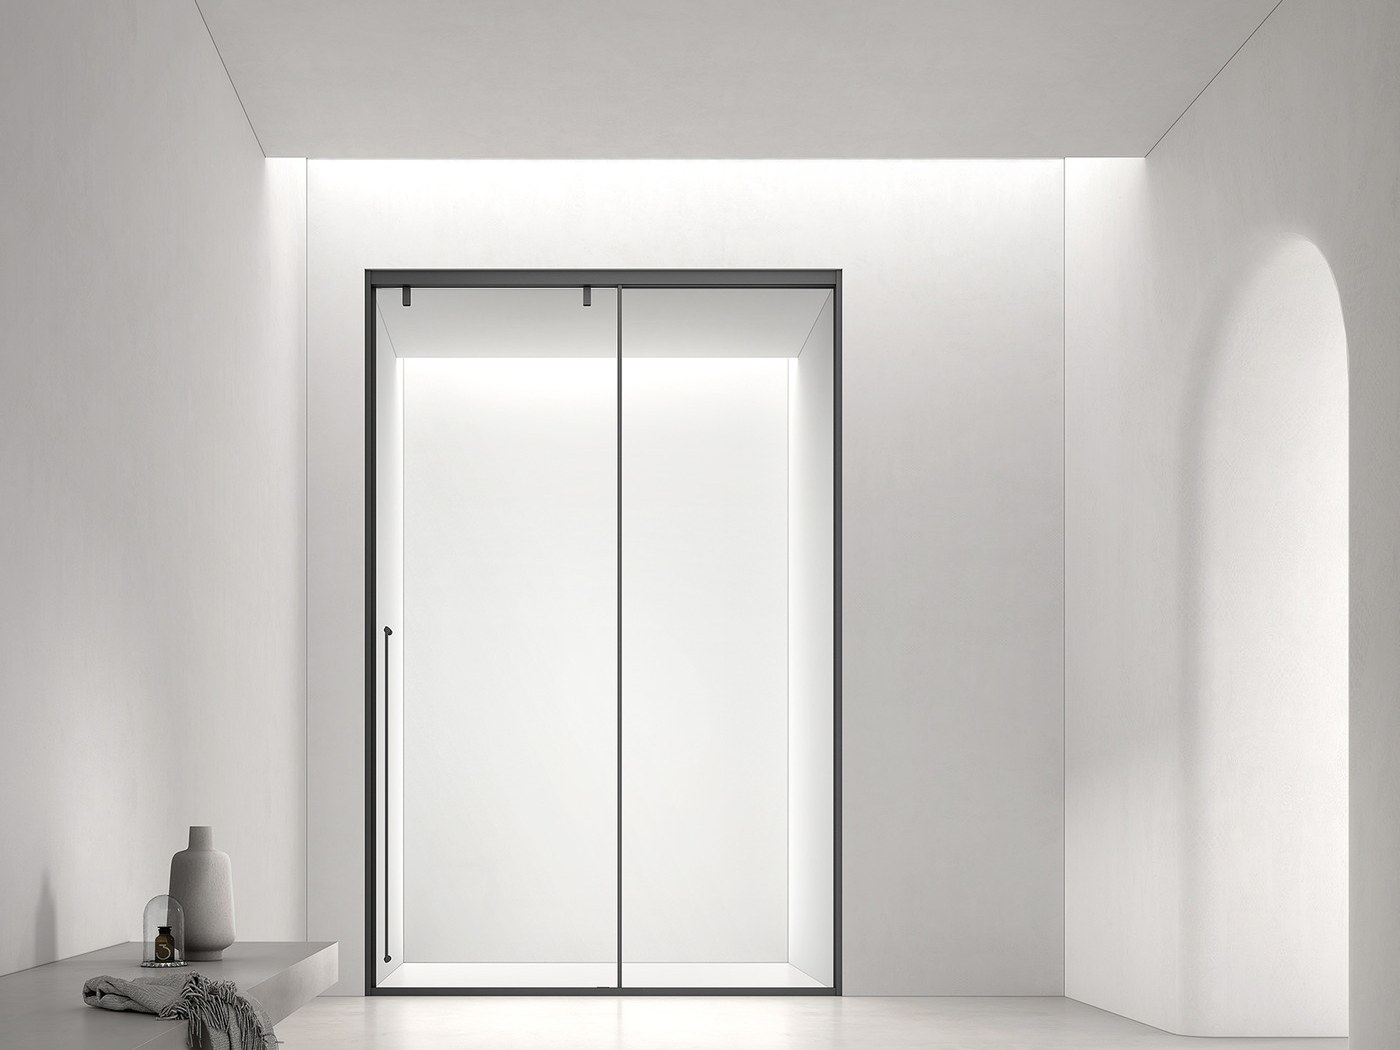
A frameless shower enclosure reviewed against project drawings

Start here

Installers Install What They Understand

An installer works from what is in front of them: dimensioned drawings with fixing positions, or a carton and a bag of screws. The briefing pack moves the decisions made in specification, drawing approval and sampling into the hands of the people who make them physical. It need not be long, but it must be specific to the product line, the room type and the site, and arrive before the first crate is opened.

  • The pack carries the approved decisions to the people who execute them
  • Specific to product line, room type and site
  • Delivered before the first crate is opened

The Briefing Pack

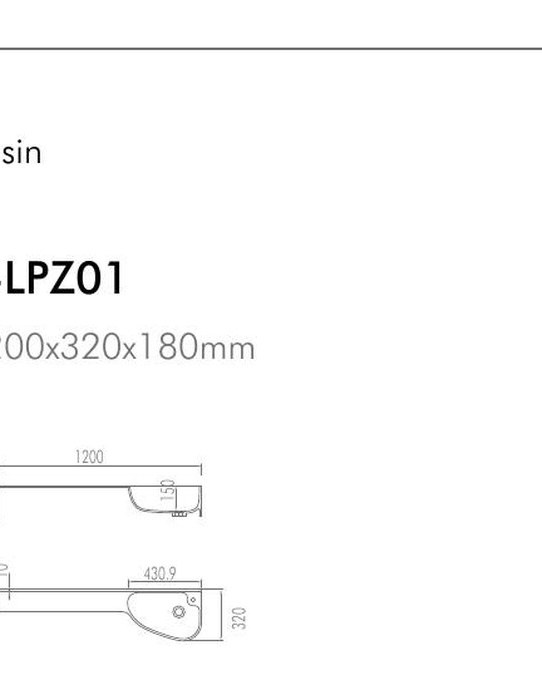
Bathroom niche technical drawing and trim samples for approval

Start with the dimensioned drawings approved before production, with fixing positions, service positions and the tolerances stated on them, at the revision the factory built to; withdraw any earlier one. Add the installation sequence per product line: what is fixed first, what is checked before the next step, where level and plumb are taken from. Add the hardware adjustment procedures for cabinet hinges and slides and for enclosure rollers and hinges; an installer who knows the adjustment range uses it instead of packing or forcing.

Then the sealant and adhesive types as specified by the supplier for each material, and the ones to avoid. Add the care instructions to leave with the operator. Add the golden sample or its photographs with the finish reference, so that correct is a comparison, not an opinion. Finish with the defect reporting route: who the installer tells, in what form and with what photographs, when a unit does not match or arrives damaged.

  • Approved drawings at the current revision, with fixing positions and tolerances
  • Installation sequence and hardware adjustment procedures per product line
  • Sealants and adhesives as specified by the supplier
  • Care sheet, golden sample photographs and the defect reporting route

What Is Fixed at the Factory

Built-in bathtub installation drawing with drain and access panel

The most useful page in the pack says what cannot be changed on site. A solid surface bathtub's drain and overflow are cast into the mould; the waste connection has to meet them. Cut-outs in a top are made to the approved drawing; a faucet chosen after the top was cut will not fit unless the cut-out was made for it. Enclosure glass is cut and drilled to the drawing; a hinge or a handle cannot be moved, and an opening out of tolerance is corrected in the wall or within the profile adjustment, not by re-drilling.

Against that list, the pack states what is adjustable and by how much: hinges, slides and rollers, the enclosure profiles, the leveling on floor-standing units, and the tolerance the finished wall and floor were supposed to meet. An installer with both lists can tell at the first unit whether the room is within what the product can absorb or the site has to be corrected first.

  • Fixed: drain and overflow positions, top cut-outs, pre-drilled glass, height and handing
  • Adjustable: hinges, slides, rollers, enclosure profiles, leveling, within stated ranges
  • Out-of-tolerance walls and floors are corrected on site, not by modifying the product
  • Both lists on one page, per product line

The Pre-Start Meeting

A pre-start meeting is short, one per room type, and it saves the rework of the first rooms. Hold it with the first unit of each product line unpacked in a representative room, with the installer's lead, the site manager and someone who knows the drawings. Walk the pack: drawing against wall, fixing positions against services, sequence, fixed points, sealant, adjustment range and reporting route. Install the first unit together and treat it as the site's reference for the rest.

The meeting also surfaces the site's conditions before they become the product's problem: a wall out of plumb, a waste that is not where the drawing shows it, a floor that is not level. Each is cheaper to fix before installation, and the meeting is where the installer and the site manager agree who fixes what. Record the decisions on one page and add it to the pack for the next crew.

  • Per room type, first unit unpacked, drawings in hand
  • Walk the pack and install the first unit together as the site reference
  • Surface out-of-tolerance walls, services and floors before the crew starts
  • Record the decisions and add them to the pack
Bathroom niche technical drawing and trim samples for approval

Common questions

Installer Briefing Questions

Answers to the checks buyers most often make before using this guide for a project or sourcing decision.

Who prepares the briefing pack?

The buyer or project manager assembles it from the supplier's drawings, sequence and care documents and the project's own reporting route.

What if the installer has fitted this kind of product before?

Brief them anyway. The drawing, the fixed points and the sealant are specific to this order, and a skilled installer with the wrong assumption makes the same mistake as an unskilled one.

Do we need the physical golden sample on site?

Photographs with the finish reference are usually enough. If the sample is available, keeping it in the site office settles questions by comparison.

What should the installer do when a unit does not match the drawing?

Stop, photograph the unit and the drawing together, and report through the route in the pack before installing it. A modified unit is harder to claim than an uninstalled one.

Which sealant should be used?

The type the supplier specifies for the material. Some sealants mark solid surface or react with finishes, and the wrong adhesive on glass hardware fails.

Does WNS Global provide installation guidance with an order?

Yes: an installation sequence per product line, hardware adjustment procedures, sealant and adhesive guidance and care instructions, provided with the approved drawings.

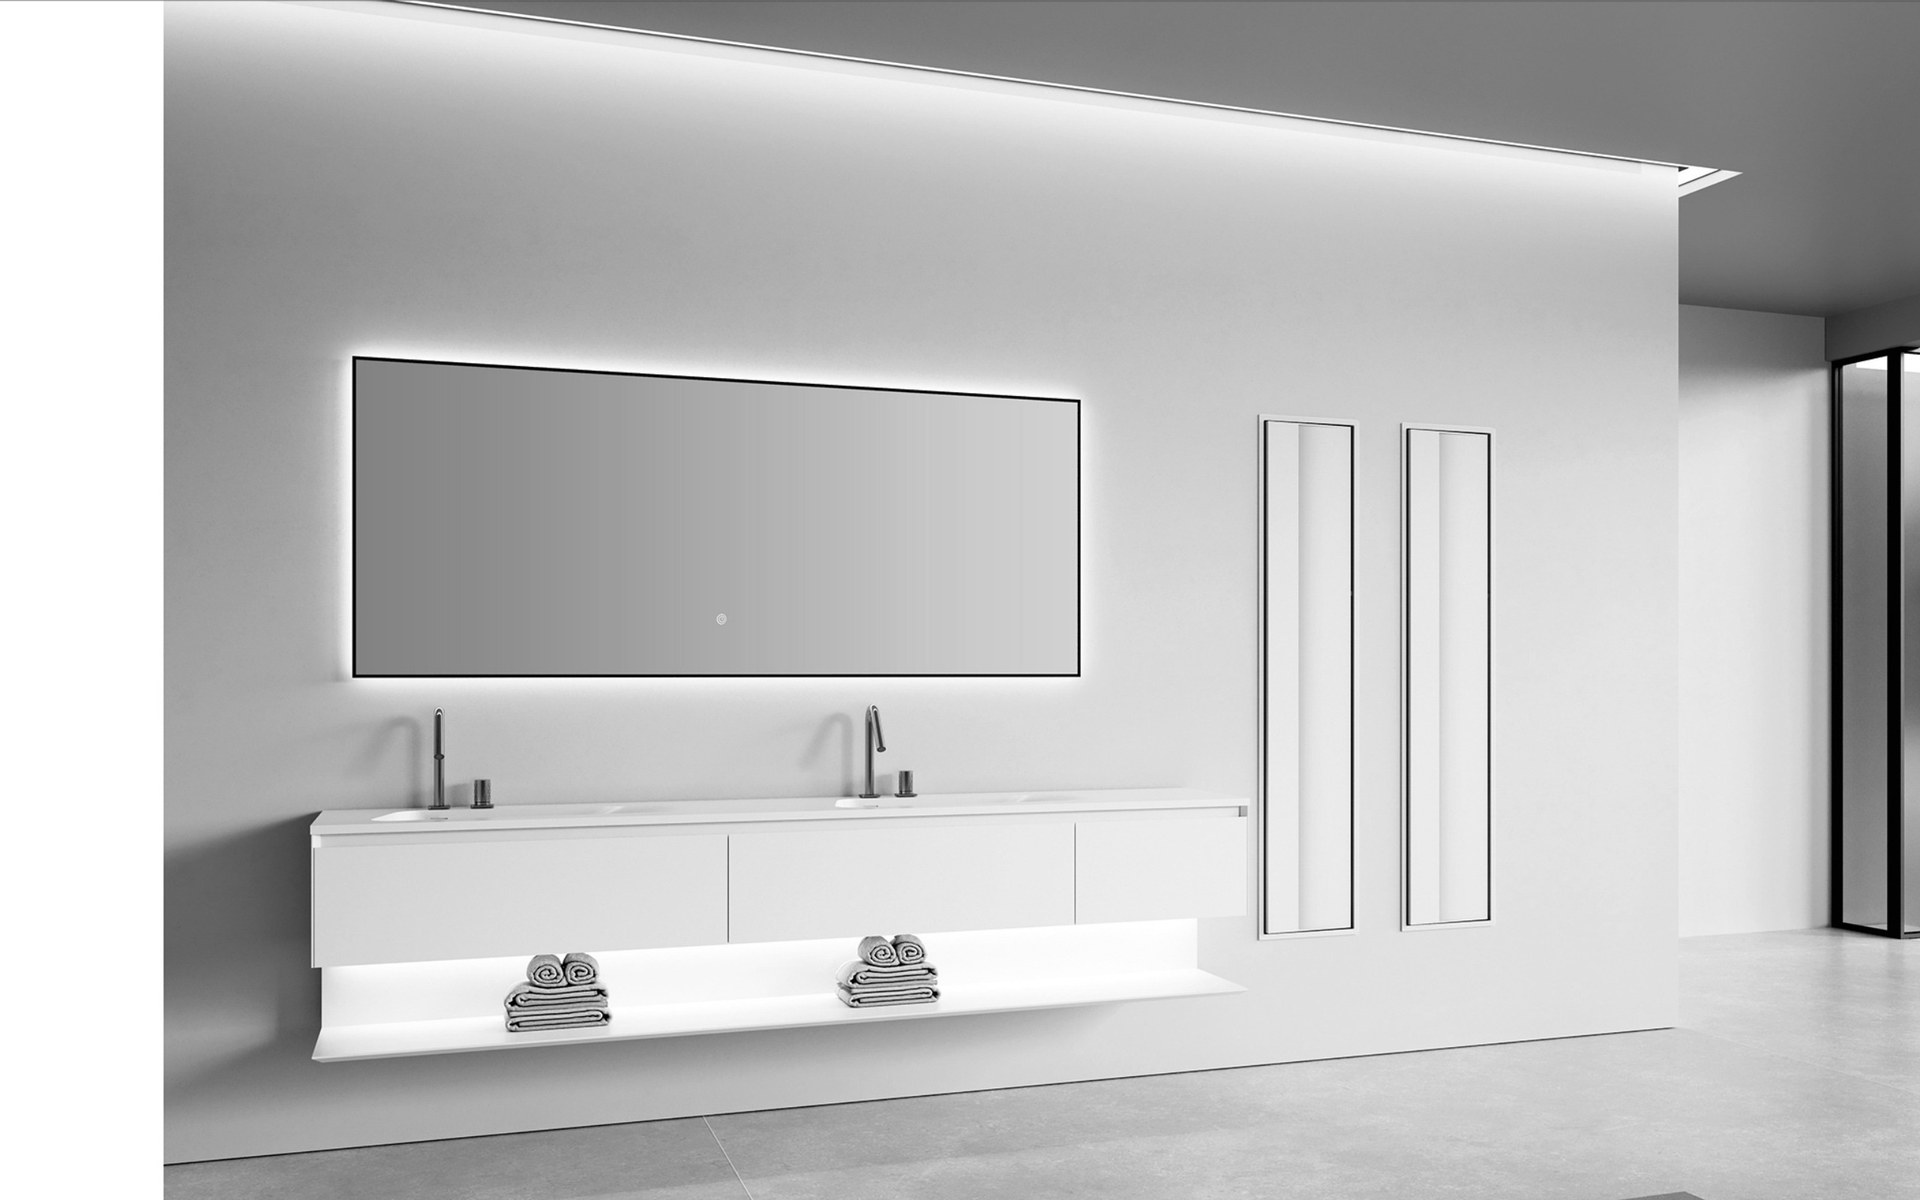
Solid wood vanity reviewed against the approved project reference

In short

Hand Over the Decisions Before the First Crate Opens

The pack is the approved drawings, the sequence, the fixed points and adjustment ranges, the sealants, the care sheet, the reference sample and the reporting route, delivered before installation and walked through at a pre-start meeting per room type. It prevents the most expensive errors: the ones built into the first rooms and repeated in the rest.

  • Drawings at the current revision, with fixing positions and tolerances
  • Fixed points and adjustment ranges on one page per product line
  • Sealants, care instructions, golden sample and the reporting route
  • Pre-start meeting with the first unit open

Verification sources

Official Sources and Further Reading

This guide explains planning concepts, not a substitute for the approved product drawing, installation instruction or requirement adopted by the authority having jurisdiction. Confirm those project-specific documents before ordering or installing.

Briefing an installation crew on imported fixtures?

Talk to WNS Global

Tell us the product lines and room types, and we will provide the drawings, sequences and adjustment procedures the pack needs, in a format the installer can use on site.

A shower enclosure fitted against a tiled wall and floor

Solid wood vanity reviewed against the approved project reference

Published: Last updated:

  • This guide is a sourcing and planning reference. Confirm the applicable product, contract, authority and project requirements before making a final decision.

START WITH THE PRODUCT DETAILS

Tell Us What You Need

Share the bathroom products, project requirements, target market, dimensions, materials, finishes, quantities, or customization details currently available. WNS Global will review the request and identify the information needed for the next step.