The Room and Clearances
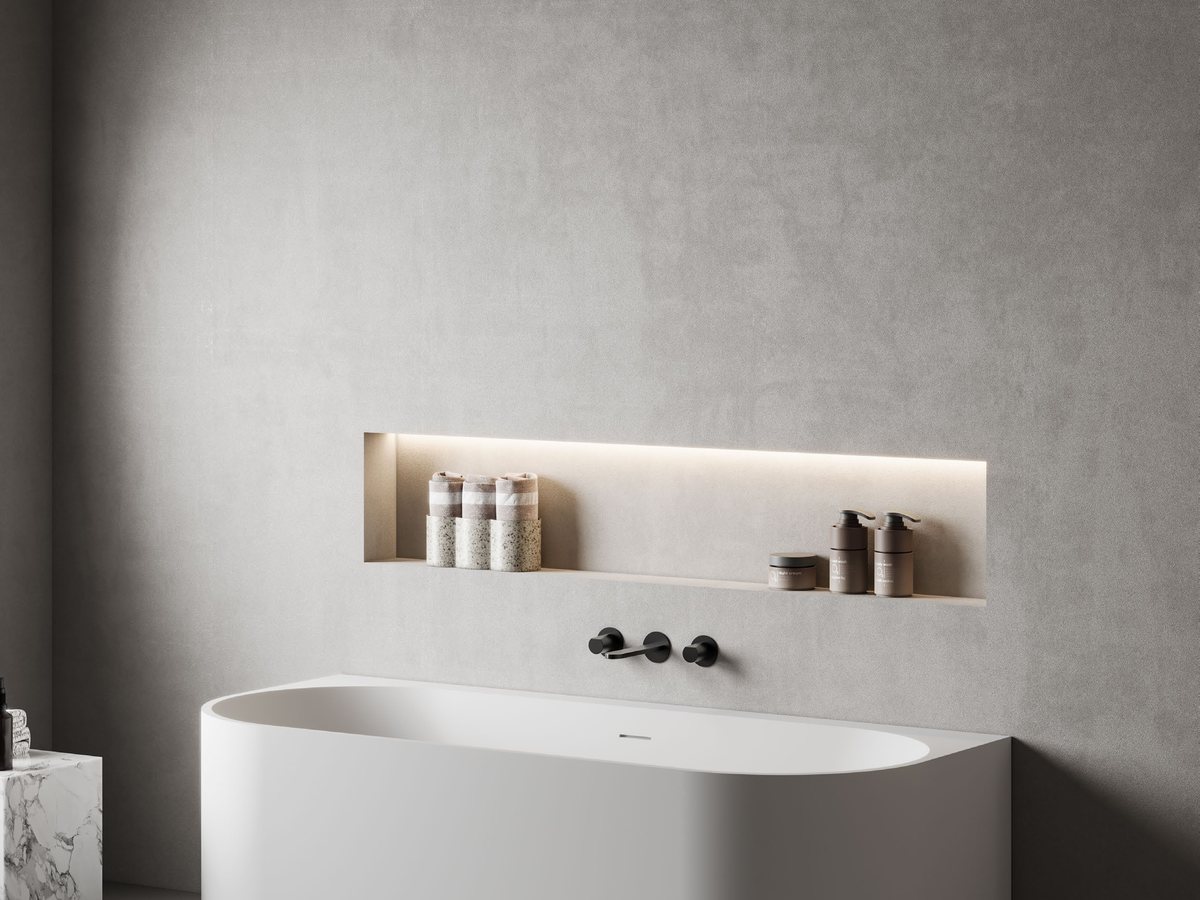
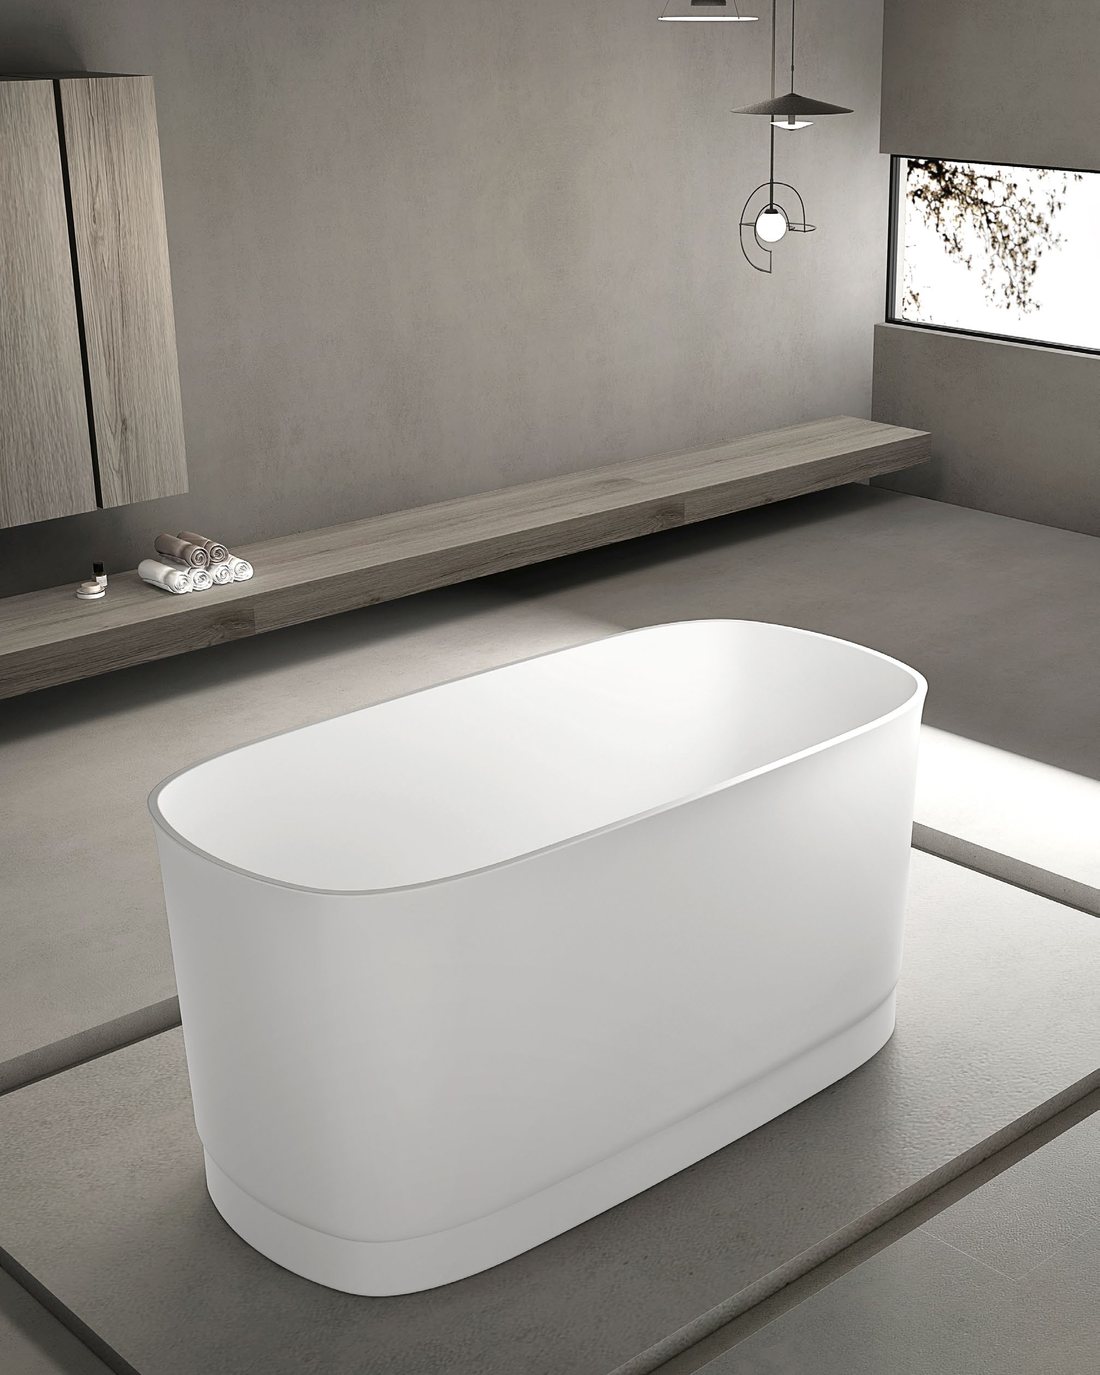
Measure the room as it will be finished — tile on the walls, the final floor surface down — because tile thickness and floor buildup change every dimension by more than the clearance you are trying to protect. Record wall-to-wall length and width at floor level and at rim height, and note anything that projects into the space: a radiator, a window sill, a skirting, a door swing. Then set the tub's footprint into that plan with clearance on every side. Guidance commonly cites around 4–6 in. as a minimum all round for cleaning access; more room on the sides and at the drain end is more comfortable and makes the filler easier to place. Decide now whether the tub sits centered, against a wall or in a corner, since that decides which clearances are tight.
- Measure finished dimensions, at floor and at rim height
- Note projections and the door swing
- Allow clearance all round — commonly around 4–6 in. minimum, more at the drain end
- Decide centered, against-wall or corner placement now
Drain and Filler
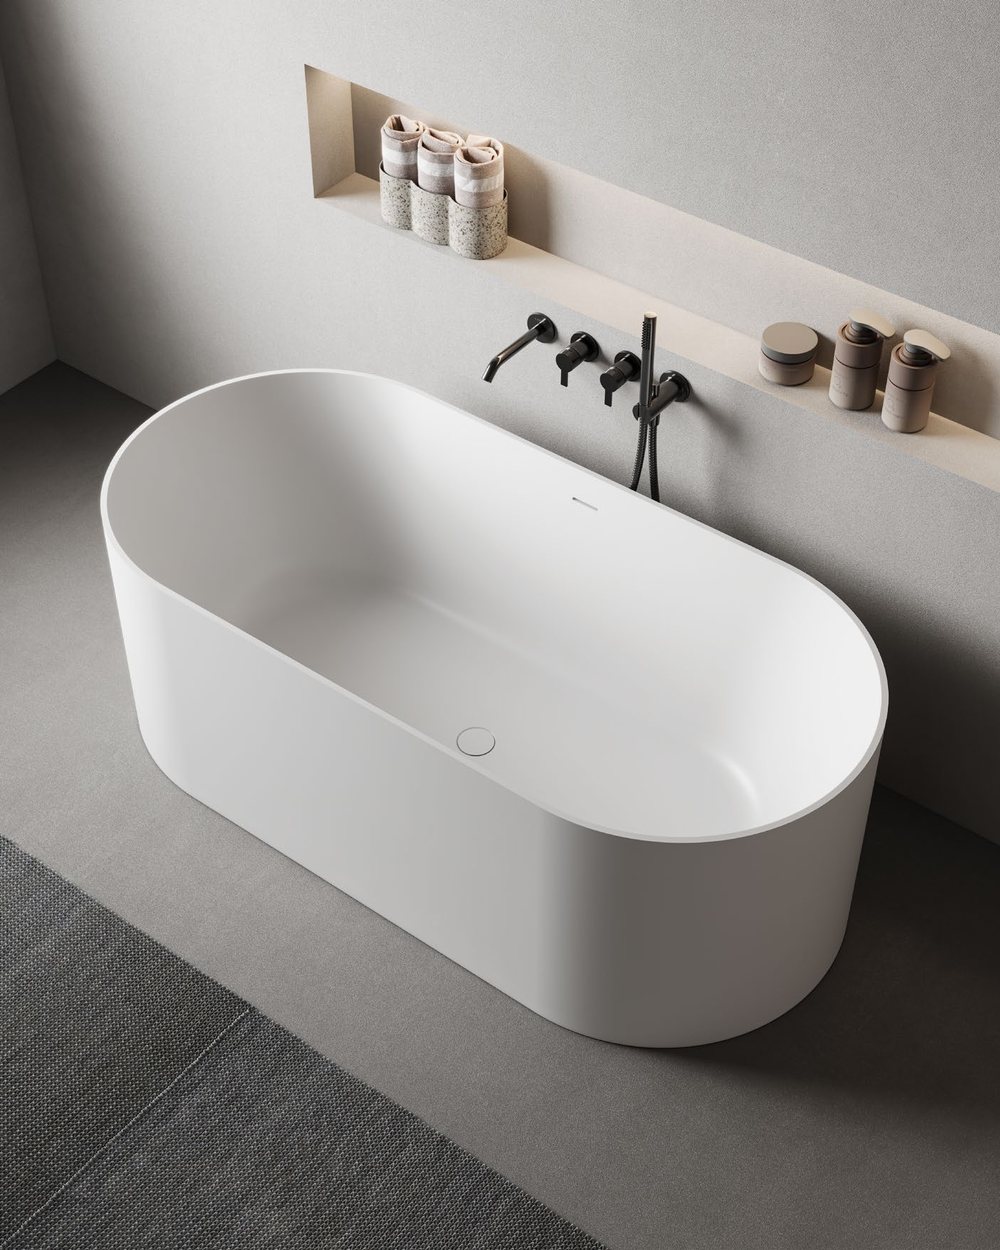
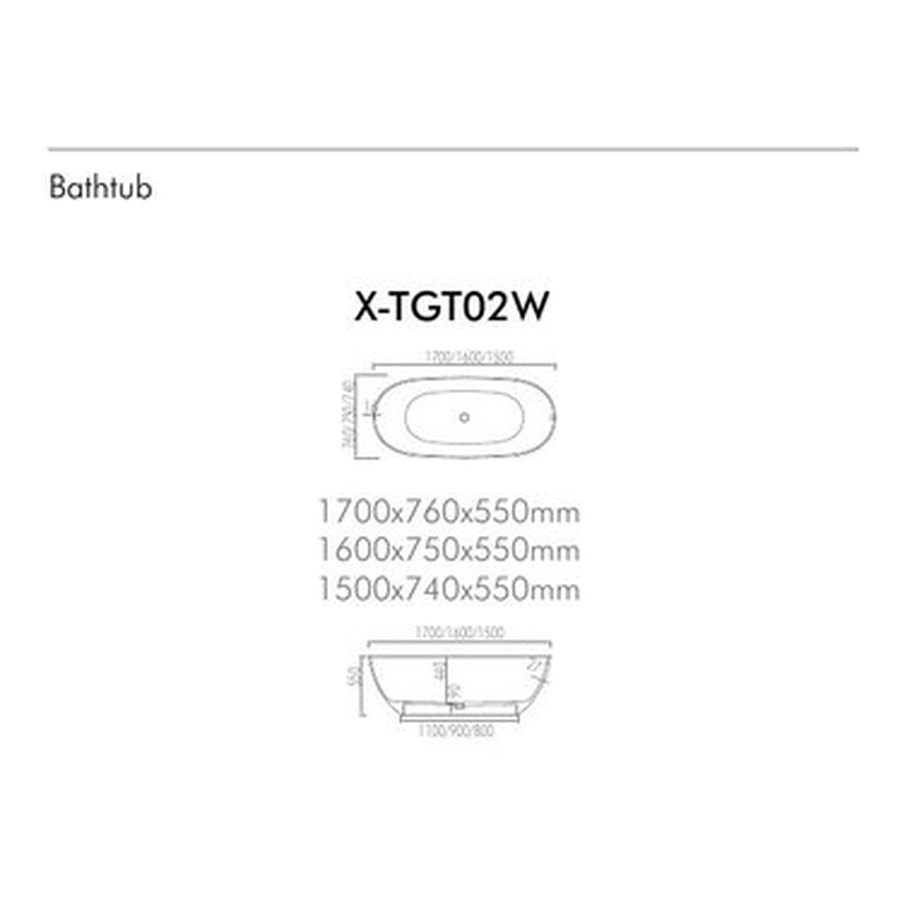
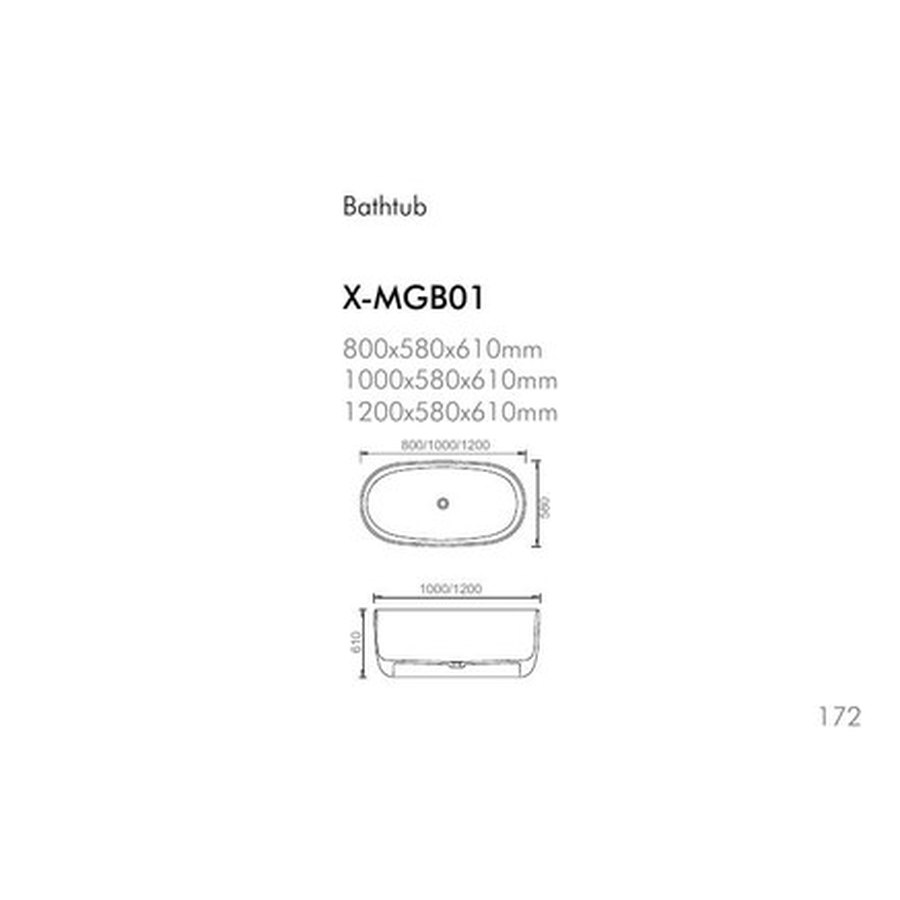
With the tub positioned on the plan, locate the floor drain relative to two fixed references — a wall corner is the usual choice — and compare that to the drain position on the tub's dimensioned drawing. The tub's waste outlet is fixed by the mould, so if the two do not coincide it is the rough-in that has to move, and it is far cheaper to move it on paper. Note the overflow position and height, and whether the drain is centered or at one end. Then the filler: a floor-standing tap needs its supply pipe to rise from the floor at a set distance from the rim; a wall-mounted spout needs the wall outlet at a height that clears the rim and reaches the bowl; a deck-mounted tap needs holes in the tub itself, which are a factory operation. Each decides where the pipe comes out, so the filler type is a rough-in decision, not a finishing one.
- Locate the drain from a fixed wall corner and check it against the tub drawing
- Move the rough-in on paper, not the tub on site
- Note overflow position and drain end
- Choose the filler type before rough-in — it decides the pipe position
Floor and Delivery Route

Check the floor is level where the tub will stand and that it can carry the load; a solid surface tub filled with water and a bather is heavy, and an upper-floor installation is worth a structural check. Then measure the route in: every doorway width and height, corridor width, stair and landing, and each turn, against the tub's longest dimension and its width — freestanding tubs frequently do not fit through a standard interior door on their side, and a tub that reaches the bathroom door but not through it is an expensive discovery. Record the route measurements with the room measurements and send both with the enquiry.
- Confirm the floor is level and can carry the filled weight
- Measure every door, corridor, stair and turn on the route
- Compare against the tub's longest dimension and width
- Send route and room measurements together with the enquiry