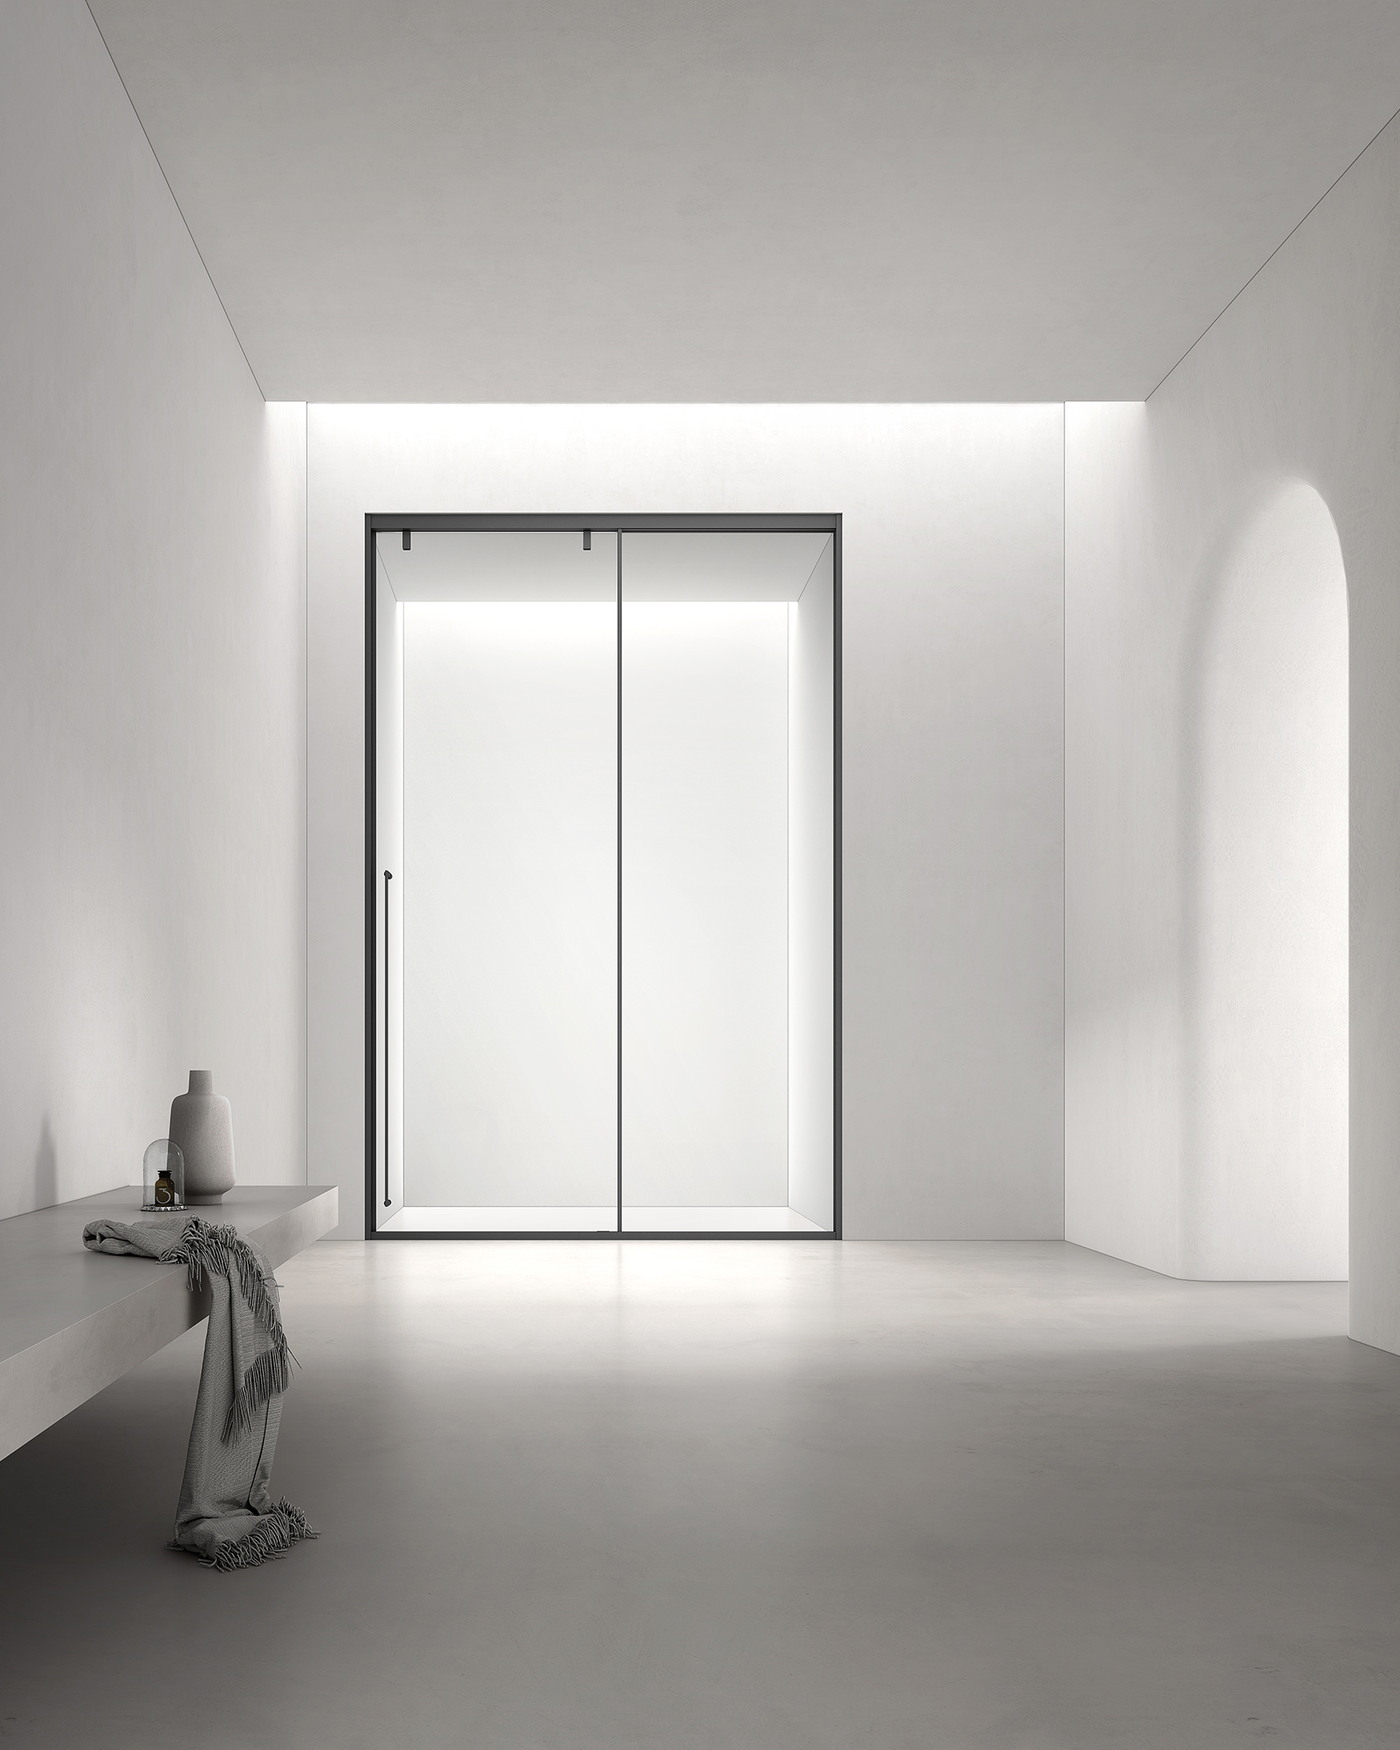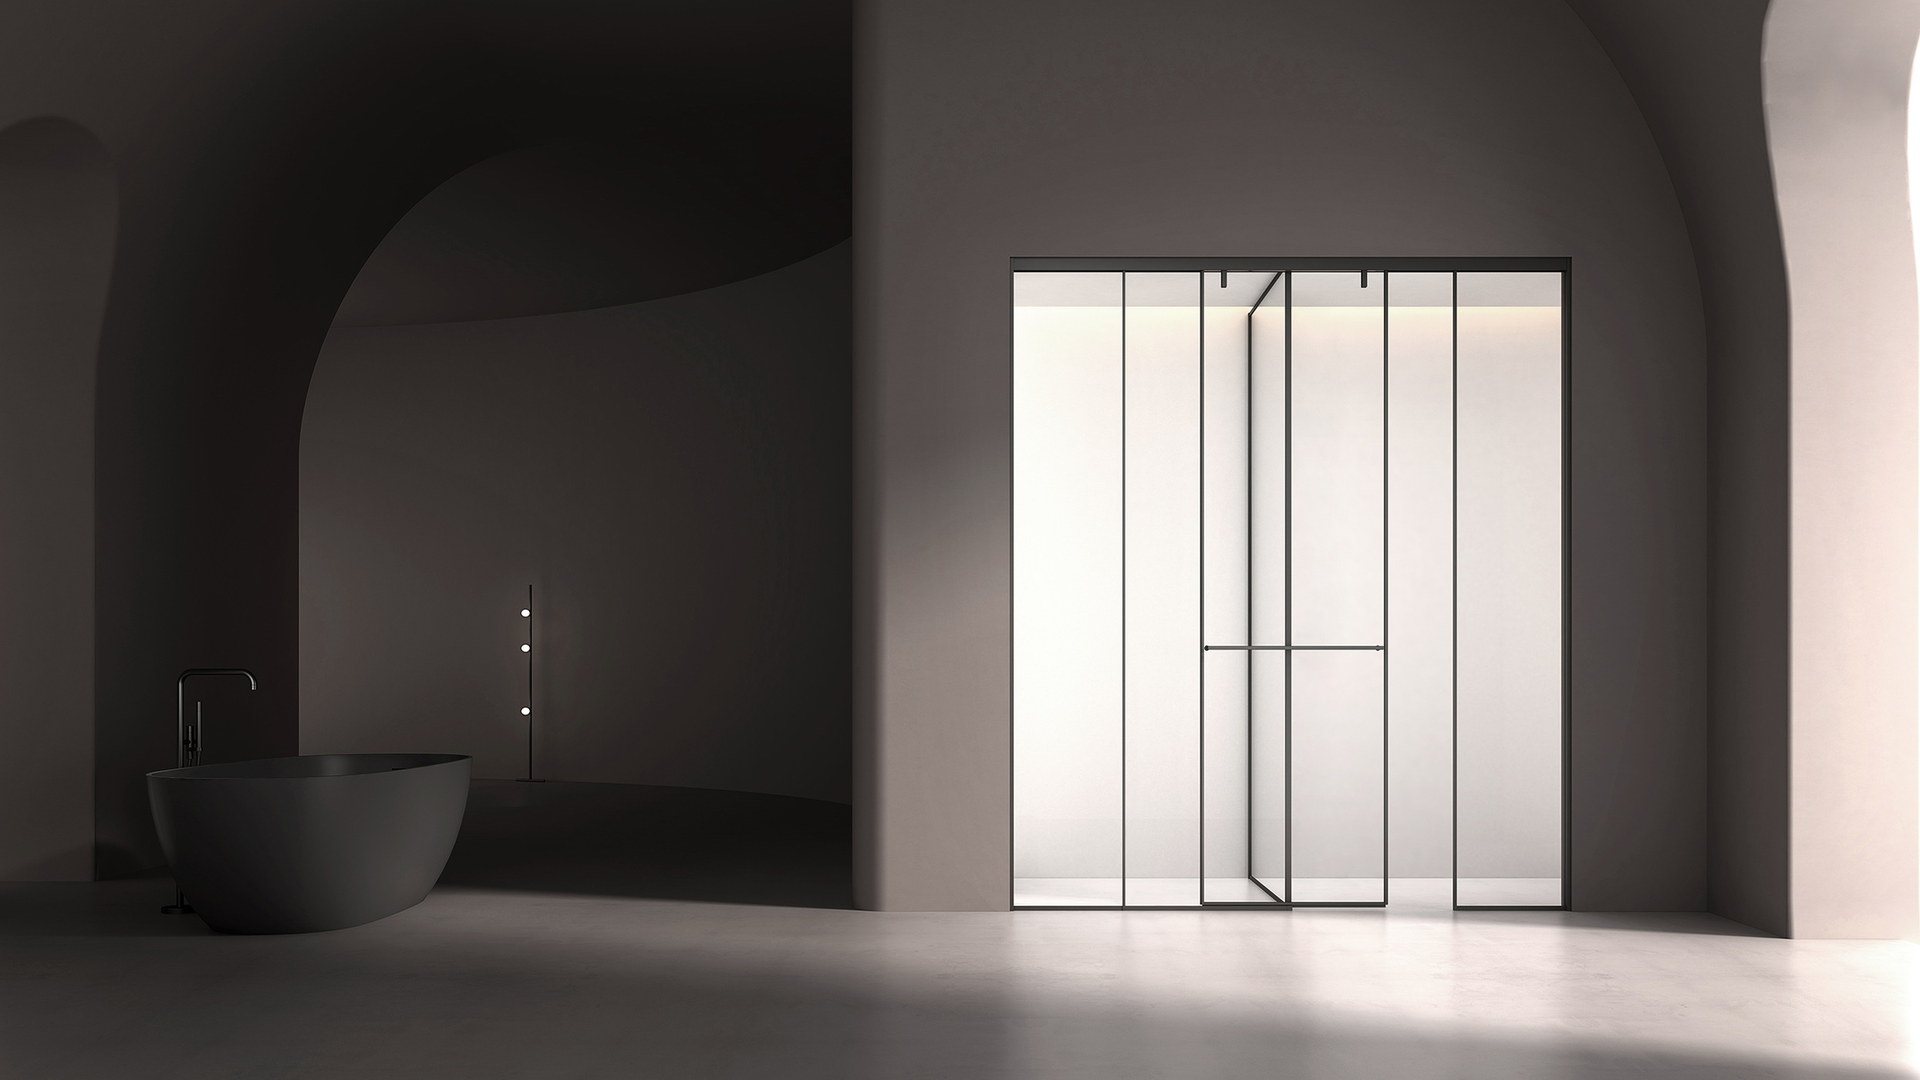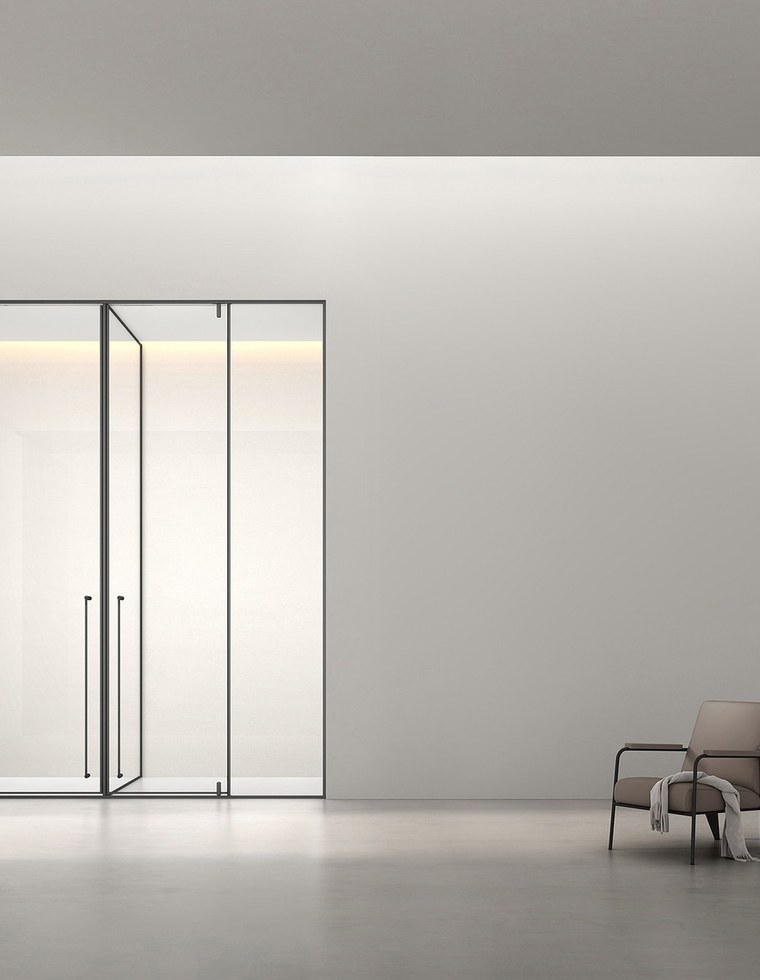
Before Fabrication
Tile, stone, waterproofing and any plumbing fixtures inside the shower area should be complete before the final measurement is taken — measuring an unfinished opening is one of the more common causes of a panel that doesn't fit when it arrives. At that same visit, check that the walls are plumb and the curb or threshold is level; because the glass itself is rigid, it will show an out-of-plumb wall as an uneven gap rather than absorbing it.
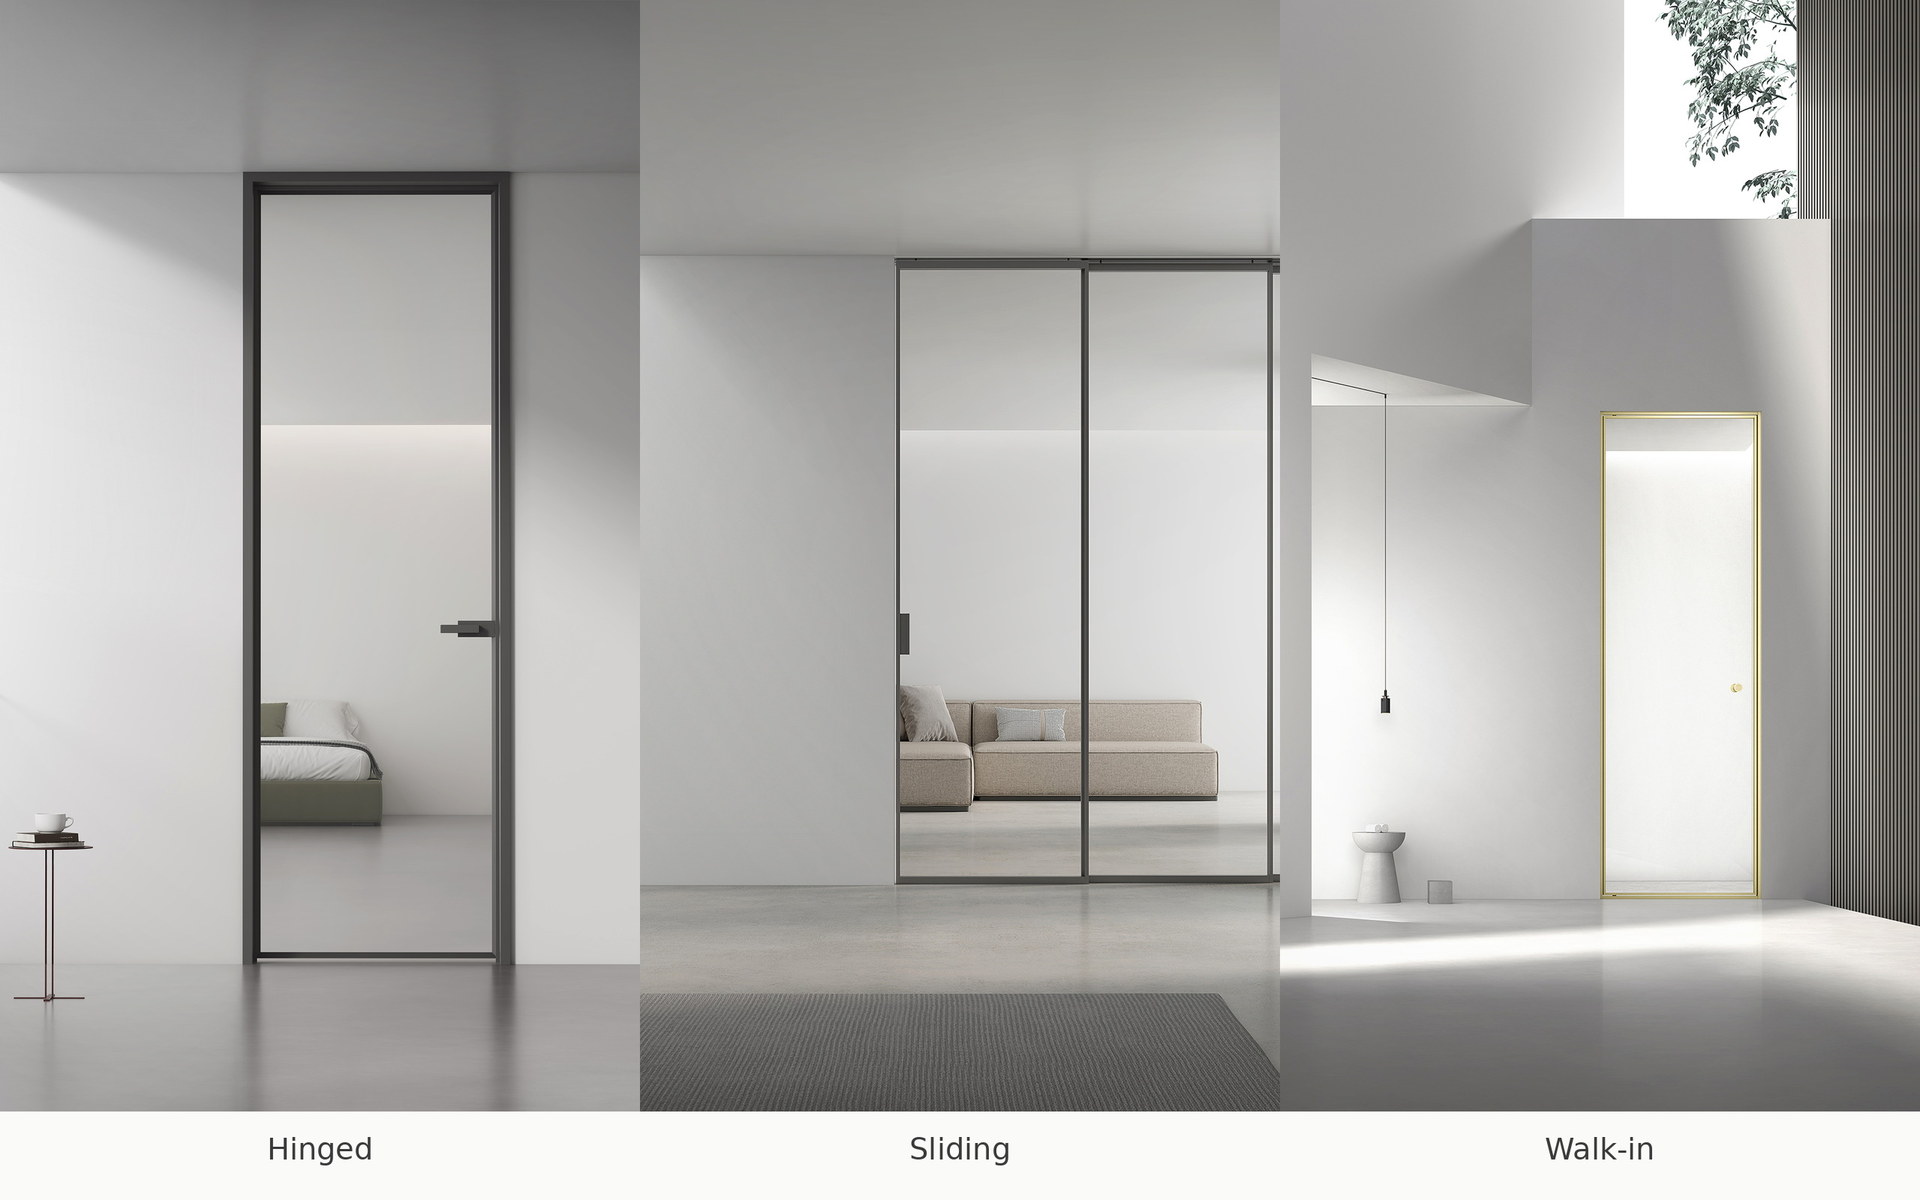
This is also the point to settle the layout: door swing direction, the clearance needed for entry, and whether the design needs a fixed panel, a return panel, or both. These decisions drive where hardware holes and notches are placed during fabrication, so changing them afterward generally means re-fabricating the glass rather than adjusting it on site.
- Confirm tile, waterproofing and plumbing fixtures are complete before final measurement
- Check wall plumb and curb/threshold level at the same visit
- Decide door swing, entry clearance and fixed/return panel layout before fabrication
- Confirm glass thickness and hardware finish against the project specification
Fixing and Alignment

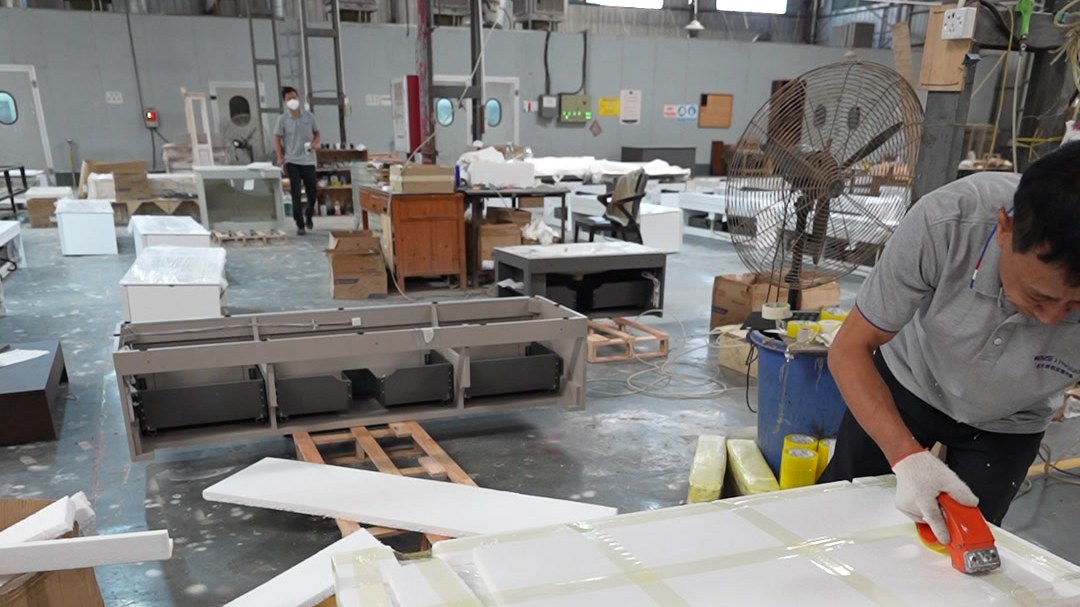
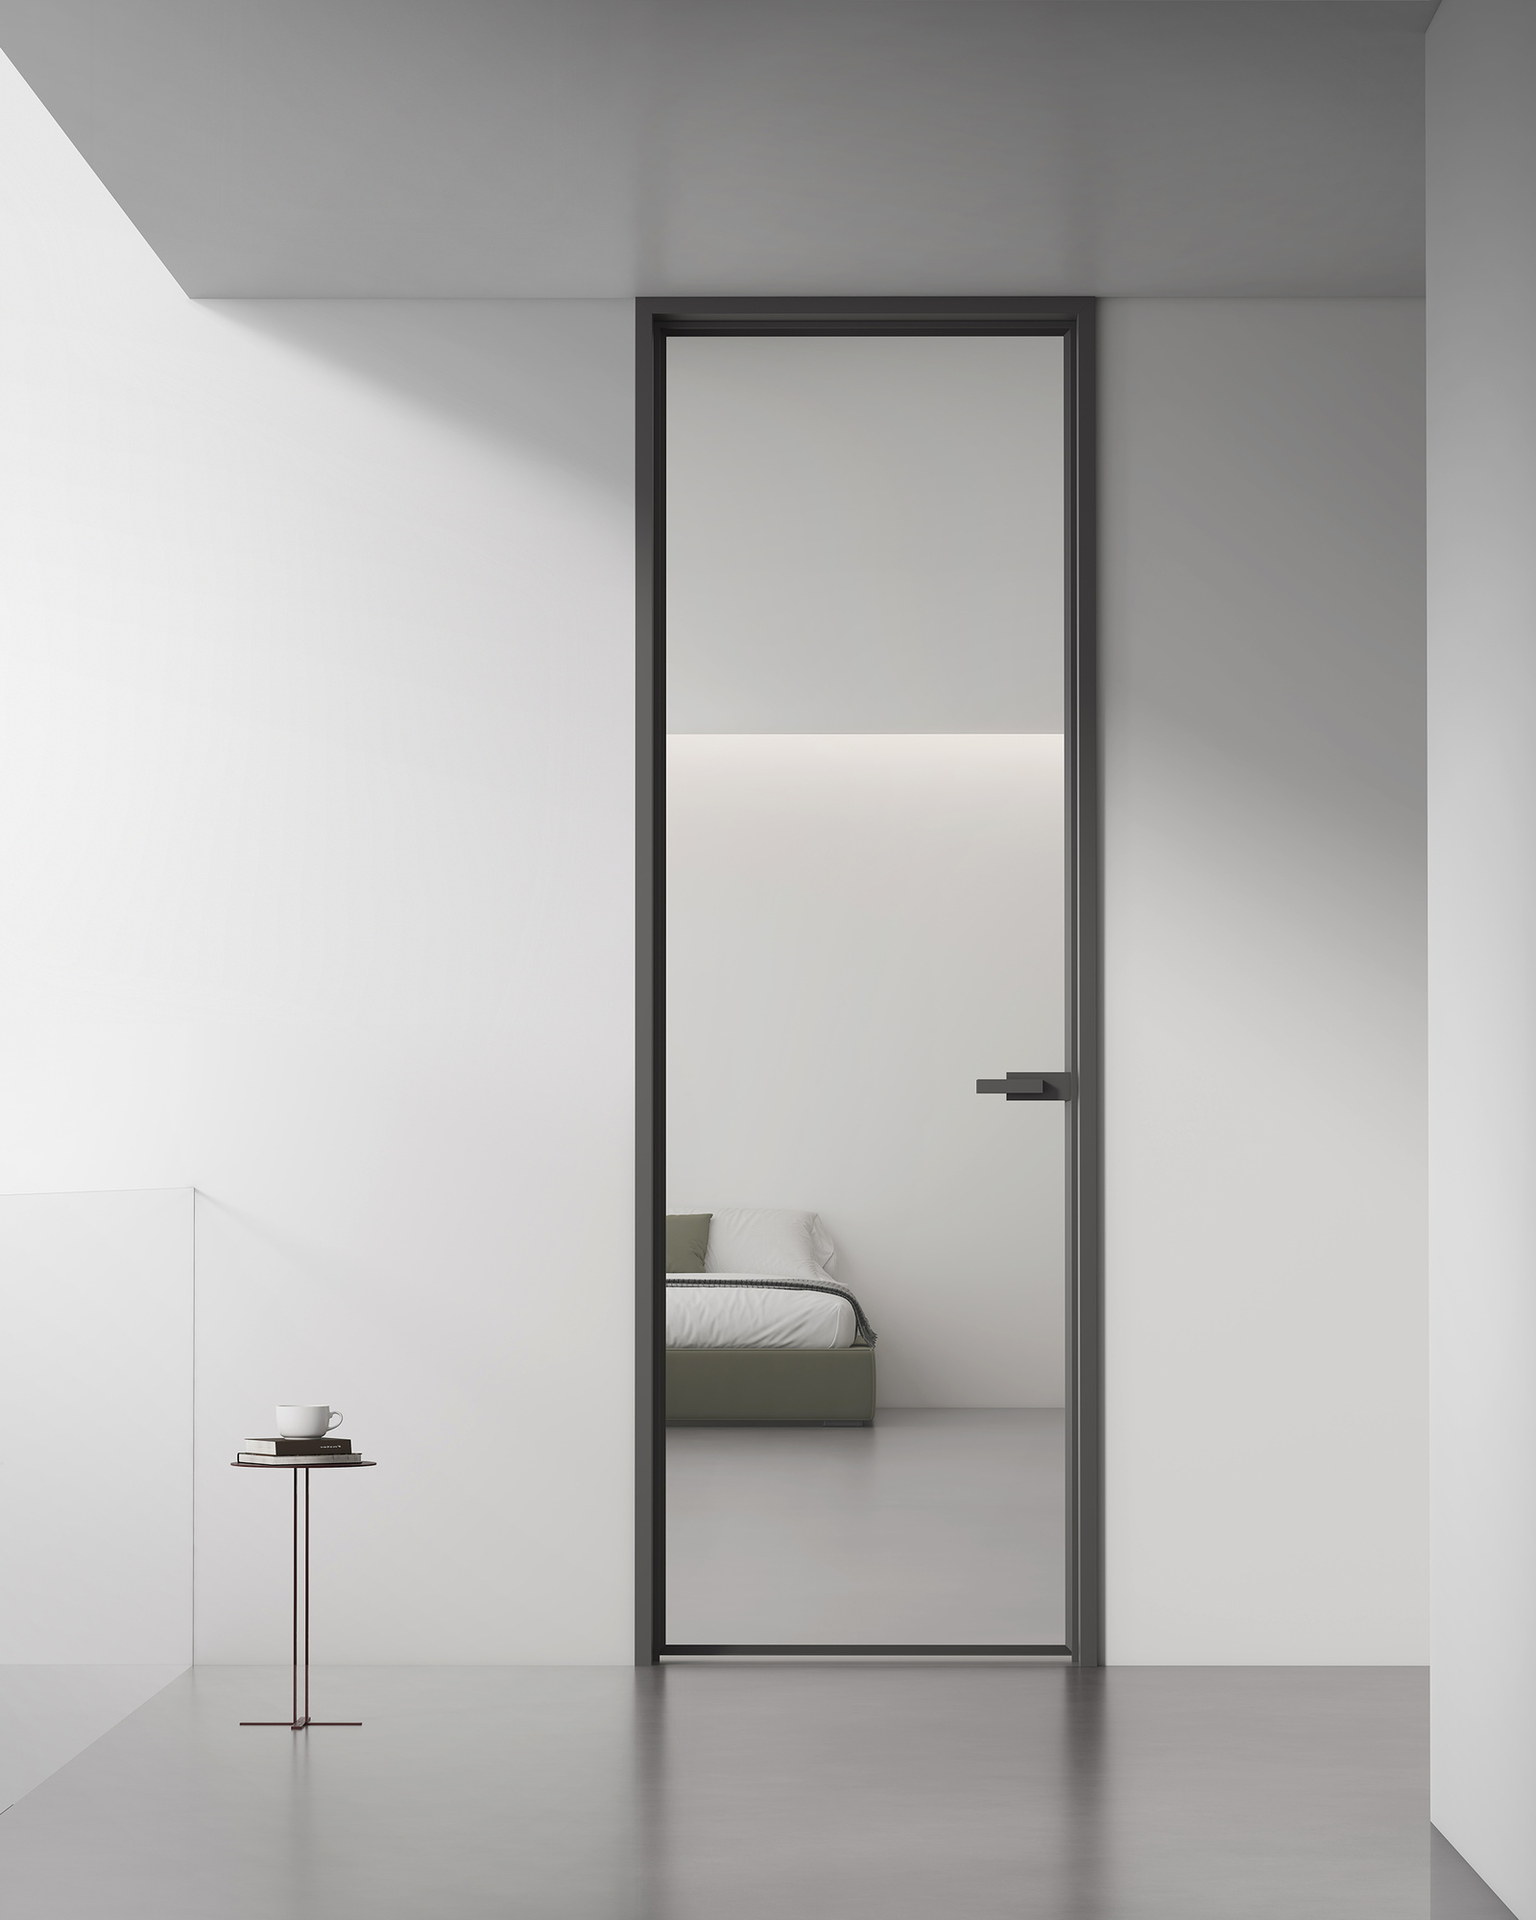
Tempered glass — commonly specified at 3/8 in. or 1/2 in. thickness for a frameless application — is fabricated to the confirmed opening, with the holes and notches for hinges, handles and clamps cut in during that process. Fixed panels are set into position and secured with wall channels or clamps, and the door is then hung and adjusted until it swings smoothly and holds a consistent gap along its full length.
Confirm the whole assembly is plumb and stable before moving on to sealing. An enclosure that is slightly out at this stage is much easier to correct now, with the hardware still adjustable, than after the silicone has gone in.
- Tempered glass fabricated off-site to the confirmed opening (holes and notches pre-cut)
- Fixed panels secured with wall channels or clamps
- Door hung and adjusted for a smooth swing and a consistent gap
- Confirm plumb and stability before sealing
Sealing and Cure

Apply a clear, sanitary-grade silicone at the wall and floor junctions once alignment is confirmed, to clean and dry surfaces. Silicone sealants commonly need in the range of 24 to 48 hours to reach a full cure before they should be exposed to running water, though this varies by product — check the specific sealant's label rather than assuming a single number applies to every job.
Leave written guidance with the customer or site team on when the enclosure can first be used, and note that the same joint should be inspected periodically over the life of the installation, since a silicone seal is a maintained detail rather than a permanent one.
- Clear sanitary-grade silicone at wall and floor junctions, on clean dry surfaces
- Check the sealant label for cure time — commonly 24–48 hours, product-dependent
- Leave guidance on first use and note the joint needs periodic inspection over time