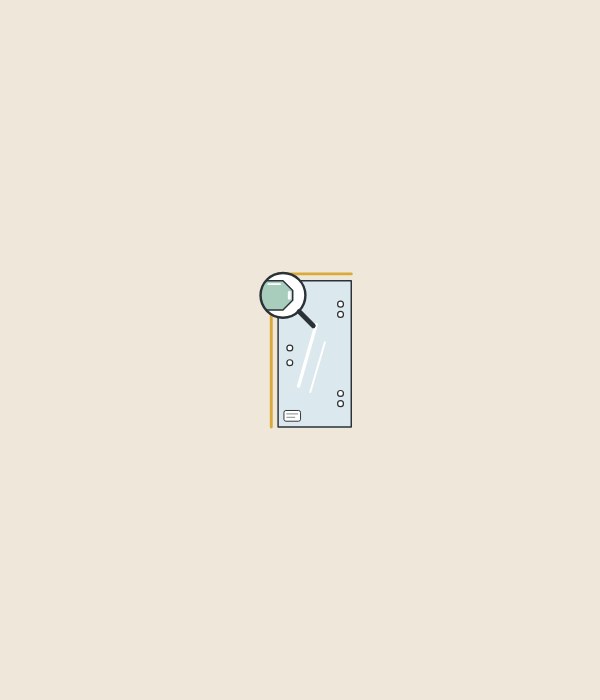
From edge work to acceptance
Why does edge damage matter on tempered shower glass?
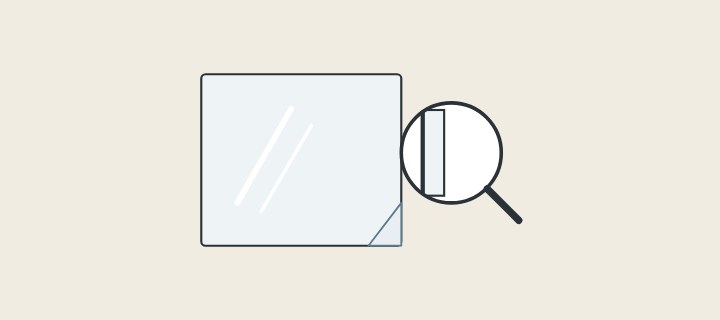
Edge damage matters because it lowers glass strength: the NGA paper Recommended Applications for Heat-Treated Glass says strength is significantly reduced by edge damage or poor edge quality.
Vitro’s strain-pattern document says heat treating introduces surface compression and center tension. In its ENIGMA-XO instructions, DreamLine calls corners and edges the area of tempered glass most susceptible to damage.
| Term | What it means |
|---|---|
| Factory-cut edge | The edge as cut, before any edge work. |
| Shell chip | An edge chip sized by depth, width and length. |
| Strain pattern | An iridescent pattern seen in some polarized light. |
In what order is a shower panel fabricated?
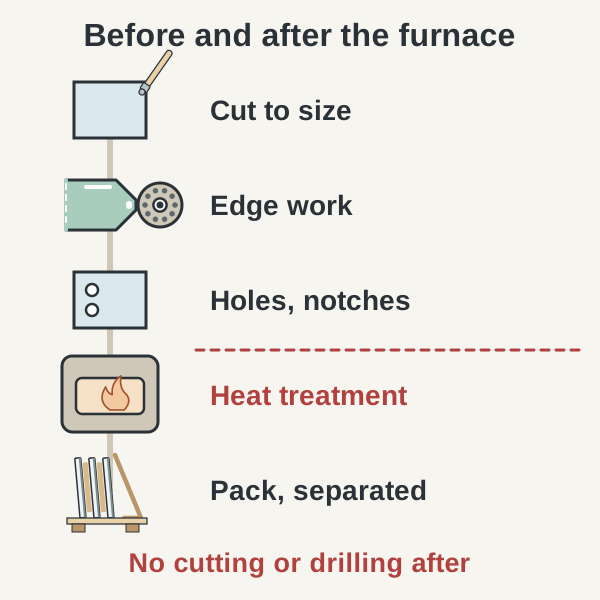
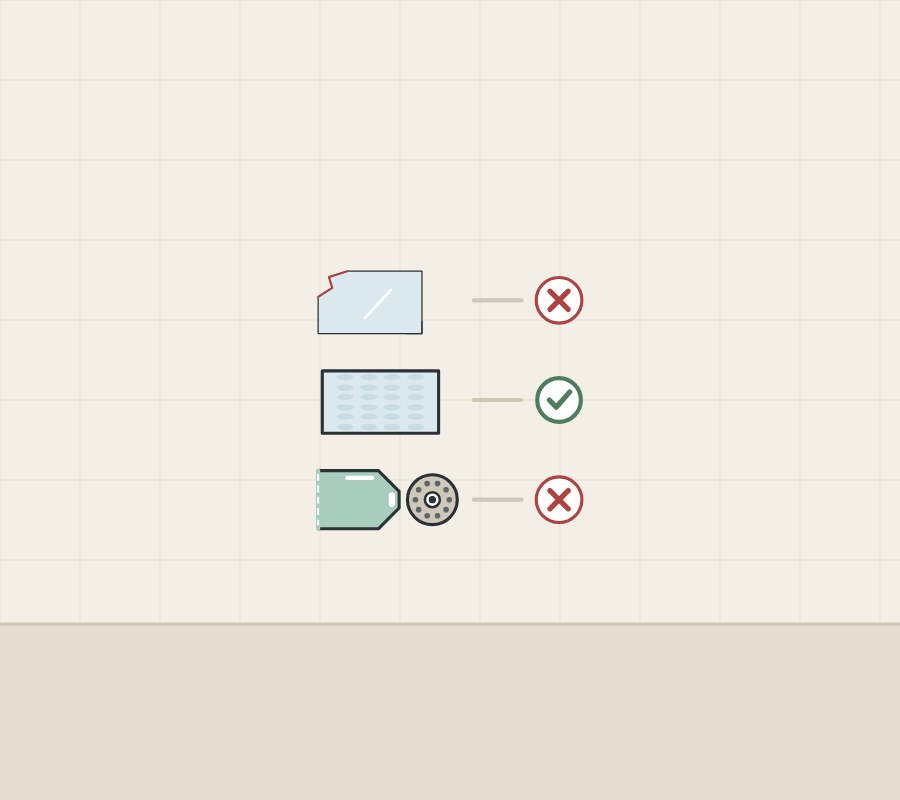
All cutting, drilling, notching and edge work comes before the furnace. An NGA paper on heat-treated glass and the ASTM C1048-25 abstract both place all fabrication before heat treatment.
- The glass is cut to size.
- Edges are seamed, ground or polished.
- Holes and notches are made.
- Seamed glass is washed.
- The panel is heat-treated.
- The fabricator sets the frequency and method of testing and inspection.
- Panels are packed with a separator between each lite.
The NGA production guidelines say the edge is treated first to prevent excessive breakage in the furnace. These sources do not fix the order of edge work and hole work.
Which edge finish should each edge have?
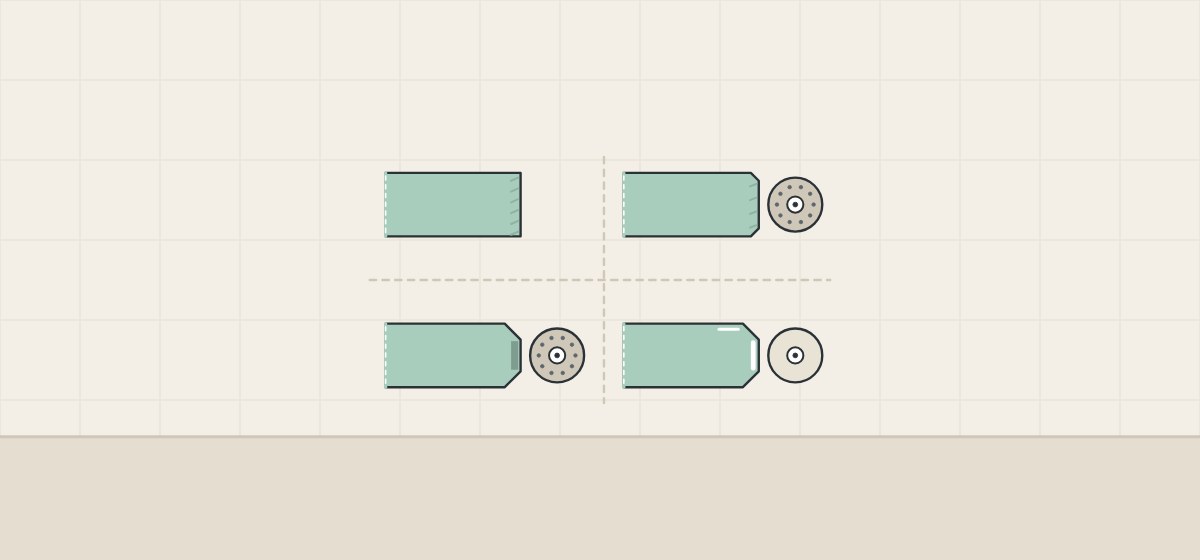
Each edge should carry the finish the approved drawing names, because the finish is a choice. The NGA production guidelines require a seamed, ground or polished edge before heat treatment. The NGA frameless shower manual, quoting a note from ASTM C1036, says flat glass edges are typically supplied factory cut and other edge work is arranged with the manufacturer.
| Finish | What the source says |
|---|---|
| Factory cut | Manual: how flat glass edges are typically supplied, before edge work. |
| Seamed | Guidelines: sharp edges removed; may appear slightly rough. |
| Ground | Guidelines: diamond wheels, coarse grit to fine. |
| Polished | Guidelines: polishing wheels after grinding. |
The NGA guidelines say ground and polished edges are most desired when edges are exposed.
What should holes and notches look like?
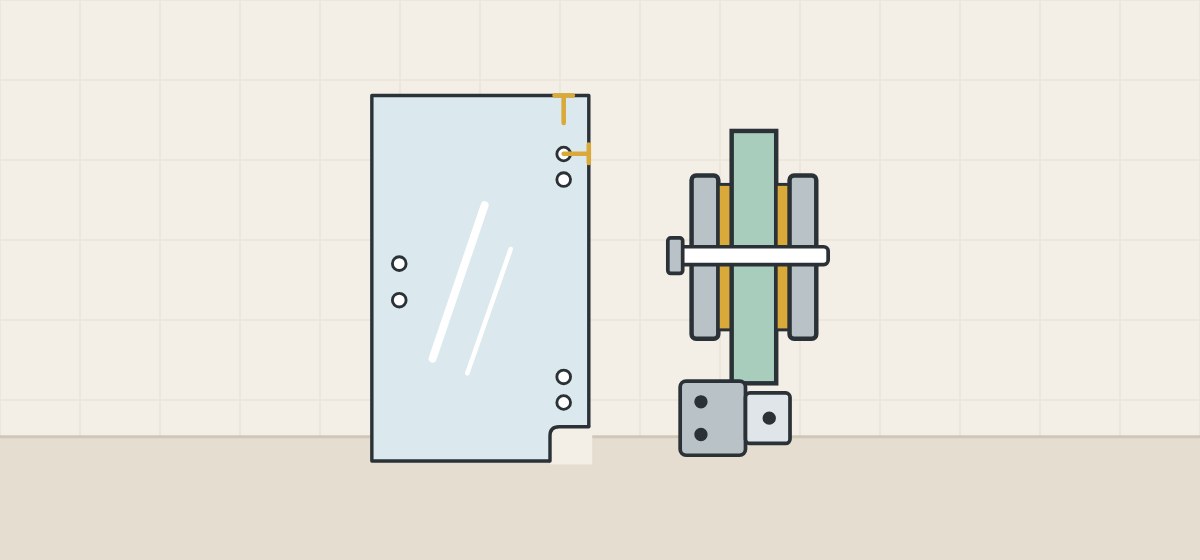
Holes and notches should match the hardware maker’s template and the fabricator’s edge distances. Each figure belongs to its source; “t” is glass thickness.
| Item | Figure | Whose figure |
|---|---|---|
| Hole size | 6 mm or 1 × t minimum, as printed | NGA manual, Table 1 |
| Hole edge to glass edge | 6 mm or 2 × t, whichever is greater | NGA manual, Table 1 |
| Hole edge to corner | 6.5 × t | NGA manual, Table 1 |
| Notch inside corner | Radius of 5/16 in (8 mm) | Tecnoglass, its own rule |
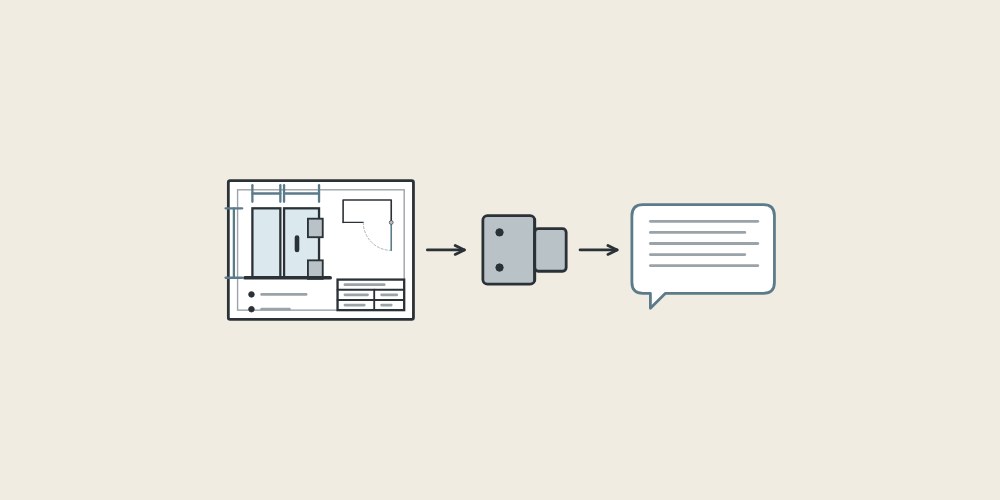
| Hinge cut-out | Only the included template | CRL, Vienna 180 hinge |
The NGA manual presents Table 1 as ASTM C1048 guidelines and tells the purchaser to consult the fabricator if hardware needs tighter tolerances. CRL warns that its cut-out dimensions may not match other brands. The manual also calls for rubber or plastic washers between handle and glass.
Which chips and edge damage fail a panel?
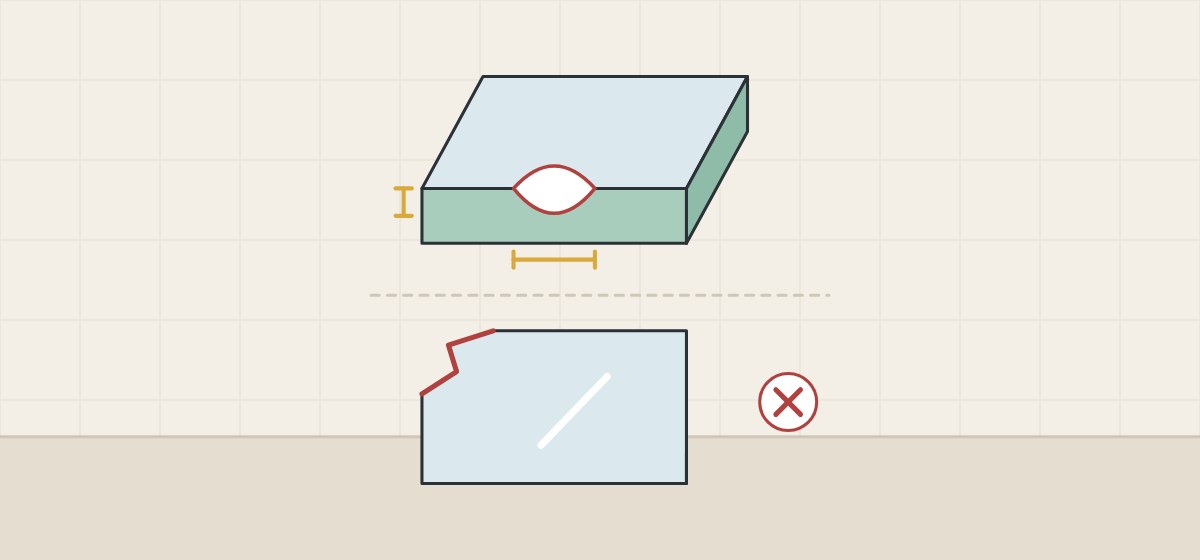
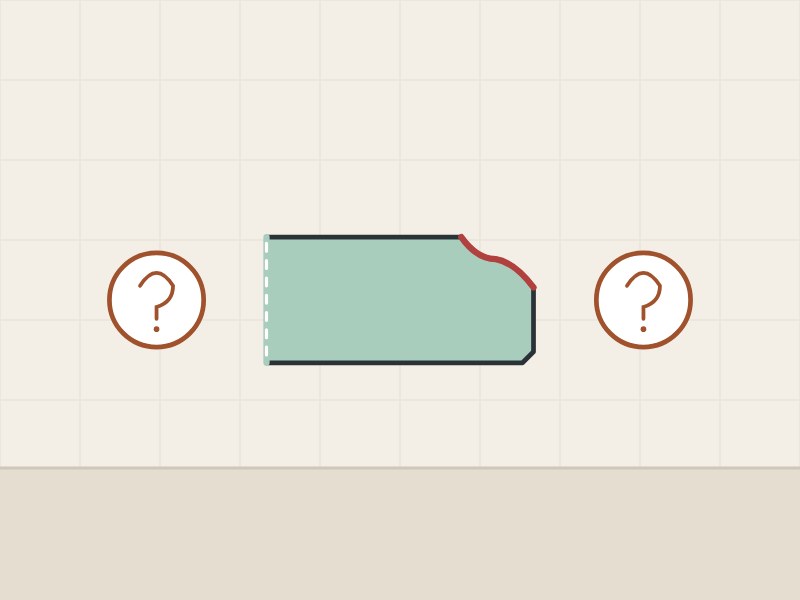
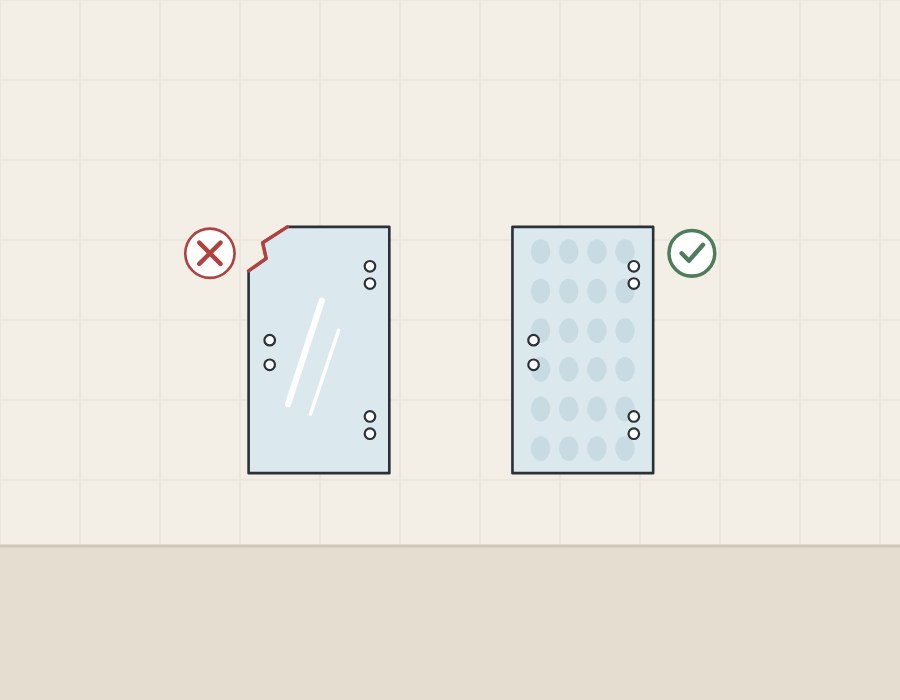
A chip fails a panel when it exceeds the limit written into the order:
A published chip limit
The NGA manual reprints the ASTM C1036 Quality 3 allowance for shell chips on cut edges of flat glass: depth up to 50% of the glass thickness, width up to the thickness or 6 mm, whichever is greater, and length up to twice the width. The table is titled for cut sizes of flat glass, so write which limit applies to finished tempered edges.
A maker’s instruction
DreamLine tells installers of its ENIGMA-XO door not to install glass with chipped corners or slivered edges; damaged glass must be replaced.
No further fabrication
The NGA manual says never to cut or drill tempered glass and calls grinding an edge or cutout not advisable. Vitro recommends no further fabrication after heat treatment.
Handling
Kohler tells installers of its pivot door not to set the unframed glass edge on the floor or touch it with tools.
- Chip position: edge, corner, hole or notch
- Chip depth, width and length
- The edge finish at that point
- Panel ID and a photo with the label
Which visible effects are normal for tempered glass?
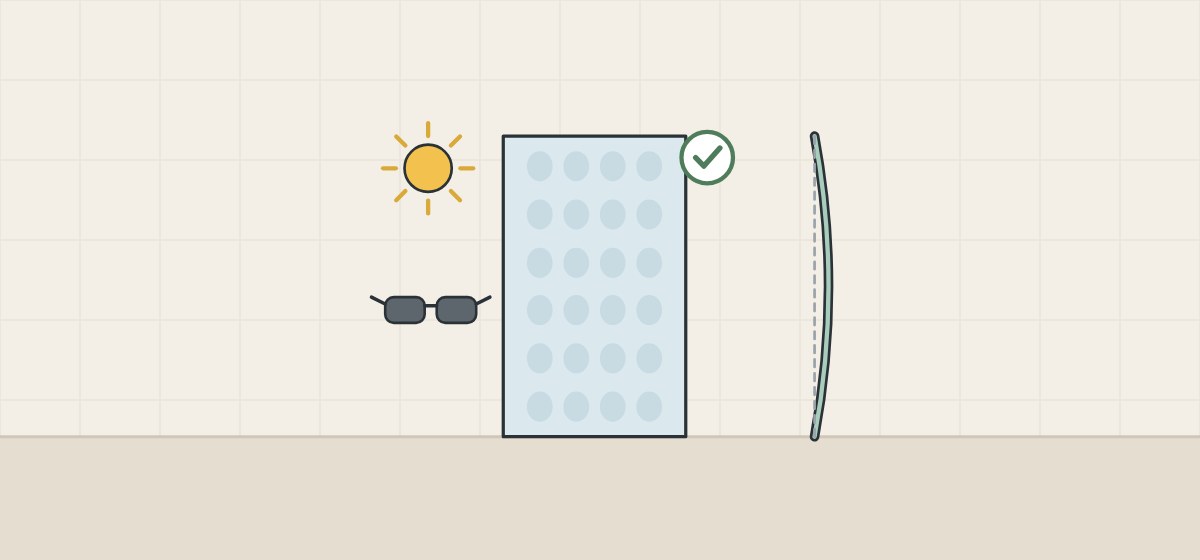
Strain pattern and quench marks are normal features of heat-treated glass, not defects:
Strain pattern
The NGA’s iridescence paper says a strain pattern is inherent in all heat-strengthened and fully tempered glass and “is not a cause for rejection”.
Quench marks
Pilkington describes faint shadowy spots and lines left by the air quench, seen at an angle in particular light, and says they are not a defect.
Distortion and bow
An NGA applications paper notes more optical distortion than in annealed glass. The NGA production guidelines refer bow to ASTM C1048 and roll wave to ASTM C1651.
Face blemishes
The NGA manual gives point and linear blemish tables based on ASTM C1036.
Vitro’s strain-pattern document says the pattern shows under certain polarized light. The NGA manual refers to ASTM C1036 for blemish viewing detection distances and prints no figure itself, so write the viewing position into the order.
How can a buyer confirm the glass is tempered and marked?
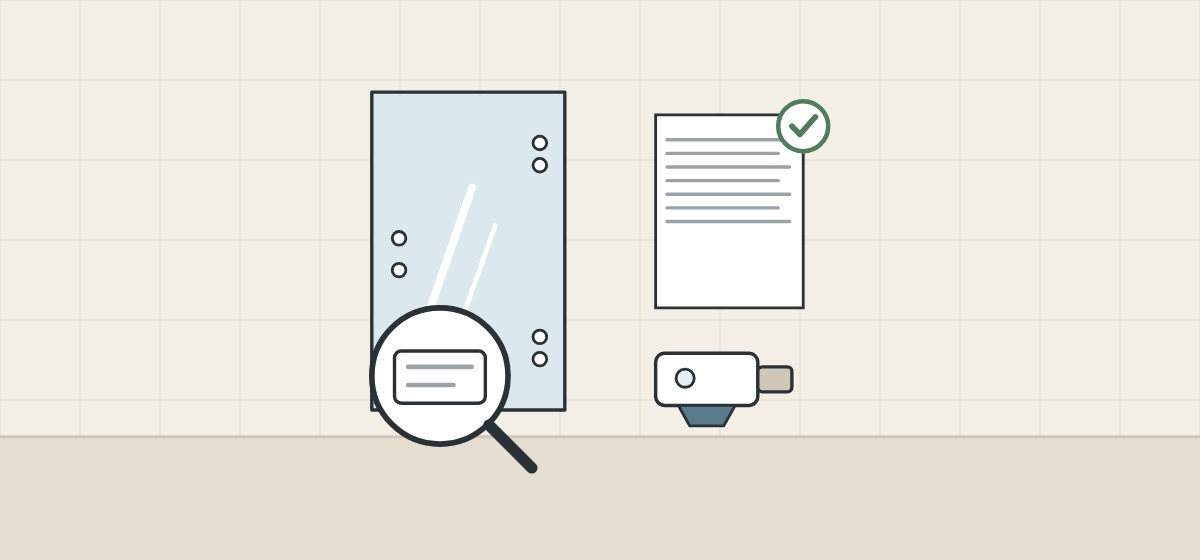
The permanent label and the fabricator’s records are the evidence to ask for:
| Evidence | What it shows |
|---|---|
| Permanent label | 16 CFR 1201.2: stays legible after installation; destroyed by removal. |
| Label method and place | NGA guidelines: laser, ceramic frit or sandblast etch. NGA marking paper: placed where glass bite, gasket or sealant will not hide it. |
| SGCC certification | SGCC: valid only with the correct permanent label; searchable in its directory. |
| Stress measurement | ASTM C1279-23: non-destructive; surface stress only on the tin side. |
| Break test | NGA guidelines: per ANSI Z97.1 or 16 CFR 1201, on sizes representative of production. |
How should each panel be inspected, step by step?
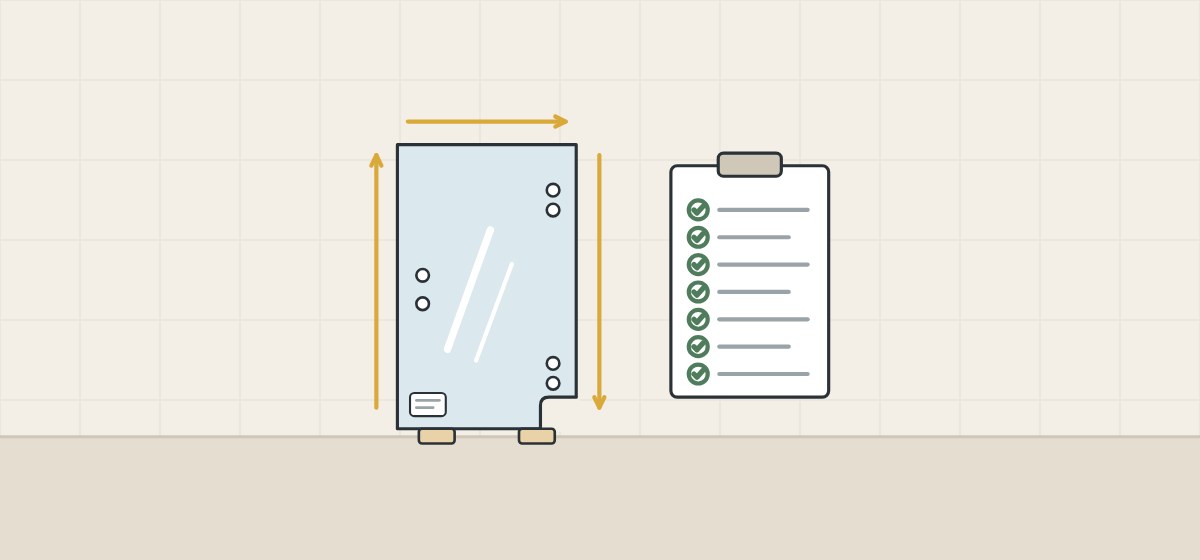
Work round every panel in the same order. These steps are procurement guidance, not a standard.
- Identify the panel. Match its label to the approved drawing.
- Confirm the edge finish. Each edge shows the finish the drawing names.
- Sight along edges and corners. Measure any chip against the written limit.
- Check holes and notches. Look at both faces of each hole and every inside corner.
- Dry-fit the hardware. Fit the real hinge or handle, with gaskets, on the first panel of each type.
- Judge the faces. Use the agreed viewing position; strain pattern alone is no reason to reject.
- Check the mark. The permanent label is present, legible and placed as drawn.
When a panel fails
Tag the panel with its ID and the reason, photograph it with the tag and move it to a separate padded rack. Do not grind or re-polish it; order a replacement to the same drawing.
What should you send and ask before a quotation?
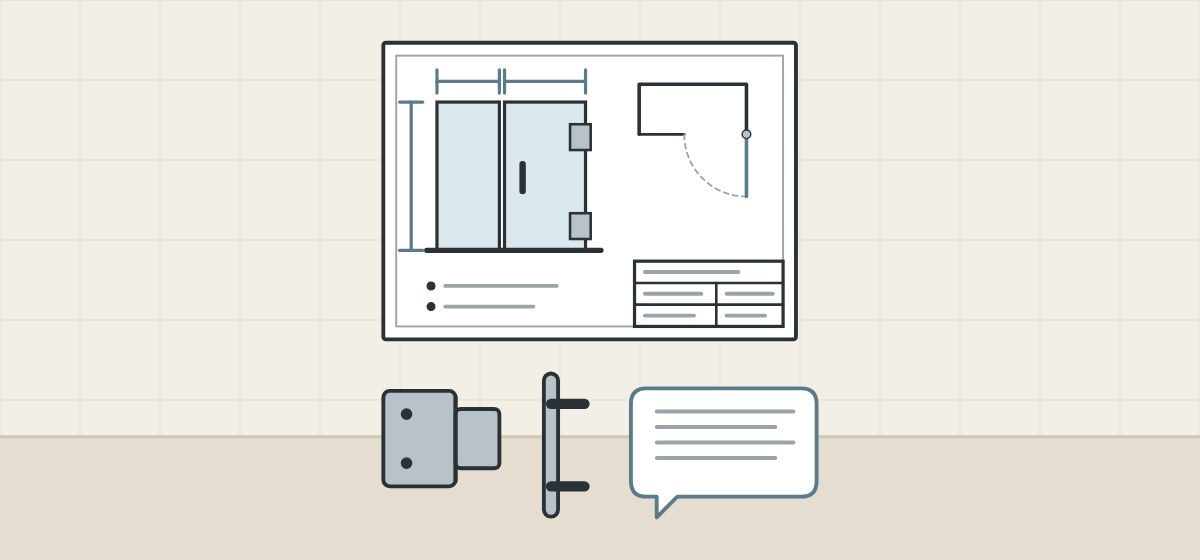
Name every edge finish, the hardware and the acceptance limit.
| Question | Why it matters |
|---|---|
| Which finish is on each edge? | Seamed, ground and polished are different finishes. |
| Which chip limit applies, and where? | The NGA table is for cut flat glass. |
| Whose template sets the cut-outs? | Cut-outs may differ between brands. |
| Which gaskets or washers are supplied? | They keep metal off the glass. |
| What viewing position and light apply? | The manual refers to ASTM C1036 and prints no distance. |
| Which permanent label, and where? | It must stay visible after installation. |
Include with your request
- Panel drawings with every edge named
- Hardware models and templates
- Glass thickness per panel
- The written acceptance limit
- Destination and required marking
WNS Global confirms any offered glass, edge finish, marking and commercial terms separately in writing. This guide does not state that WNS Global products have the edge finishes, tolerances, tests, labels or listings named above. Safety-glazing rules differ by market; confirm with the local authority.