From panel to wall
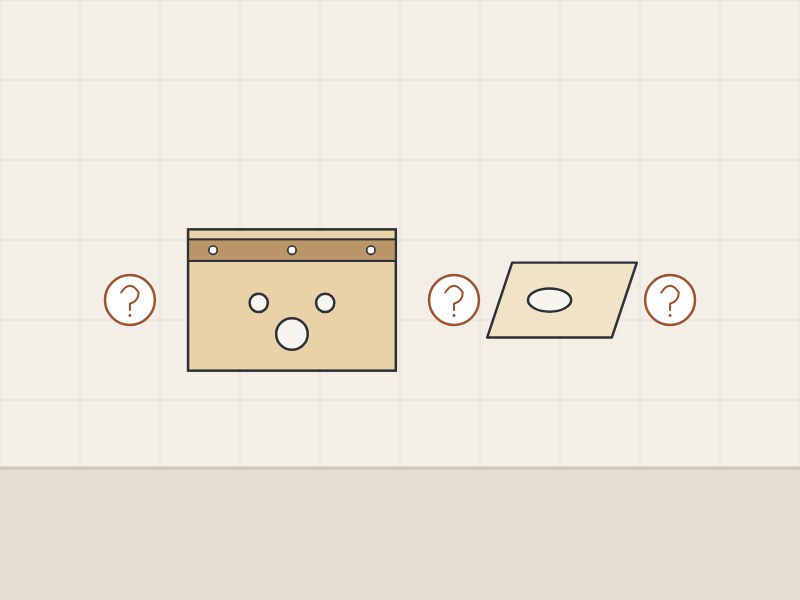
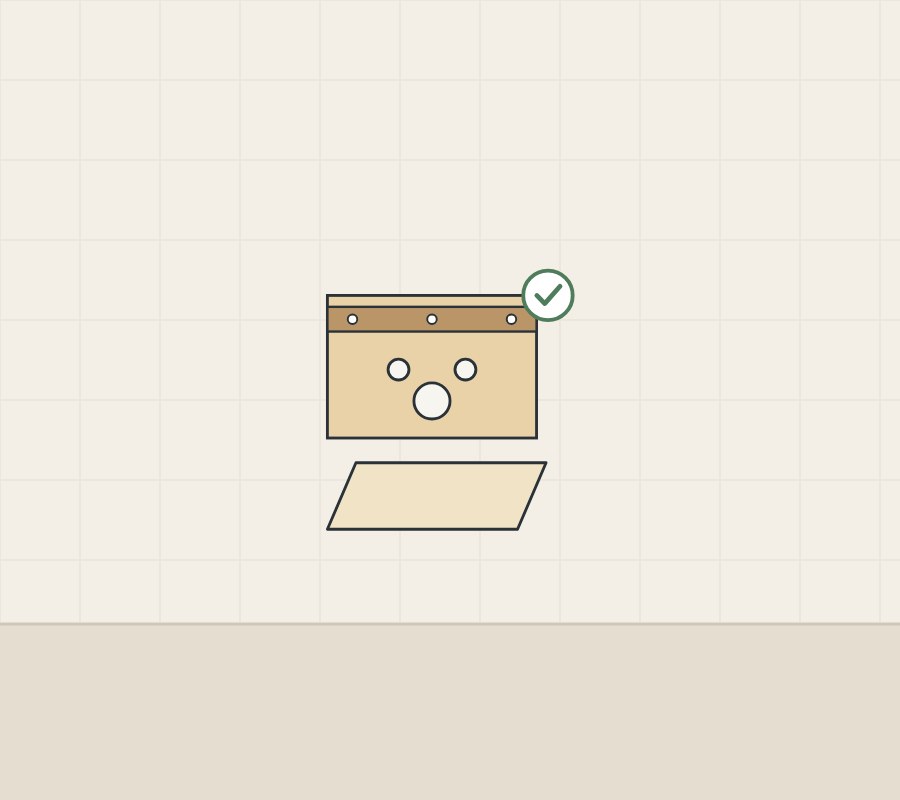
What do the back and bottom panels of a vanity do?
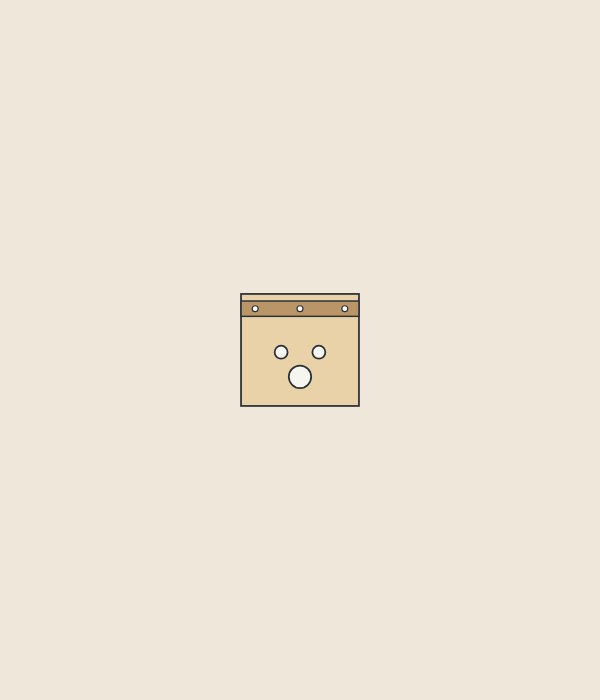
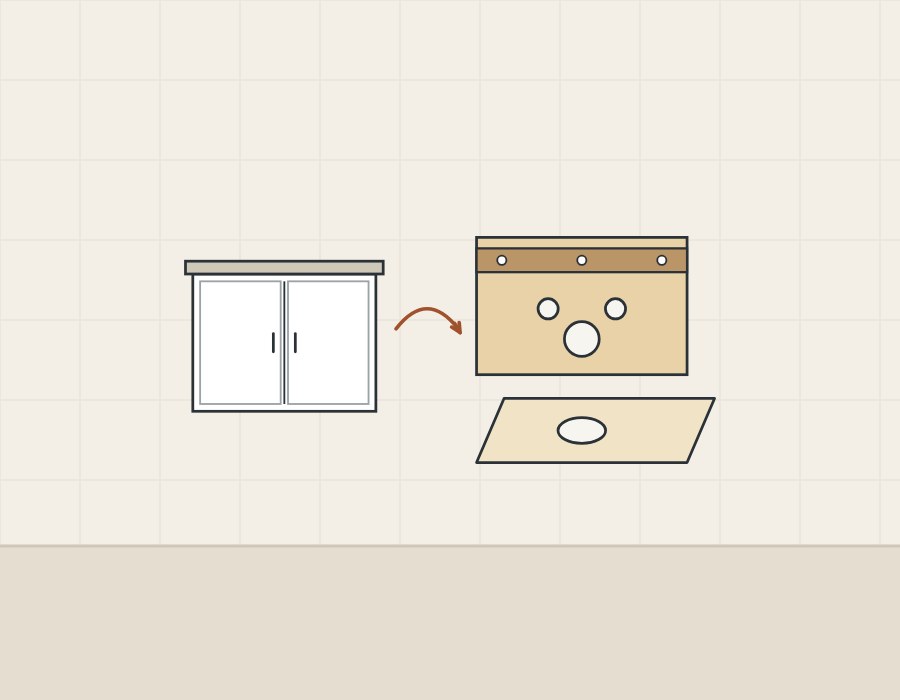
The back closes the cabinet towards the wall and lets the pipes through.
The 2014 Architectural Woodwork Standards class the underside of a cabinet bottom by its height above the finished floor: concealed below 24 in (610 mm), semi-exposed from 24 to 42 in (1067 mm) and exposed above that. A wall-hung vanity bottom below 24 in is therefore concealed under that scheme.
| Term | What it means |
|---|---|
| Back | AWI: the rear component of a cabinet, opposite the doors or drawers. |
| Anchor strips | AWI: strips on the cabinet back that take the wall fasteners. |
| Access panel | AWI: a removable panel that gives access to a space behind. |
| Concealed surface | AWI: neither visible nor accessible in normal use. |
How does a leak damage a back or bottom panel?
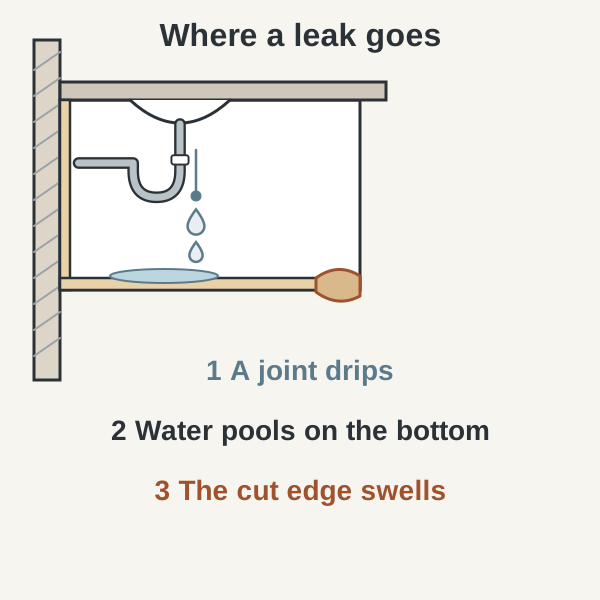
A leak pools on the bottom panel and reaches its edges, where the cited authors find lasting swelling greatest. The sequence combines the EPA’s leak checklist with a chapter on wood and moisture by two Forest Products Laboratory authors.
- A joint under the basin drips; the EPA checklist says to look for pooling water under the pipes.
- Water collects on the bottom panel.
- It reaches a panel edge or the rim of a cut-out.
- Wood composition panels swell in thickness; the authors say the permanent part is almost always uneven and greatest at panel edges.
- In solid wood, water taken up by end grain can travel for centimeters into a board end.
The same authors write that soaking may bring thickness swelling of 35 to 40 % in densified wood composition materials. The Wood Handbook adds that small amounts of wax slow liquid water pickup for limited periods.
How do panel materials react to water?
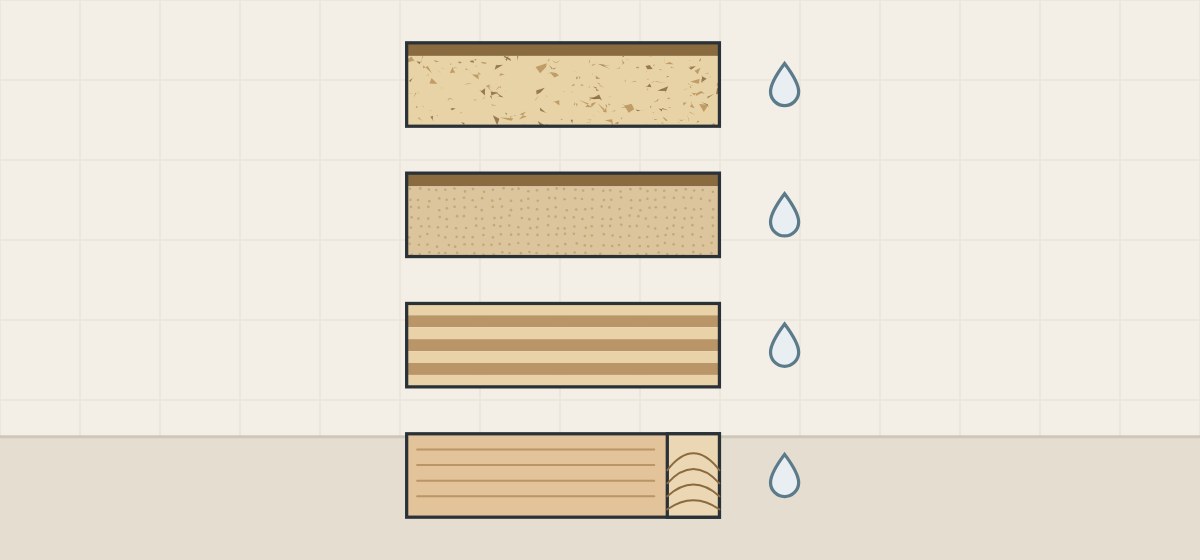
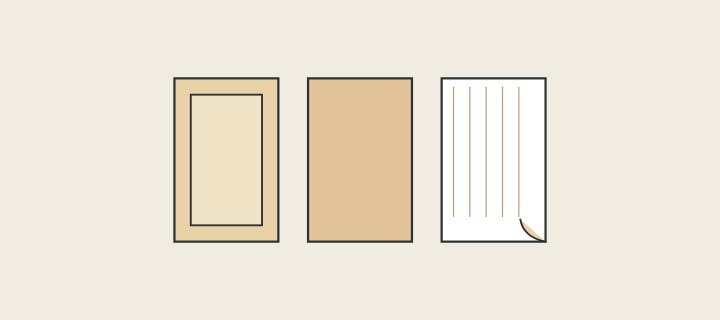
Particleboard, plywood and solid wood each react to water differently in the sources.
| Material | What the source says |
|---|---|
| Particleboard | Composite Panel Association: particles bonded with resin; additives can add moisture resistance. |
| Plywood when wetted | Wood Handbook: minimal irreversible thickness swelling, unlike most panels made from particles. |
| Urea-formaldehyde bonds | Wood Handbook: typically for interior products, because moisture exposure breaks the bond down. |
| Solid wood | Forest Products Laboratory authors: end grain conducts water into the board end. |
The Composite Panel Association says ANSI A208.1 classifies particleboard by physical, mechanical and dimensional characteristics and by formaldehyde levels.
Who makes the plumbing cut-outs, and how are they finished?
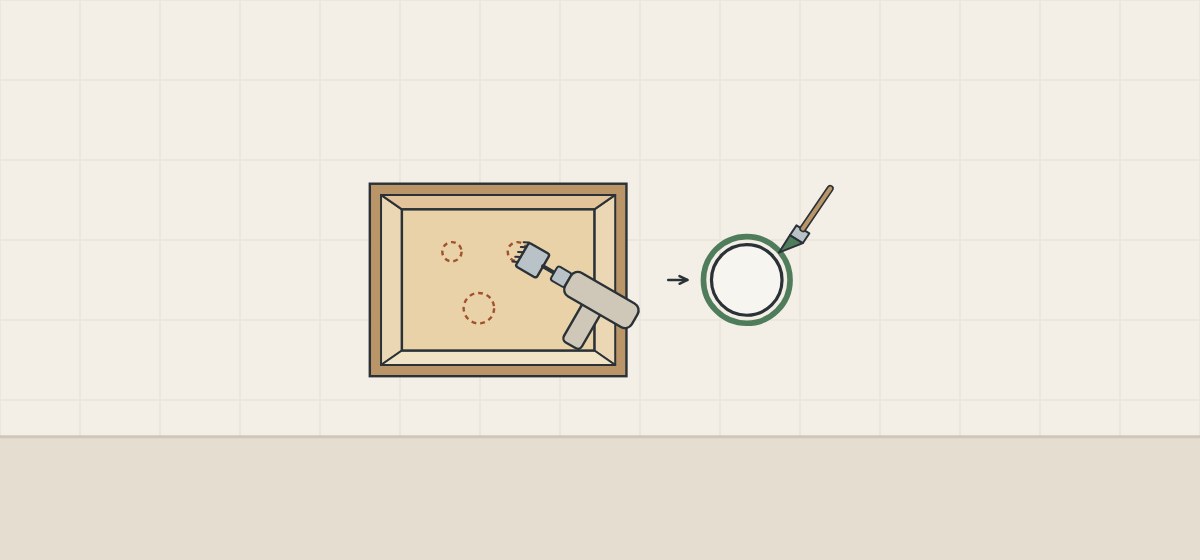
Three of the four maker documents below have the installer cut the pipe holes on site with a hole saw.
| Document | How the holes are made | What else it says |
|---|---|---|
| Kohler 1049900-2-B | Marked supply and drain locations cut from inside with a hole saw. | Supply nipples extend 3 in (7.6 cm) beyond the finished wall. |
| Robern 209-1416 | Stub-outs marked on the back, then hole-sawn from the inside. | Locate plumbing so it does not interfere with drawers. |
| Kohler UK vanity guide | Marked locations cut with a suitable hole saw. | Edges that may come into contact with water must be sealed. |
| Kohler 1216526-2-H | Plan the plumbing area for the sink. | Plan the routing of supply and drain piping. |
ANSI/AWI 0620-2024 sets the finishing rule: when factory-finished work is cut or modified for installation, the unfinished core must be sealed before installation. AWI’s casework standard, in its structural clause, allows units that receive sinks to be modified, provided structural integrity is kept.
How is access to the trap and valves kept?
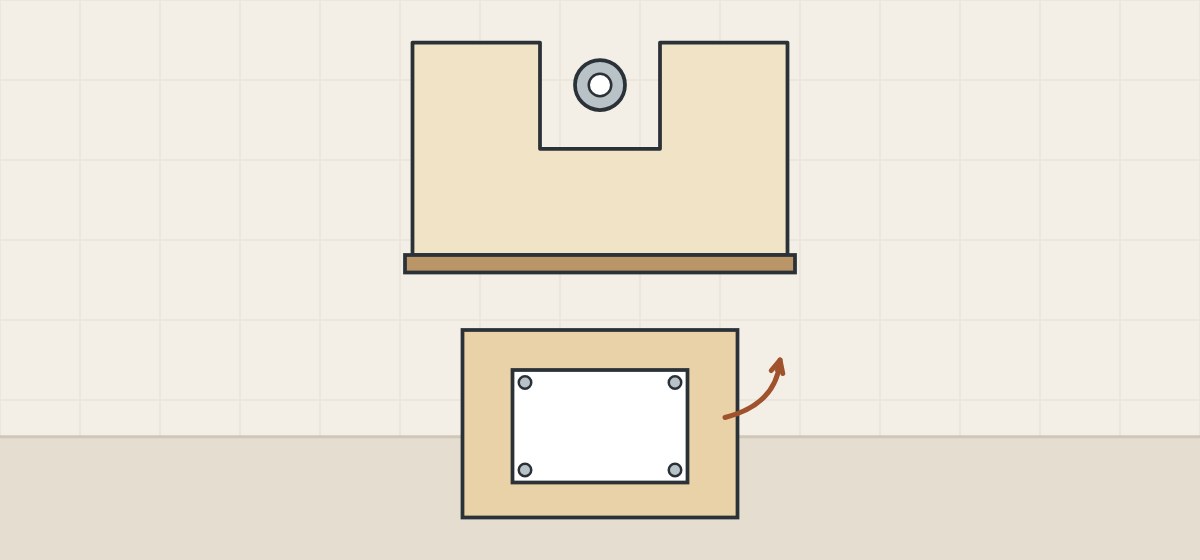
Access is kept by the drawer layout, by drawers that lift out or by a removable panel. Three points from the sources:
U-shaped drawer
Blum describes a U-shaped sink drawer that uses the space to the left and right of the sink.
Plumbing drawer
Robern’s Cartesian and Profiles (H1 height) instructions list plumbing drawers in three widths and say plumbing installations are not typical with full drawers or its 12 inch vanities. They also say no tools are needed to remove a drawer.
Access panel
AWI defines an access panel as a removable panel that gives access to the space behind.
- Trap and valve positions on the rear view
- Drawer type under the basin
- Any removable back or service panel
How is a vanity fixed to the wall?
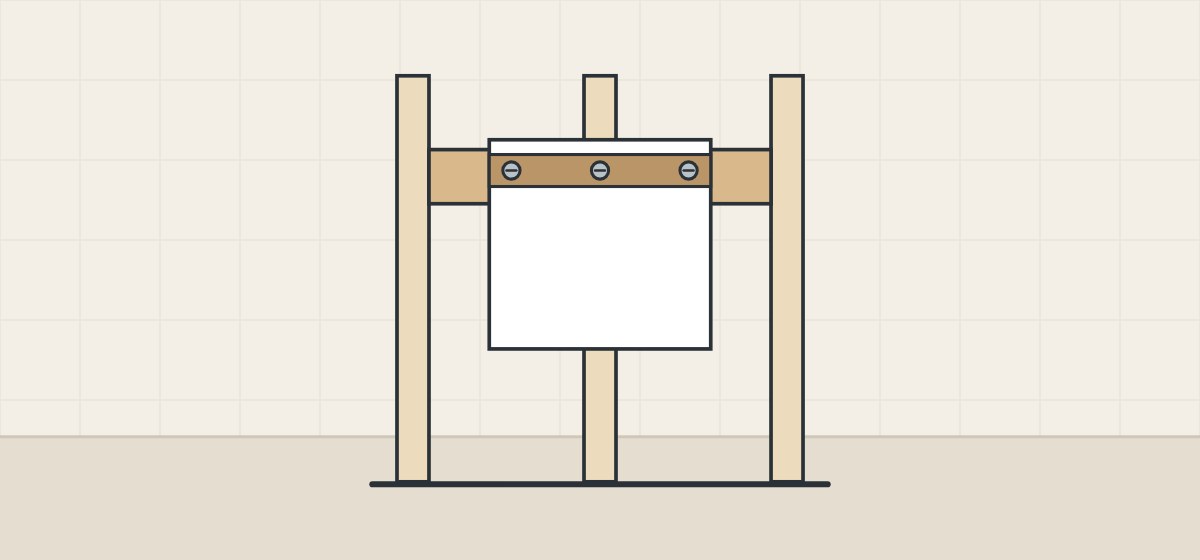
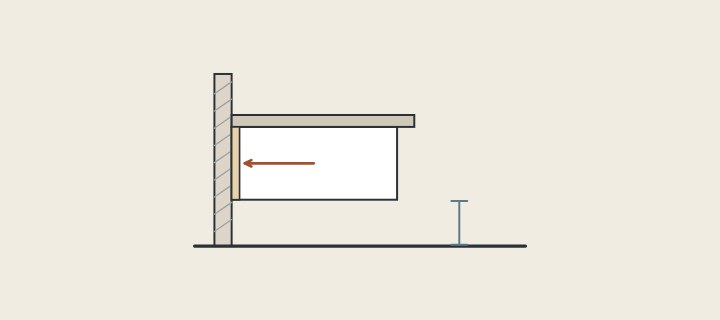
In the Kohler and Robern instructions, the cabinet is fixed through a rail, keyholes or brackets into studs or backing in the wall; the Kohler UK guide leaves the fixings to the wall surface. The sizes below belong to the named documents.
Backing in the wall
Kohler’s 1216526-2-H says to secure to stud framing or 2x6 support behind the finished wall. Robern shows 2 x 10 backing for its Cartesian and Profiles vanities and 2x8 blocking for its Helden vanity.
Rail, keyhole or bracket
Kohler’s 1049900-2-B and its UK guide fix through a mounting rail, and its 1216526-2-H through the back rail. In Robern’s Cartesian and Profiles instructions the frame hangs on screws through keyholes; the Helden mounts on steel brackets.
Fasteners
Kohler’s 1216526-2-H asks the installer to select 5/16 in lag bolts it describes as 500 lb load-bearing; they are not provided.
AWI guideline
AWI’s wall anchorage guideline calls for continuous in-wall blocking or backing, at least 2 x 6 in nominal wood or 6 in x 16 gauge flat strapping, installed by others, and allows a hanging cleat if it has been independently tested against the wall cabinet structural integrity test.
ANSI/AWI 0620-2024 has manufacturers provide drawings showing where blocking is required, and installers confirm it is present.
What do the sources say about undersides, toe spaces and floor moisture?
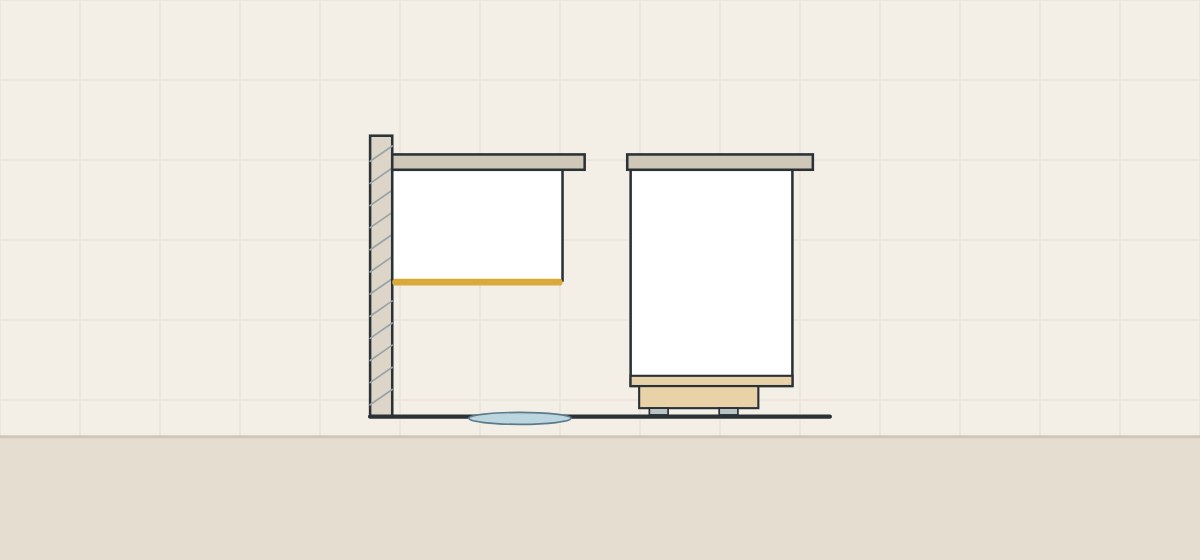
The 2014 standards treat the toe space as a concealed surface unless otherwise specified, and one maker warns about spilled water.
| Source | What it says |
|---|---|
| Architectural Woodwork Standards, 2014 | Toe space is concealed unless otherwise specified; interior faces of backs and bottoms seen only when doors or drawers are opened are semi-exposed. |
| Architectural Woodwork Standards, 2014 | Toe-base shimming of up to 1/2 in (12.7 mm) to level casework is acceptable. |
| Kohler UK vanity guide | Furniture may deteriorate under heavy water spillage or prolonged condensation. |
How should a buyer specify the back and bottom?
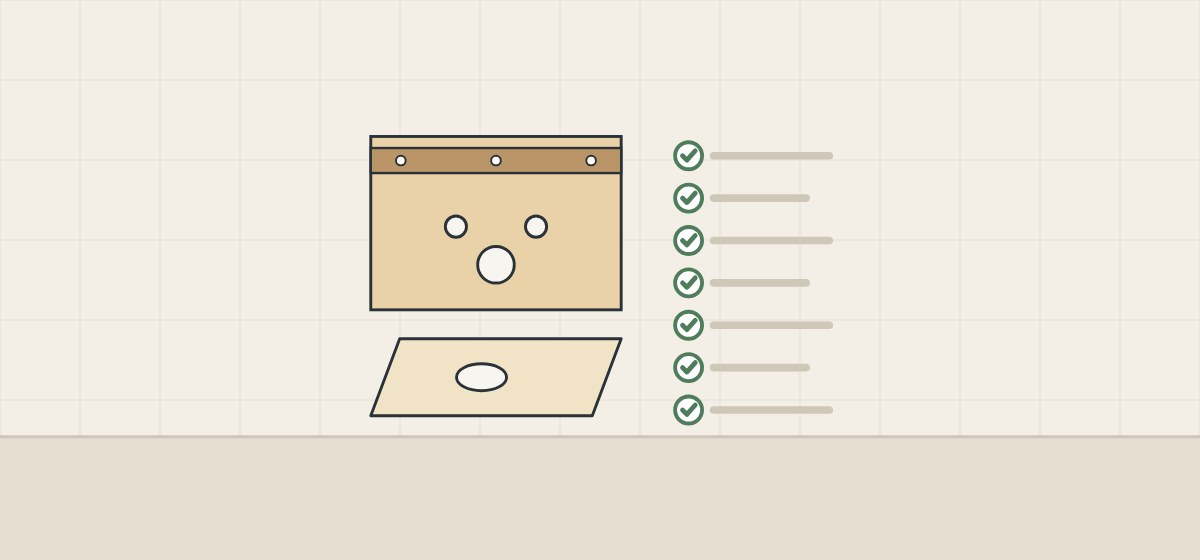
These steps apply the facts above before the rough-in is fixed. They are procurement guidance, not an installation method.
- Choose the mounting. Wall-hung or floor-standing.
- Record where pipes enter. Wall entry puts cut-outs in the back; floor entry puts them in the bottom.
- Decide factory or site cut-outs. Factory cuts need confirmed rough-in positions; site cuts need a sealing step.
- Plan access. Drawer layout, lift-out drawers or a removable panel.
- State the hidden-face finish. Back, underside and cut edges, in writing.
- Show the wall fixing. Rail or bracket, fixing points and wall backing.
- Check the first unit. Photograph it from the back and from below.
What a photo cannot show
A picture of a neat, sealed cut-out shows its surface on that day, not how long the panel would tolerate a leak.
What should you send and ask before a quotation?
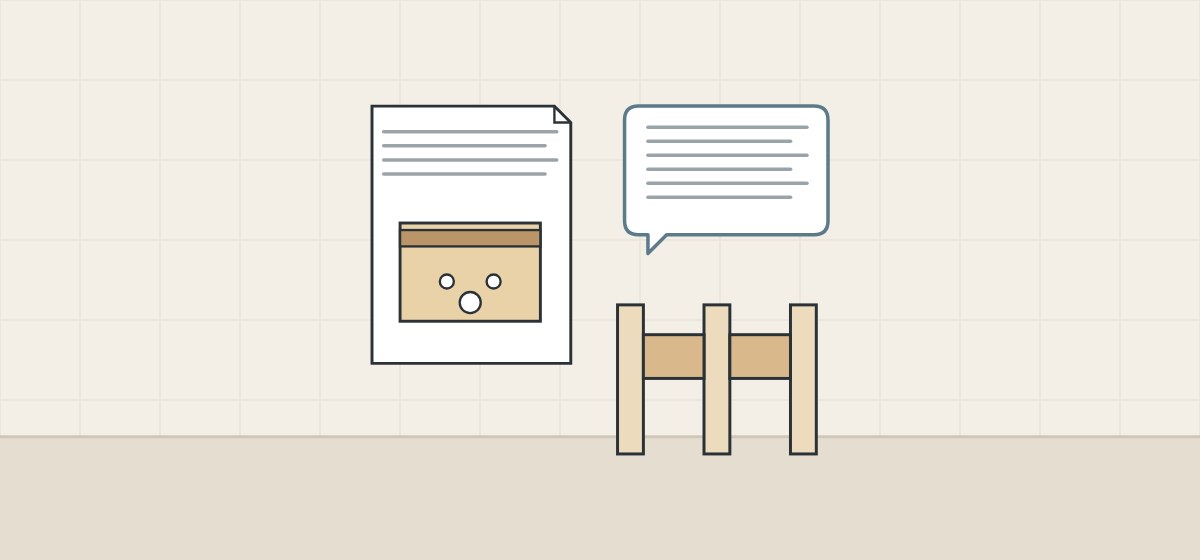
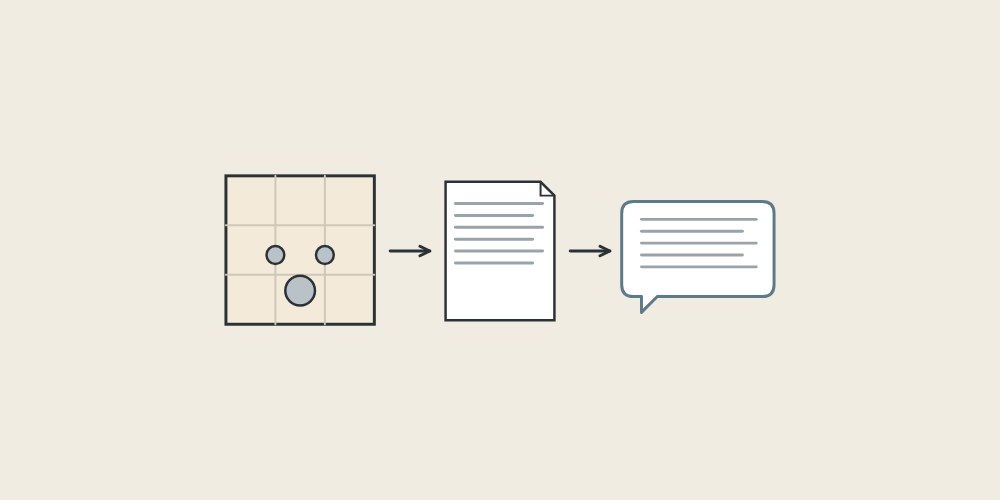
A complete request shows the rear and underside, not only the front.
| Question | Why it matters |
|---|---|
| Which material are the back and bottom? | Panel families react differently to water. |
| Are cut-outs made at the factory or on site? | ANSI/AWI 0620-2024 requires the core exposed by a site cut in factory-finished work to be sealed. |
| How are hidden faces and cut edges finished? | The 2014 Architectural Woodwork Standards list the toe space, and undersides below 24 in, as concealed. |
| How are the trap and valves reached? | Robern says plumbing is not typical with its full drawers. |
| What carries the wall fixing, and into what? | Rail, keyhole or bracket; backing goes in the wall first. |
Include with your request
- Rough-in drawing from the plumber
- Wall construction behind the vanity
- Wall-hung or floor-standing, per room type
- Quantity per room type
WNS Global confirms any product and terms it offers separately in writing. This guide does not state that WNS Global products have the features, ratings or listings named above.