From datum to trim
Which surface is concealed valve depth measured from?
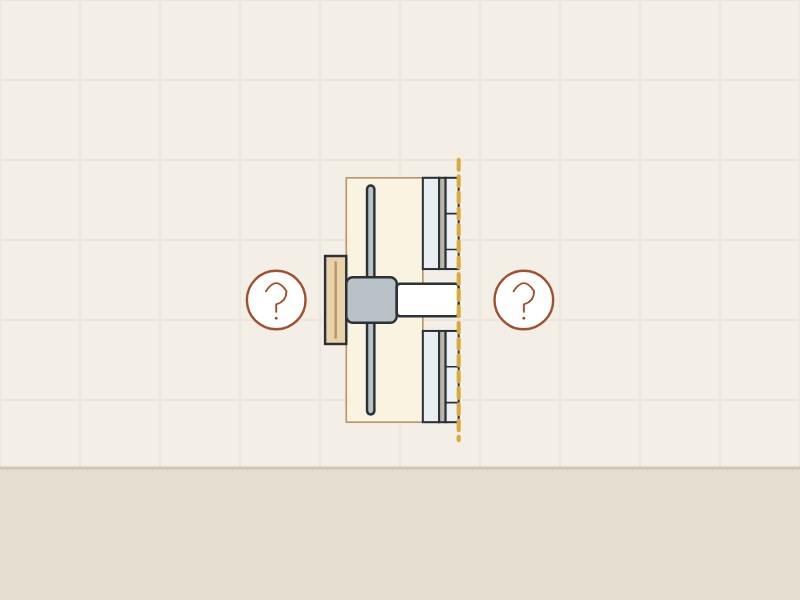
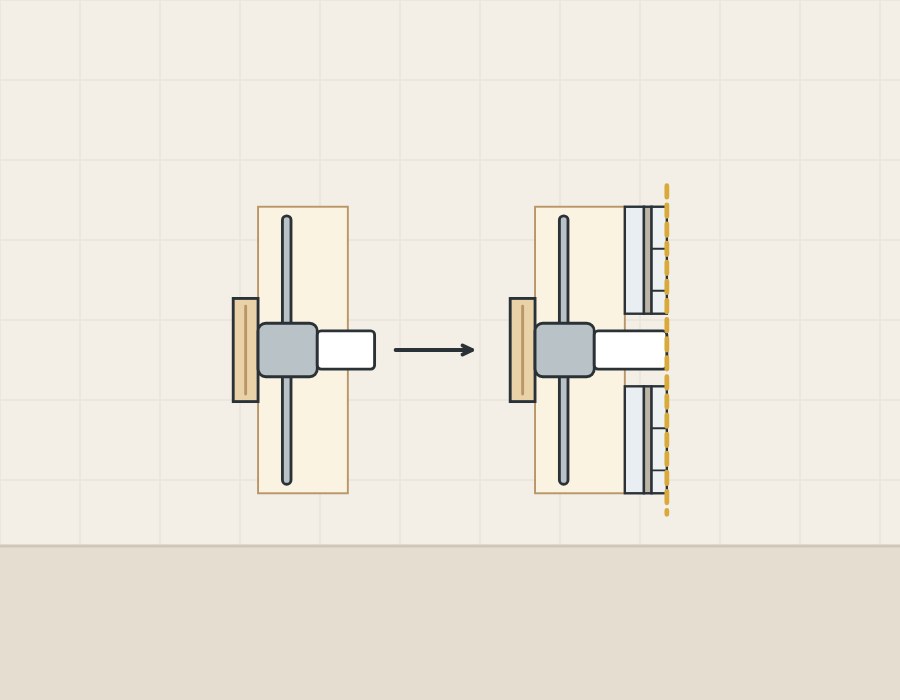
Delta, Moen and hansgrohe state the rule against the finished wall surface. Delta’s R10000 Series instructions say to install the body so the surface of the finished wall is flush with the front of the plasterguard, within ¼ in.
Moen’s M-CORE guide calls the same part a plaster ground. Moen says its front face is a reference point for a nominal ¾ in thick finished wall and, in Moen’s thick-wall method, its printed face is set flush with that wall.
hansgrohe says the iBox universal 2 mounting ring lets the box be installed in, on or in front of the wall.
| Term | How the source uses it |
|---|---|
| Finished wall line | Delta: the line the plasterguard face should be flush with. |
| Plasterguard | Delta: the guard whose front marks the finished wall. |
| Plaster ground | Moen: a reference for a nominal ¾ in finished wall. |
| Plaster shield | hansgrohe: carries the “min” and “max” lines. |
| Thin wall | Moen: a tub or shower wall less than ¼ in thick. |
How is the depth set during installation?
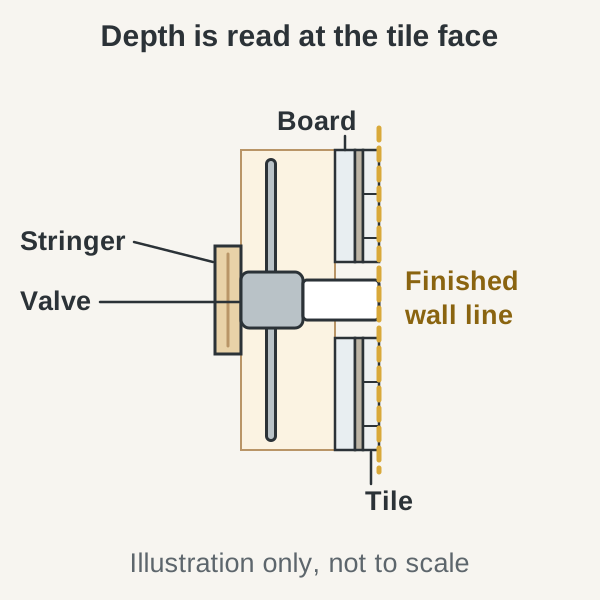
Depth is set when the valve is fixed and checked again when the wall goes on. The six steps below are condensed from hansgrohe’s instructions for the iBox Universal Plus rough 01850181; other valves have their own sequence.
- Know which trim kit will be used; hansgrohe says installation requirements vary.
- Fix the valve level, with its “top” marking upward.
- Position the valve so the finished wall surface will fall between “min” and “max”.
- Flush the hot and cold supplies.
- Install the board up to the iBox and seal any gap.
- Install the finished wall surface between the “min” and “max” lines.
The AXOR trim instructions for the same rough then say to cut the plaster shield so it extends 1⁄16 to ⅛ in (1–2 mm) from the finished wall surface and to seal the wall around it.
What depth rules do named makers publish?
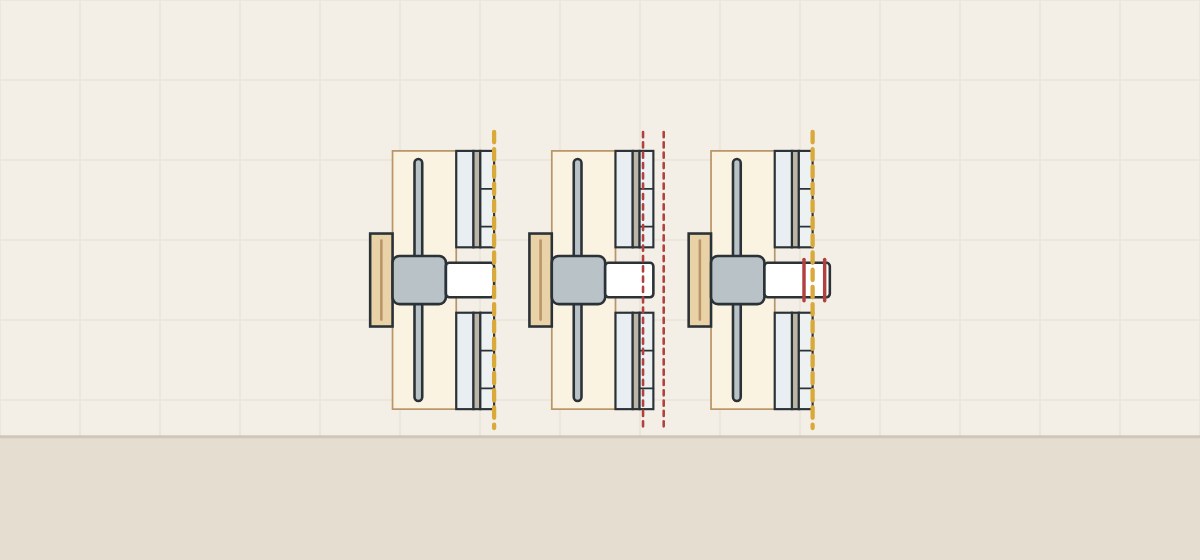
Each maker states the rule in its own way: a flush face, a tolerance or a pair of marks.
| Valve and document | What the maker states |
|---|---|
| Delta R10000 Series, instructions | Finished wall flush with the plasterguard front, ± ¼ in; models with stops: flush or ¼ in subflush. Stringer to plasterguard front: 2¾ in ± ¼ in (70 mm ± 6 mm). |
| Delta Broderick T17T trims, spec sheet | Plasterguard face flush with the finished wall line. |
| Moen M-CORE, installation guide | Thick-wall method: printed face of the plaster ground flush with the finished wall. |
| hansgrohe iBox Universal Plus 01850181 | Finished wall surface between the “min” and “max” markings. |
| GROHE Rapido SmartBox, brochure | A clear marking of min/max installation depth. |
GROHE’s brochure gives the SmartBox a minimum installation depth of 75 mm. Kohler’s K-8304-K spec sheet says its rough-in guide is designed for standard and thin-wall installations; its drawing also carries minimum and maximum finished-wall labels. The sheet’s text does not say which surface they are measured from, so no Kohler figure is repeated here.
What makes up the build-up between stud and tile face?
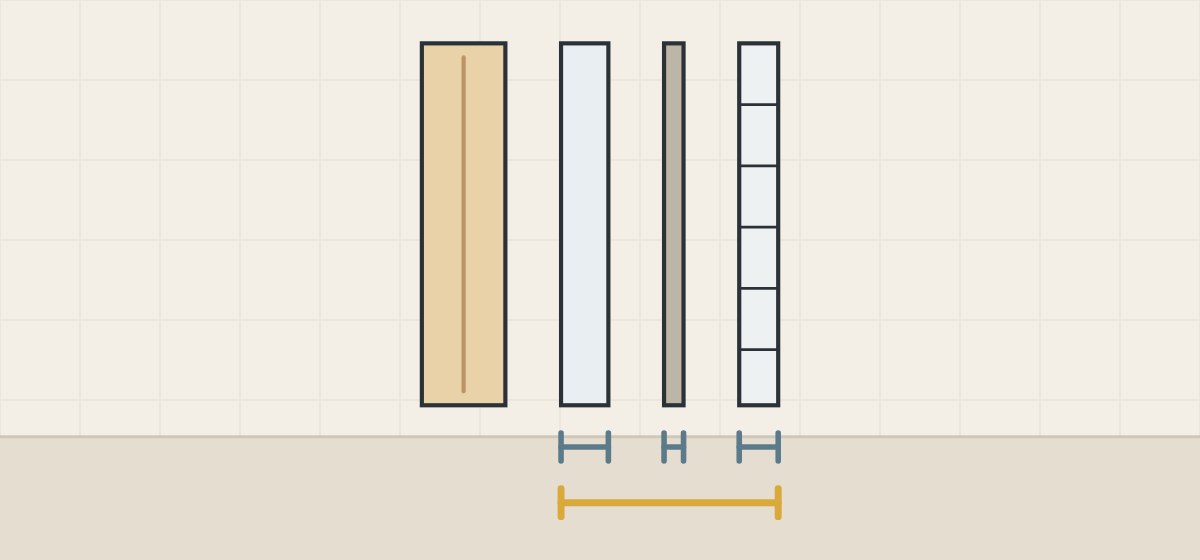
The layers between the stud and the tile face decide where the finished wall line falls. Delta’s R10000 Series instructions tell installers to consider the type and thickness of the finished wall before placing the stringer back plate.
| Layer | What to record | Published example |
|---|---|---|
| Backer board | Product and thickness | USG lists one cement board in ¼, ½ and ⅝ in. |
| Mortar | Type and trowel | TCNA: dryset mortar typically not over 3⁄16 in. |
| Tile or slab | Thickness from its data sheet | No figure is given here. |
Kohler ties the framing to the same total. For K-8304-K it places the supports 2 in (51 mm) from the stud face when the finished wall is over ¾ in (19 mm) and under 1½ in (38 mm), and 3 in (76 mm) from the finished wall face when it is over 1½ in.
How much adjustment does a valve allow?
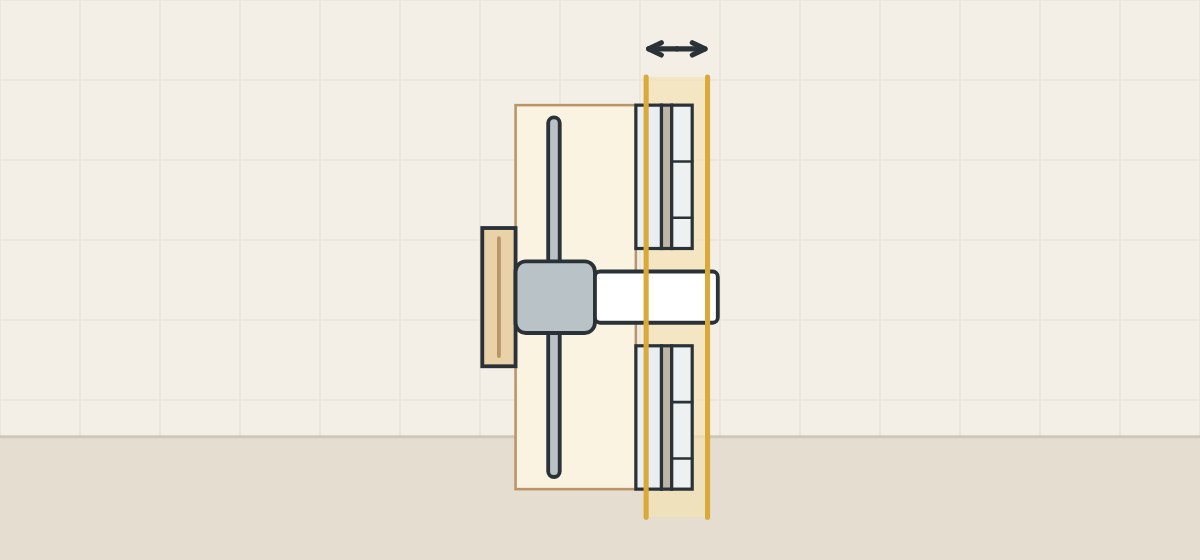
Only what its maker publishes for that model. Four examples:
Delta Broderick T17T trims
The trim spec sheet lists “Adjusts for up to 1" wall thickness”.
Moen M-CORE
Moen says maximum wall thickness can only be obtained with minimum distances from the stud face to the centerline of the piping.
hansgrohe iBox Universal Plus
The fixing ring may be repositioned to accommodate different wall thicknesses.
GROHE Rapido SmartBox
GROHE’s product page for rough-in box 35600000 lists an installation depth of 75-105 mm.
- Valve model and document number
- Reference surface named
- Minimum and maximum allowed
- Any dependence on the trim
What if the wall is thicker or thinner than the range?
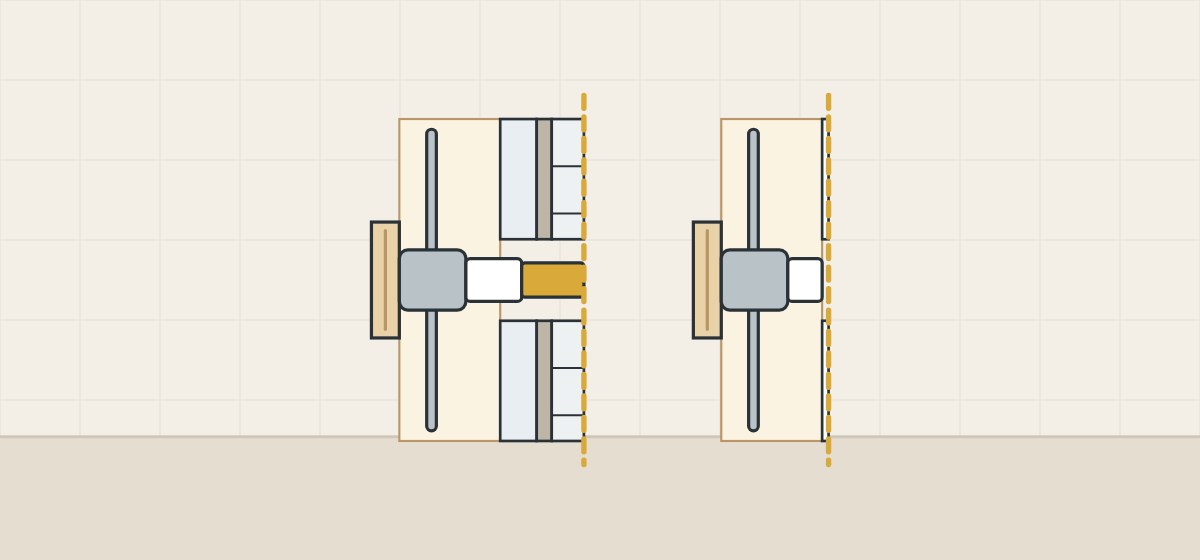
Some makers publish an extension part or a thin-wall method for a named valve.
Extension kits
Delta says stem extension kit RP75136 can be ordered for an additional 1¾ in of wall thickness on the Broderick T17T trims. Moen says to use handle extension kit 200755 when the back of the M-CORE valve is more than 3 in from the front of the finished wall. Delta sells RP75136 as the TempAssure 17T Series Extension Kit, a name tied to one trim series.
Extension sets
hansgrohe USA says the iBox Universal extension set is inserted between the connection and function block.
Thin walls
Moen uses a thin-wall method when the wall is less than ¼ in thick, such as a fiberglass tub surround: the plaster ground stays on the valve and the wall is trapped between it and the mounting plate. On the R10000 Series, Delta puts the plasterguard behind a thin wall.
Thin-wall aid
Delta’s R10000 Series instructions say RP47202 might be needed for thin-wall installation.
Ask the maker which part applies to the exact valve and trim named on the order.
What happens to the guard and the wall opening after tiling?
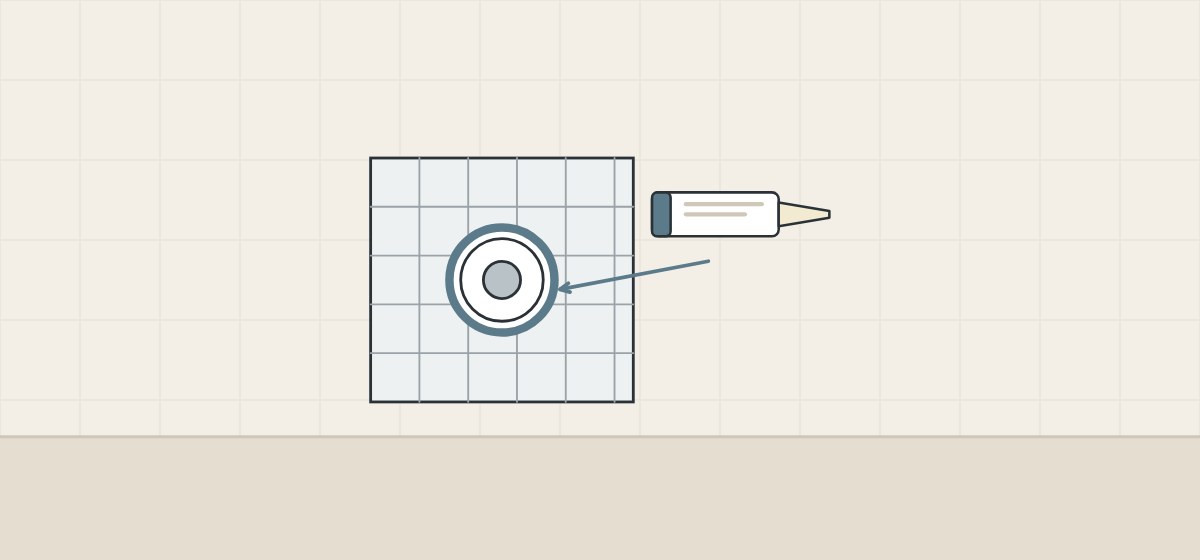
The guard is then removed, kept or cut, and the opening sealed, as each maker instructs.
| Source | What it says |
|---|---|
| Moen M-CORE guide | The plaster ground may stay in place until the trim is installed; in the thick-wall method it is removed when the trim is available. |
| AXOR trims for iBox Universal Plus | Cut the plaster shield to extend 1⁄16 to ⅛ in from the finished wall, then seal around it; the instructions warn that failure to seal may result in property damage. |
| hansgrohe iBox Universal Plus | Use sealant to fill any gap between the iBox and the board. |
| hansgrohe iBox universal 2 | A pre-assembled sealing gaiter is fixed to the sliding sleeve. |
How should a buyer coordinate valve depth?
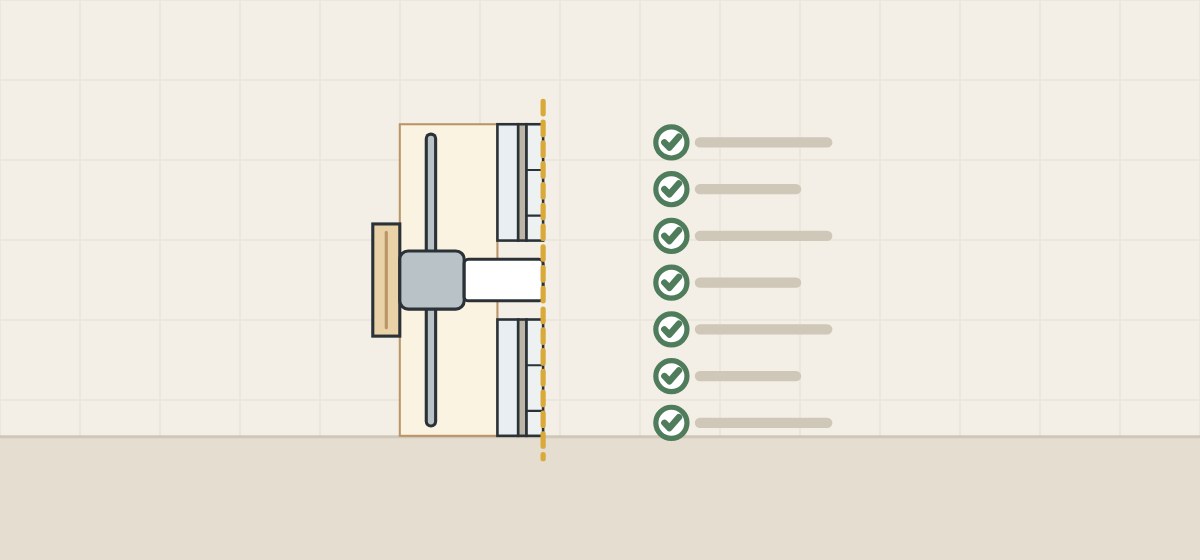
These seven steps are procurement guidance, not installation instructions.
- Fix the valve and trim together. Name the exact rough valve and its trim.
- Get the installation document. Record its number and revision.
- Mark the finished wall line. Show it on the wall section, labeled.
- List the build-up. Board, mortar and tile, each with its thickness.
- Compare with the range. Use the reference surface the document names.
- Resolve mismatches early. Ask for a listed extension part before the wall is closed.
- Recheck after changes. A new tile or board moves the finished wall line.
When the finish is still provisional
Say so in the request. The supplier can then state the range the valve allows instead of guessing a depth.
What should you send and ask before a quotation?
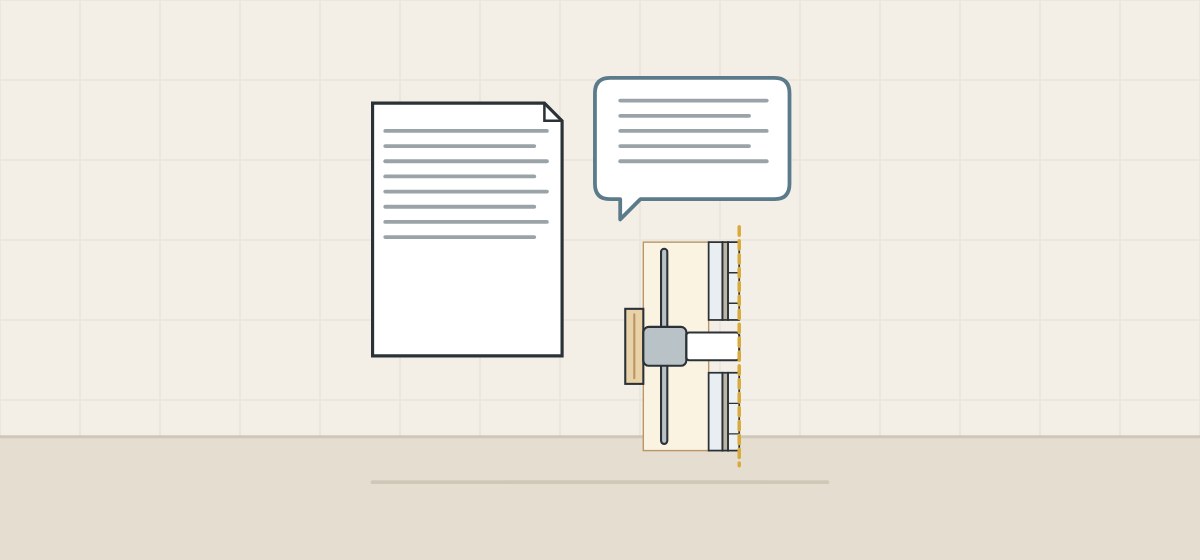
A complete request gives the wall, not only the valve.
| Question | Why it matters |
|---|---|
| Which surface is the depth measured from? | The cited makers reference the finished wall. |
| What is the minimum and maximum? | Each model has its own range. |
| Does the range depend on the trim? | hansgrohe says requirements vary by trim kit. |
| Is an extension part listed for this valve? | Delta names its kit for one trim series. |
| Is there a thin-wall method? | Moen and Delta treat thin walls separately. |
| How is the wall opening sealed? | Sealing steps differ by maker. |
Include with your request
- Wall section with the finished wall line
- Board, mortar and tile thicknesses
- Valve and trim references
- Whether the finish is fixed or provisional
- Quantity per room type
WNS Global confirms any product and terms it offers separately in writing. This guide does not state that WNS Global products have the features, ratings or listings named above.