From bare wood to release
What is an in-the-white inspection?
An in-the-white inspection is a check of sanded, uncoated wood parts for faults that a stain or coating would show or seal in. The term and this description are the guide’s own; no published definition was found.
The table gives the Architectural Woodwork Institute’s glossary definitions of such faults in short form.
| Term | AWI glossary meaning |
|---|---|
| Glue spots | Discoloration or a barrier to finish penetration from bleed-through or unremoved glue. |
| Machine marks | Imprints of the machine knives on dressed lumber. |
| Indentation | A low or compressed area from mishandling or manufacturing damage. |
| Open joint | Two adjacent pieces that do not fit tightly together. |
| End grain | Grain seen on a cut at a right angle to the fibers. |
Why does stain make small sanding faults visible?
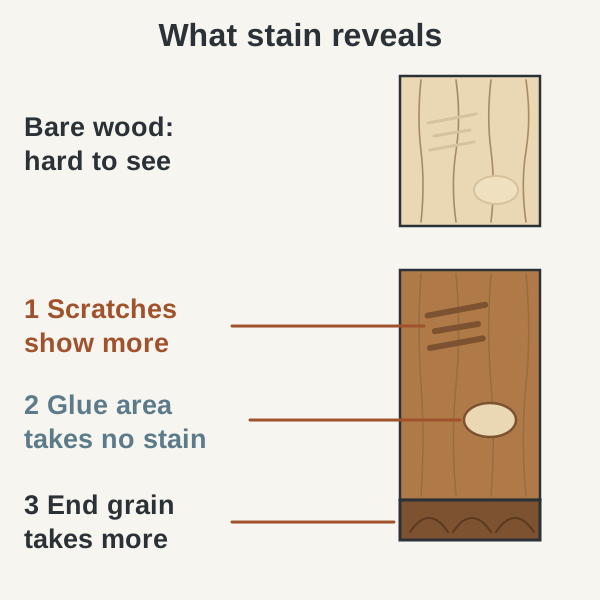
Because stain highlights scratches, is not accepted by glue-contaminated areas and tends to soak into end grain, according to three finish makers. The sequence is this guide’s summary of what Minwax, Sherwin-Williams and General Finishes say.
- Moving from a coarse grit to a fine one too quickly can leave deep scratches.
- Excess glue dries on the surface, especially near joints.
- On bare wood the scratches often go unnoticed.
- Stain goes on, and the scratches become more visible.
- Glue-contaminated areas do not accept the stain.
- End grain tends to soak up more stain than the face.
The glue point comes from General Finishes; Minwax says dried glue near a joint interferes with staining unless thoroughly sanded off. The USDA Wood Handbook says end grain is commonly 100 times more porous than the side of a piece of wood.
Which defects should an in-the-white check look for?
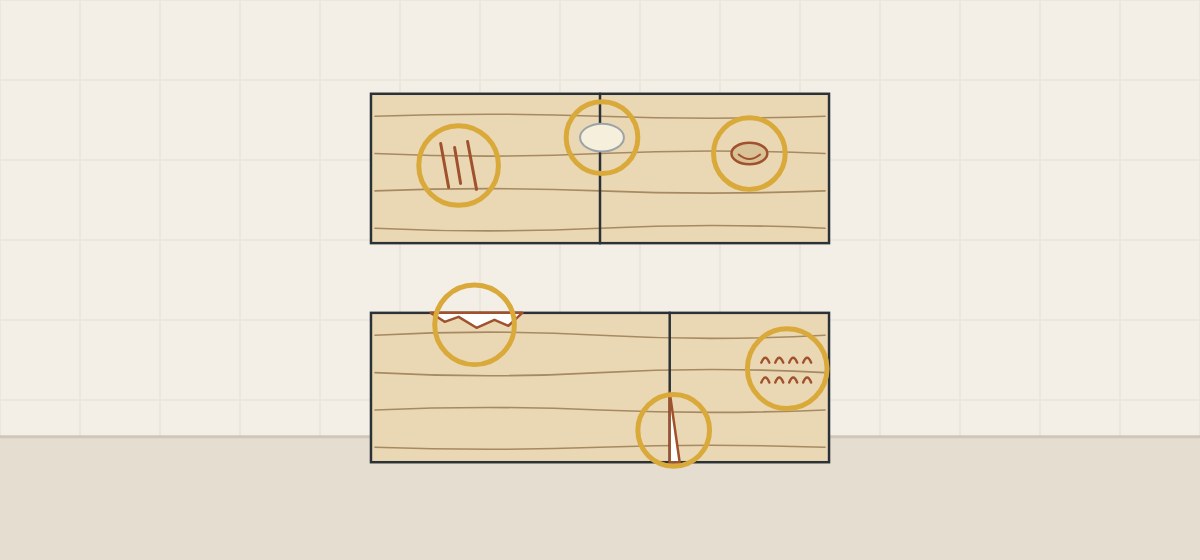
Look for the faults that standards and makers name. Each row is the source’s own statement; the AWI 0400 entries are rules for factory-finished architectural woodwork, the 0641 entry for casework.
| Fault | What the source says |
|---|---|
| Sanding scratches | ANSI/AWI 0400-2022: shall be inconspicuous. Minwax: sand with the grain to avoid them. |
| Tear-out, knife nicks, hit-or-miss machining | ANSI/AWI 0641-2019: not permitted. |
| Dried glue | Titebond: scraping or sanding works well; steam may help but will not take glue out of the pores. |
| Indentations, scrapes | ANSI/AWI 0400-2022 (factory finishing) lists them as defects of the finished surface: not permitted in Premium grade; inconspicuous in Custom and Economy. |
| Raised grain | ANSI/AWI 0400-2022: shall be removed. |
ANSI/AWI 0400-2022 also lists blotching as a defect. The Architectural Woodwork Standards (2014) say blotching can sometimes be reduced by proper sanding, wash coating before staining or non-penetrating pigments.
What sanding grits do published sources state?
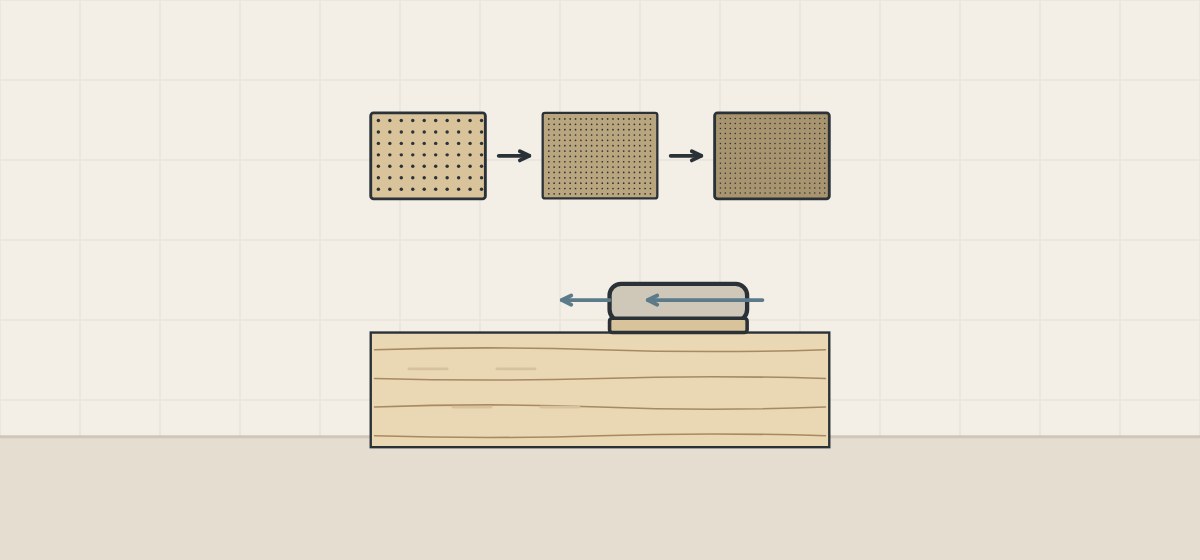
They differ by source, surface and finish. The table lists each source’s own figures.
| Source | Grits stated | Condition |
|---|---|---|
| ANSI/AWI 0641-2019 | 150 Premium; 120 Custom; 15 KMPI or 100 Economy | Minimum, flat wood surfaces that can be sanded |
| ANSI/AWI 0641-2019 | 120 Premium; 20 KMPI or 120 Custom; 15 KMPI or 100 Economy | Minimum, profiled or shaped surfaces |
| General Finishes | Start #120; no finer than #180 | Hardwoods such as maple and oak, water base stains |
| General Finishes | Start #120; no finer than #220 | Soft woods such as pine and alder, water base stains |
| Minwax | From e.g. #120, gradually to e.g. #220 | Its general preparation guide |
KMPI is AWI’s abbreviation for knife marks per inch.
What do AWI standards say about the surface before finishing?
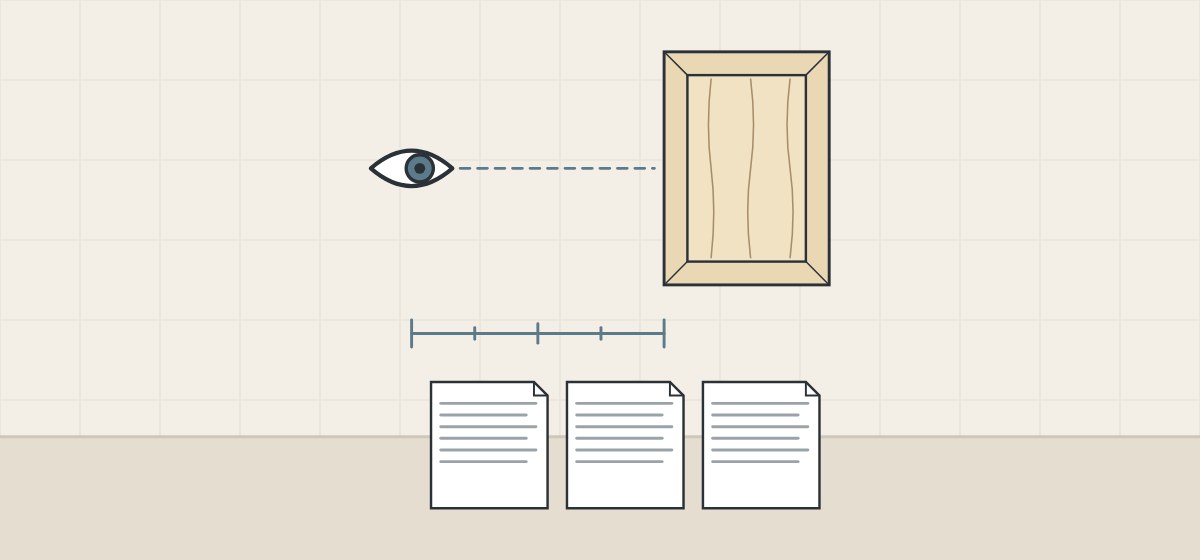
They set appearance rules by grade and tie preparation to the coating maker’s instructions. The three notes come from AWI’s public pages; the list under them is this guide’s own, naming what to record.
Preparation
ANSI/AWI 0400-2022 says surface preparation follows the coating manufacturer’s documented instructions and AWI standards. Staining, wash coating and grain fill must be specified.
Reporting
Its general section has the party applying the finish determine and report any condition that might affect proper finish application.
“Inconspicuous”
AWI’s glossary defines the word as not readily visible without careful inspection at 610 mm (24 in) for Premium, 1219 mm (48 in) for Custom and 1829 mm (72 in) for Economy grade. ANSI/AWI 0400-2022 adds “under specified lighting conditions”; the public page does not describe the lighting.
- The grade or acceptance level agreed on
- The coating maker’s preparation instructions
- The viewing distance used for the check
When and under what light should the check happen?
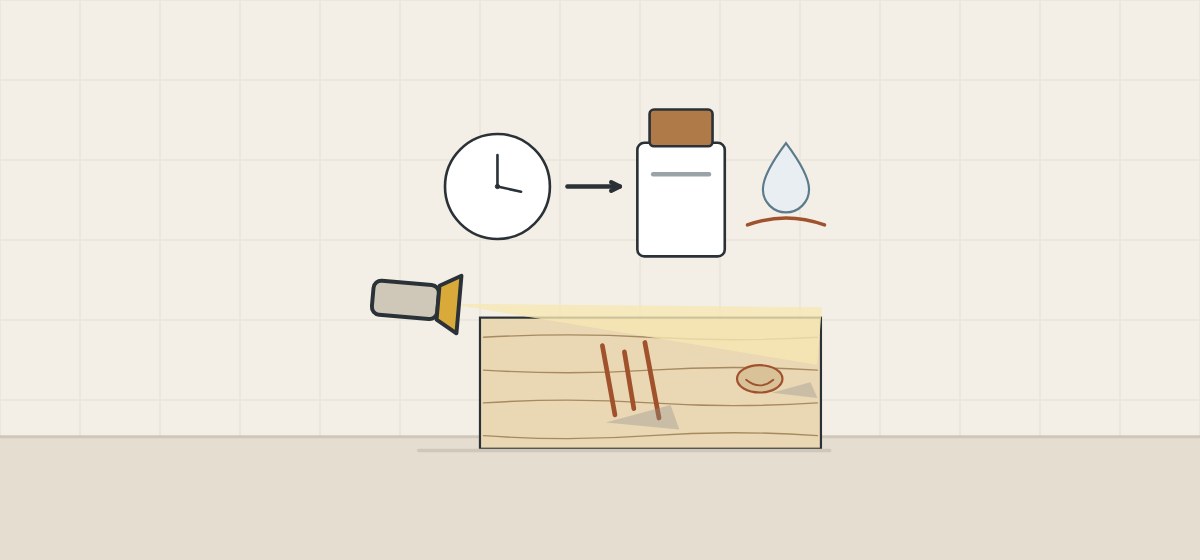
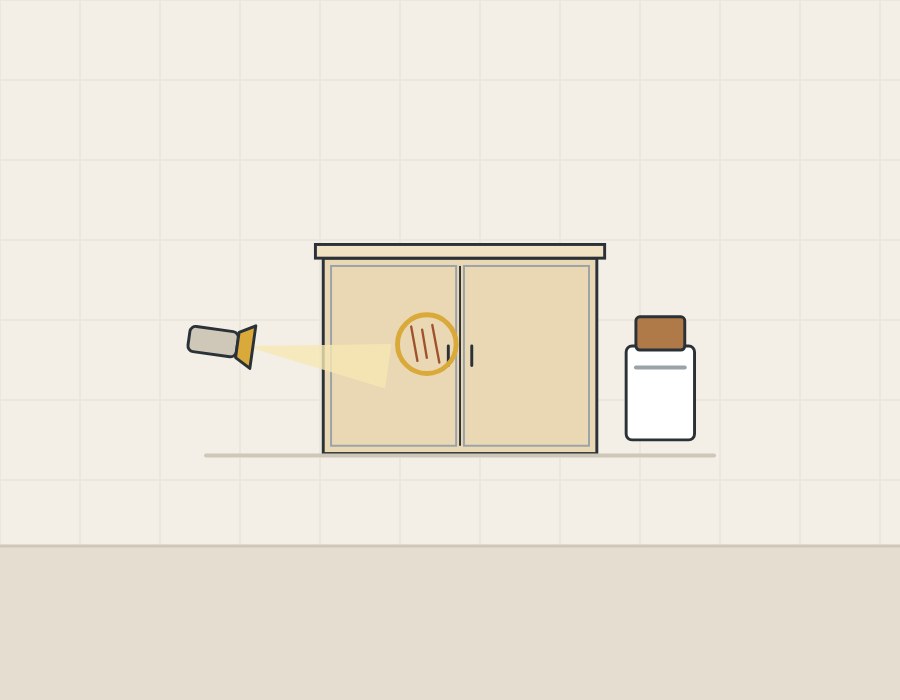
After final sanding, close to staining, under a light held low across the surface. Three published points bear on it; the low-angle light itself is this guide’s recommendation:
Timing
The Architectural Woodwork Standards (2014), writing about woodwork stored between sanding and finishing, say proper sanding can only be done just prior to staining or finishing.
Raised grain
General Finishes says that on certain woods such as oak and ash the wood is pre-wet with a damp cloth to raise the grain, then left 30 minutes to dry before final sanding.
Low light
Festool describes its STL 450 inspection light as low-profile so that light is cast closely to a surface, revealing defects or flaws.
For color, Sherwin-Williams says to test stain on an inconspicuous area or a scrap of the same wood type, with the same preparation steps as the project.
What can photos of unfinished parts show, and what can they not?
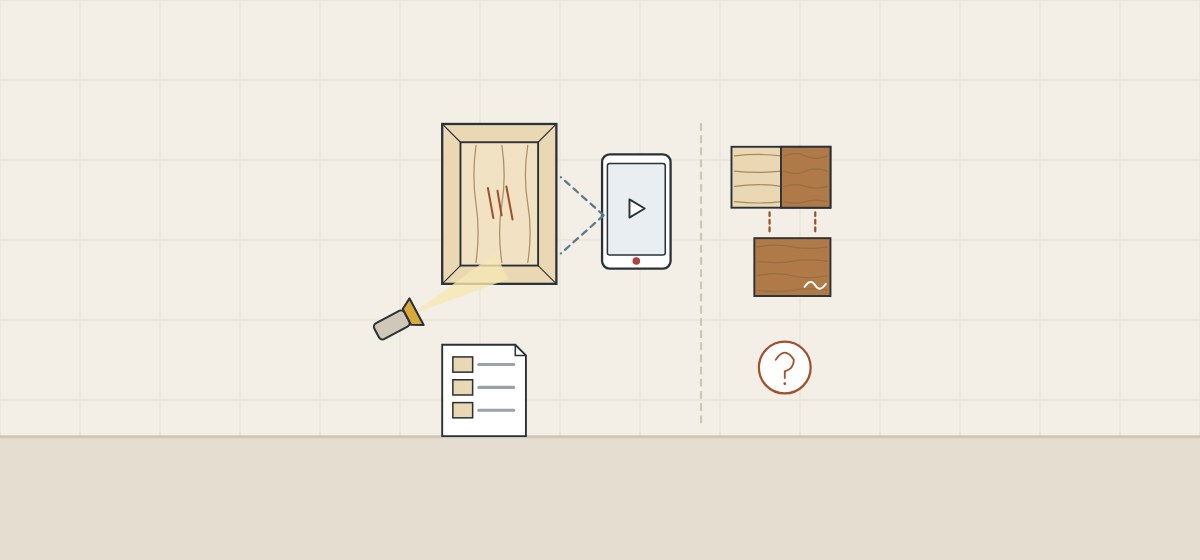
They can show faults on the parts photographed, under the light used, and nothing about the finish that follows. The table is this guide’s guidance. AWI 100 asks that finishing samples, where required, be on material representative of the project.
| Evidence | Can show | Cannot show |
|---|---|---|
| Low-angle photos or video of named parts | Scratches, dents and tear-out on those parts | Faults on parts not shown |
| Stained offcut beside the approved sample | How this wood and sanding take the color | Final color on assembled units |
| Fault list by unit, after rework | That faults were seen and addressed | That none remain elsewhere |
How should a buyer run an in-the-white check?
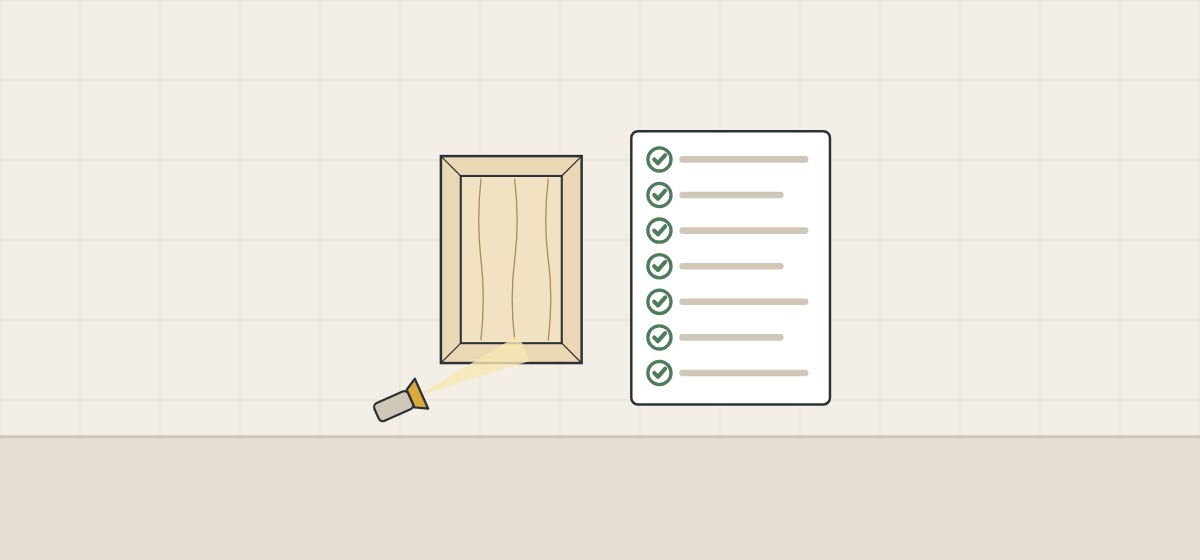
These seven steps apply the points above to a vanity order. They are this guide’s procurement guidance, not a standard.
- Decide whether the order needs it. A first order, a new door profile, a new stain or a large run.
- Choose the parts. Doors, drawer fronts, top rails, exposed sides, routed profiles and end grain.
- Agree on the acceptance level. A grade, a viewing distance and the faults that are not accepted.
- Set the light. One light held low across the surface and moved along it.
- Preview the stain. An offcut of the same wood, sanded the same way, next to the approved sample.
- Record by unit. A photo of each fault with the unit and part named.
- Rework or release. Re-sand and recheck local faults; a fault that repeats across units points to a process step, not to one part.
Shortcuts that waste the check
This guide names four: checking only under flat overhead light, accepting glue spots, skipping door end grain, and looking only at the fronts.
What should you send and ask before a quotation?
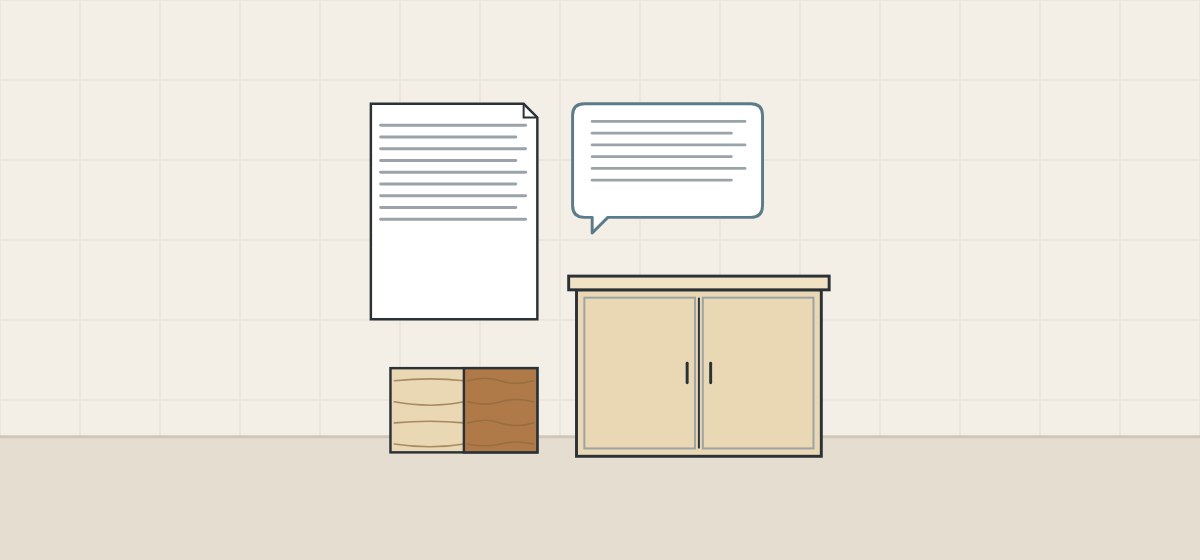
Name the in-the-white check as a step in the order. The questions and the list are this guide’s.
| Question | Why it matters |
|---|---|
| How is glue squeeze-out removed? | General Finishes says glue-contaminated areas will not accept stain. |
| How is end grain prepared? | Minwax and General Finishes say end grain tends to soak up more stain. |
| Under what light and distance are parts checked? | AWI’s “inconspicuous” depends on viewing distance and, in 0400-2022, on specified lighting. |
| Can a stained offcut be sent first? | Sherwin-Williams advises a test on the same wood, prepared the same way. |
Include with your request
- Drawings with exposed surfaces marked
- Wood species and approved finish sample
- Acceptance level and viewing distance
- Parts and units to be photographed
WNS Global confirms any product and terms it offers separately in writing. This guide does not state that WNS Global products have the features, ratings or listings named above.