From plan to glass release
Should a shower enclosure be measured before or after tiling?
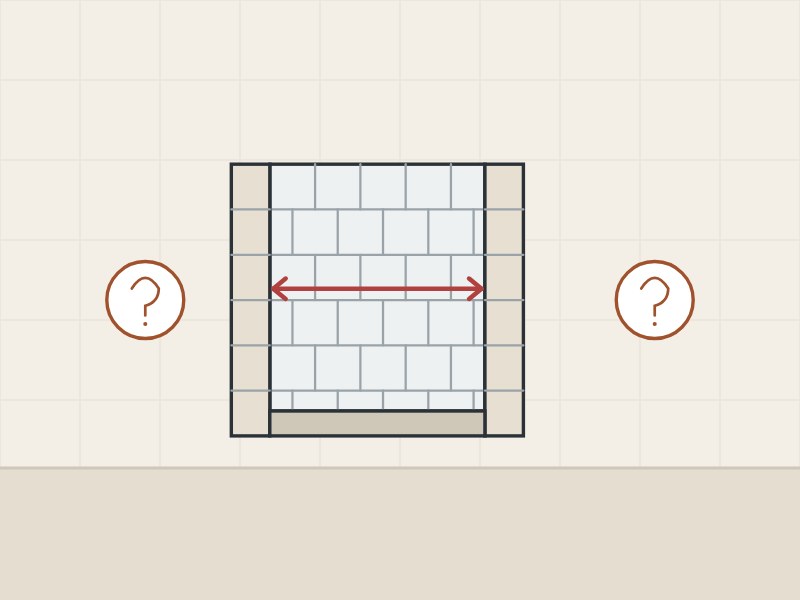
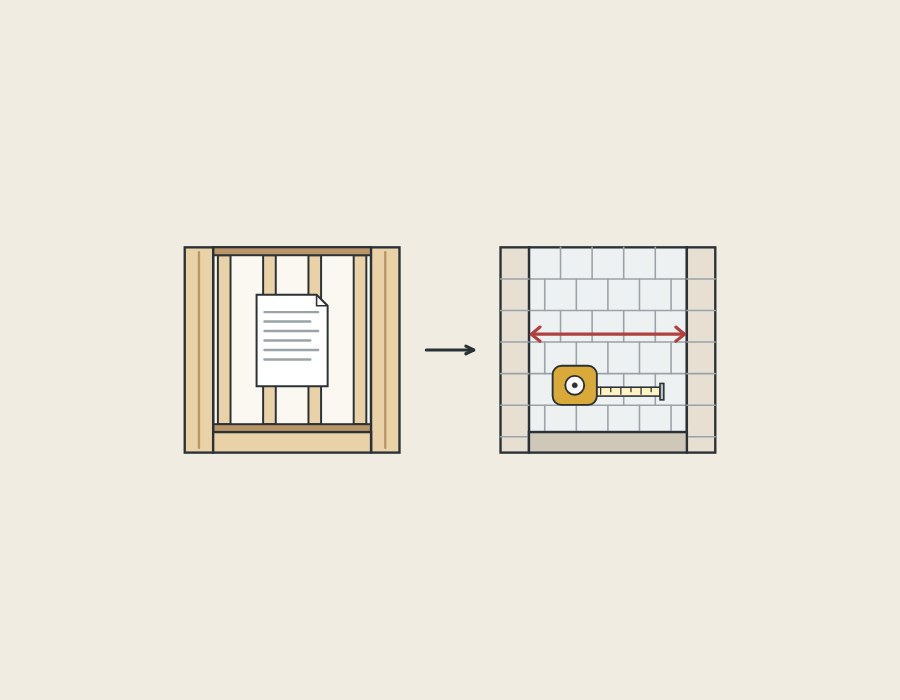
After tiling, for the final measure. DreamLine’s Door Measuring Made Easy guide says all doors should be measured on the finished walls, and its custom glass order form asks for finished wall dimensions, after tile.
The reason is the glass. The NGA manual says cutting, notching, edging and polishing should be done before the glass is tempered, and never to cut or drill tempered glass. A panel made to a pre-tile dimension cannot be trimmed on site.
| Term | How the sources use it |
|---|---|
| Finished opening | DreamLine: finished tile or installed acrylic backwalls. |
| Out-of-plumb | NGA: refers to vertical walls. |
| Center line | DreamLine form: where the glass panels will be positioned. |
| Tempered glass | DreamLine ENIGMA-XO: cannot be cut after it has been tempered. |
In what order should backing, tiling, measuring and glass happen?
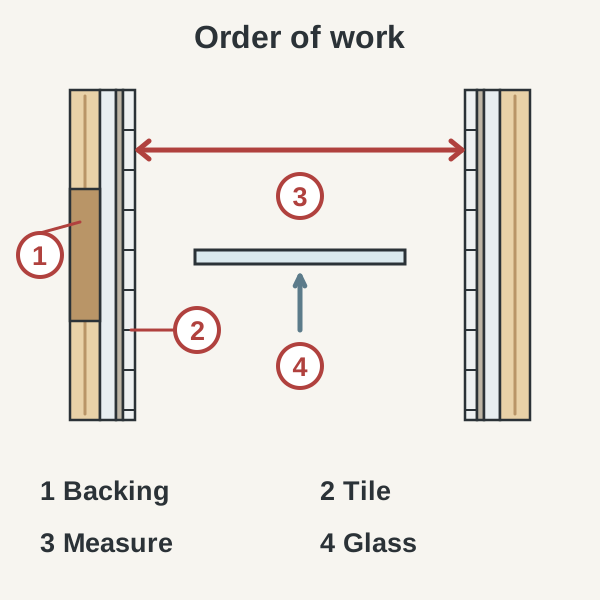
Backing first, then tile, then the measure, then the glass. The order is this guide’s reading; each step is the named source’s own statement.
- Provide a substrate wherever hinges, clamps, clips or channel will go (NGA manual).
- Install the shower base and finished walls (Kohler pivot door).
- Measure after the tile or finished wall material is installed (Coastal).
- Cut, notch and edge the glass before it is tempered (NGA manual).
- Allow new tile cement and grout to dry before installing (Agalite recommends 48 hours).
The Kohler step is from its pivot door instructions. Agalite’s recommendation, in its owner’s manual, is at least 48 hours, so ready to measure and ready to install are two dates.
How much does tiling change the opening?
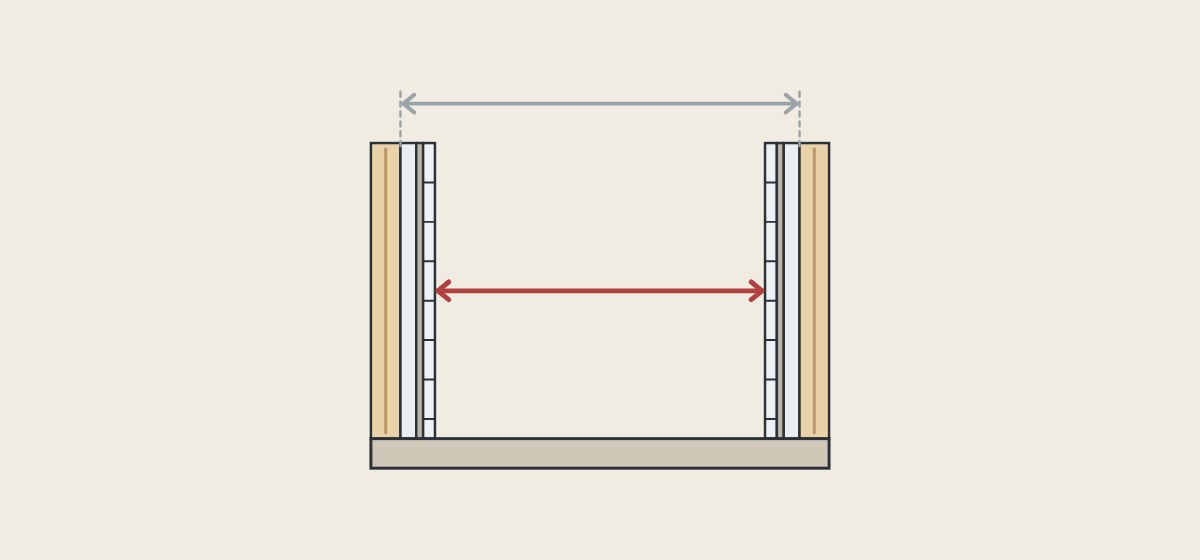
By the thickness of every layer on each wall. DreamLine’s Door Measuring Made Easy guide calculates a door opening as the stud-to-stud measurement minus the thickness of each wall, with its own figures.
| Wall or layer | DreamLine’s figure |
|---|---|
| Acrylic wall | 1 to 1 1/2 in |
| Ceramic wall | Minimum 3/4 to 1 in |
| Ceramic wall component: gypsum board | 1/2 to 5/8 in |
| Ceramic wall component: cement | 1/8 to 1/4 in |
| Ceramic wall component: ceramic | 1/8 to 5/16 in |
The last three rows are the components DreamLine lists for a ceramic wall; they are thickness figures, not a recommendation of backing material. A range is not a dimension: the guide still says doors are measured on the finished walls. In an alcove, it adds, a small door adjustment allows for minor variation in the width measurements.
At which heights should the opening be measured?
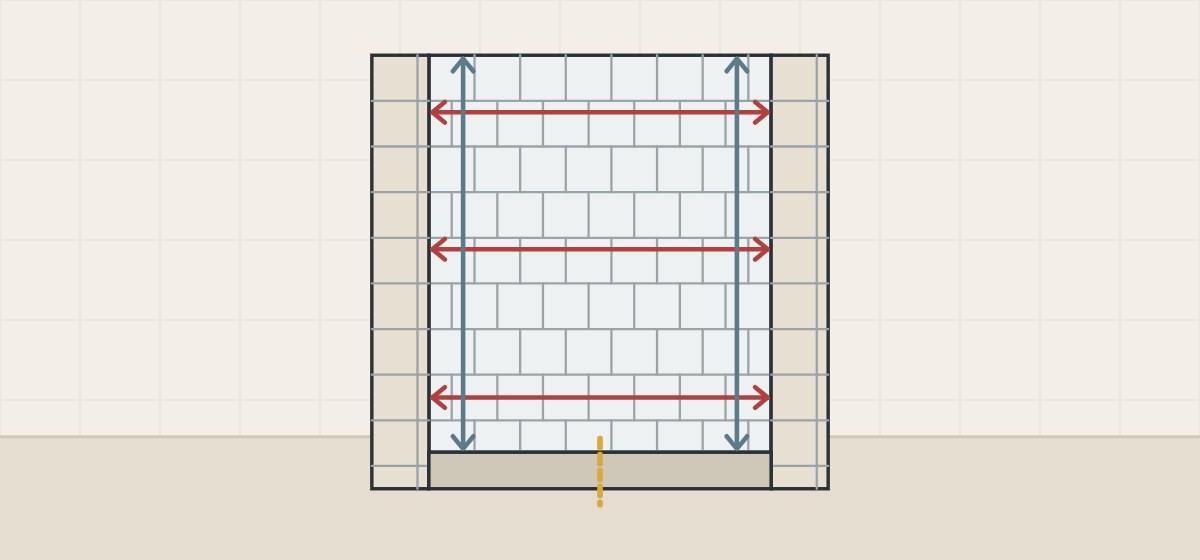
At more than one height, in both documents below. The points each one asks for are its own.
| Maker | Document | What it asks for |
|---|---|---|
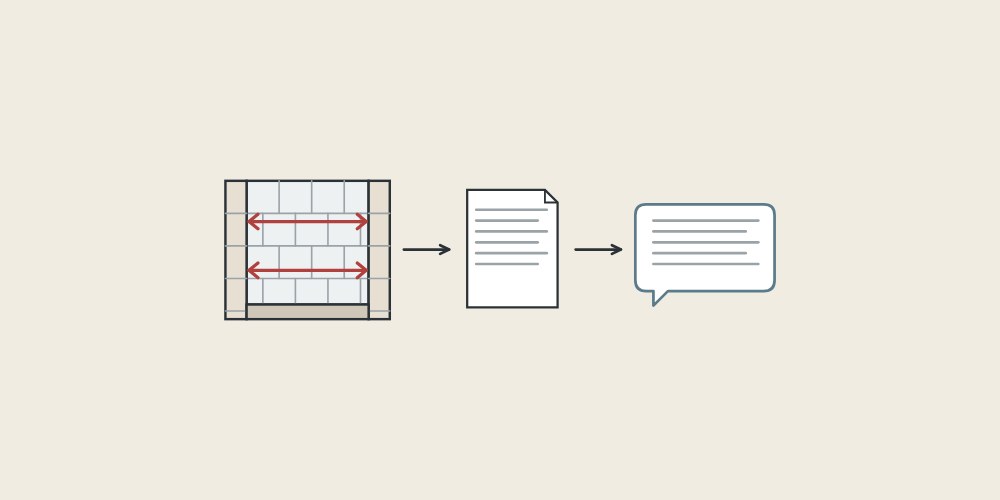
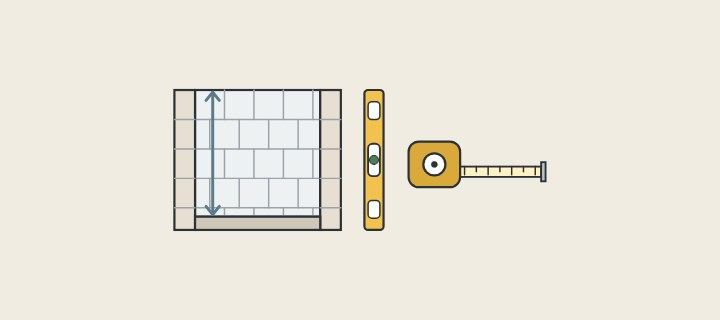
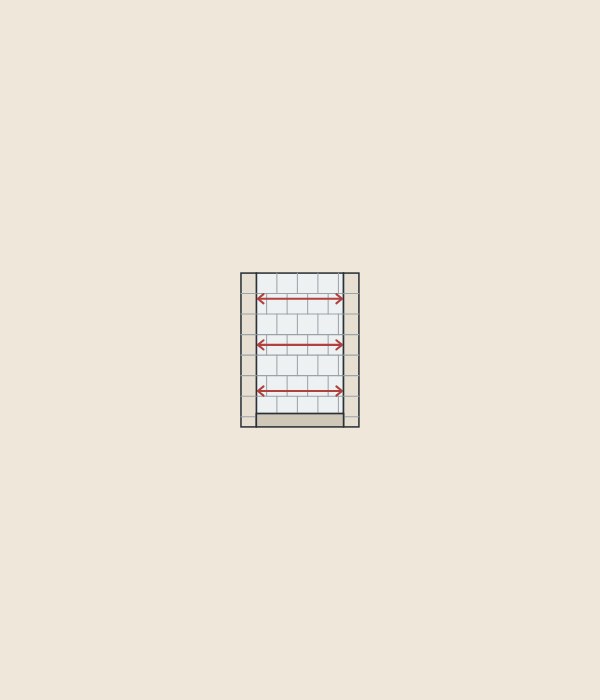
| DreamLine | Custom glass order form | Top, middle and bottom of finished walls, at the center line. |
| Agalite | How to Measure form | Wall to wall at bottom, middle and top; whether the threshold is level or drops. |
The NGA manual says to reconcile widths with the out-of-plumb figures while still on the jobsite. Its example: an opening 30-1/4 in wide at the bottom, with one wall plumb and the other 5/16 in out-of-plumb and growing wider at the top, must be 30-9/16 in wide at the top.
How much out-of-plumb can a shower enclosure take up?
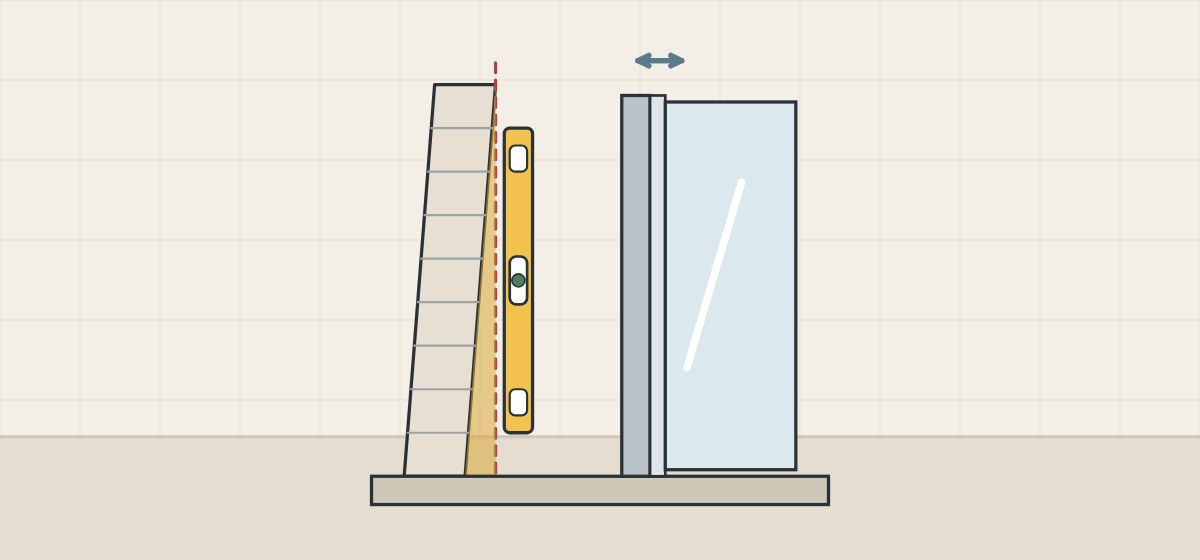
It depends on the model, and one model named here takes none. Each figure belongs to its own document.
Kohler
The pivot door instructions require walls within 3/8 in (10 mm) of plumb.
DreamLine
The ENIGMA-XO instructions state no out-of-plumb adjustment: threshold level, walls plumb. The PRIME enclosure instructions describe a 1 in adjustable wall profile system for out-of-plumb walls.
Roman
The Sculptures corner enclosure manual allows no more than 5 mm deviation from vertical and provides a maximum of 5 mm adjustment.
Coastal and Agalite
Coastal says most of its configurations adjust for out-of-plumb; the amount depends on the door series and style. Agalite says a surface more than 3/8 in out of square or level, if not identified during ordering, is generally outside its allowances.
Custom frameless glass
The NGA manual says that when a wall is out-of-plumb but straight, the glass can be cut out of square.
- Plumb reading, each wall
- Level reading, curb or shower base
- Width at each height
- The model’s stated allowance
How flat and plumb should the wall be before it is tiled?
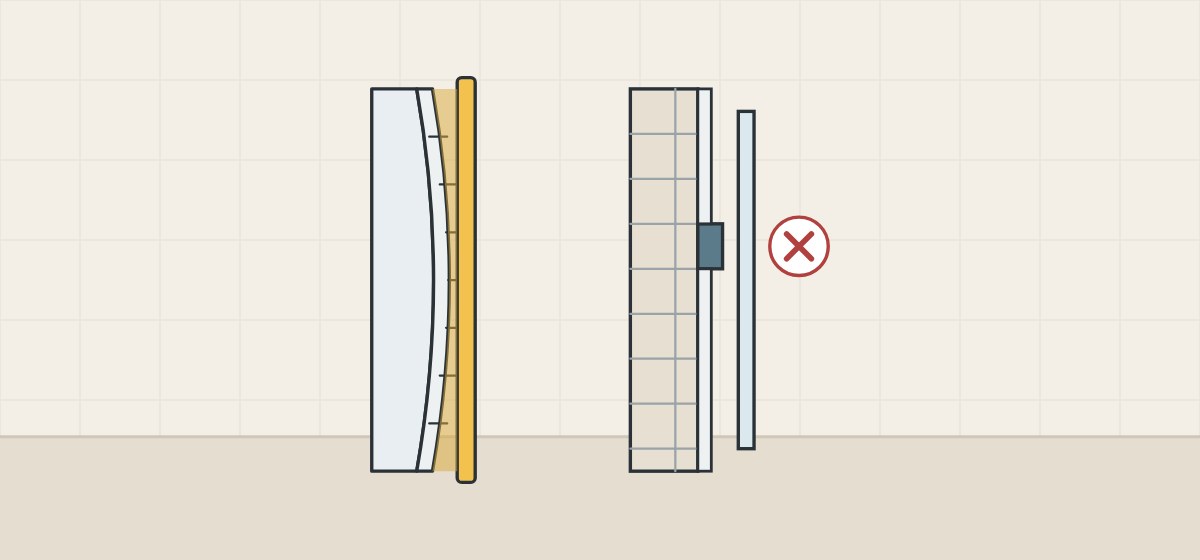
Tile standards limit how far the surface under the tile may vary. The figures are ANSI A108.02 as quoted in TileLetter: tile-work tolerances, not enclosure tolerances.
Plumb, level and true
An article in TileLetter by the Ceramic Tile Education Foundation’s academic director quotes ANSI A108.02: surfaces to receive tile shall be plumb, level and true with square corners.
Flatness by tile size
On vertical surfaces the article gives a maximum variation of 1/4 in. over 10 ft and 1/16 in. over 1 ft for tile with all edges under 15 in, and 1/8 in. over 10 ft and 1/16 in. over 2 ft for tile with an edge of 15 in or more.
Where glass meets tile
The NGA manual says decorative tiles that protrude beyond the wall tile should be avoided within the swing of the shower door.
The Tile Council of North America’s lippage FAQ adds that variations in the plane of the substrate also affect lippage. None of this replaces the plumb reading the enclosure document asks for.
What must be in the wall and under the door before tiling?
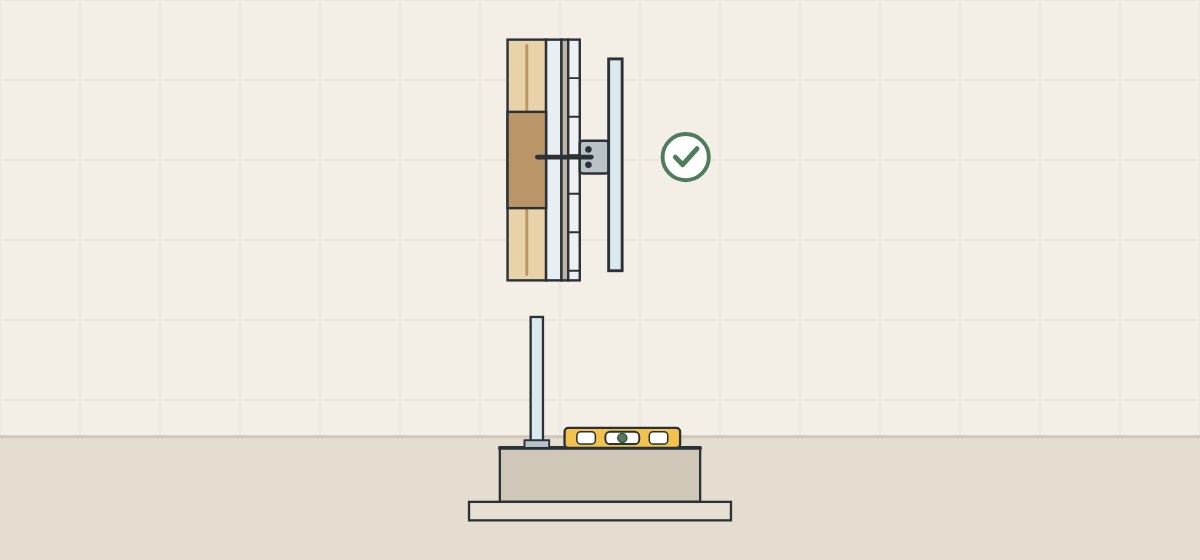
Backing for the fixings, and a flat, level surface for the door. Each row is one source’s own statement.
| Source | What it says |
|---|---|
| NGA manual | A wood stud directly behind the bedding material is the best backing; tile on drywall with no stud behind the connection point is not normally adequate. |
| Agalite owner’s manual | Glazing channels, fillers, hinges and header blocks go into studs or solid backing beneath the tile. |
| DreamLine ENIGMA-XO | Studs, or 2 x 6 wood blocking between the studs, where the guide rail brackets attach. |
| Kohler sliding door guide | At least 2-1/2 in (64 mm) of flat surface on the shower base or bath ledge and on the walls; the ledge level between the walls. |
| TileLetter tech tip, NTCA trainer | A door system needs proper structural support and protection of the waterproofing membrane; all parties coordinate before installation begins. |
How should a buyer time the measure and the glass release?
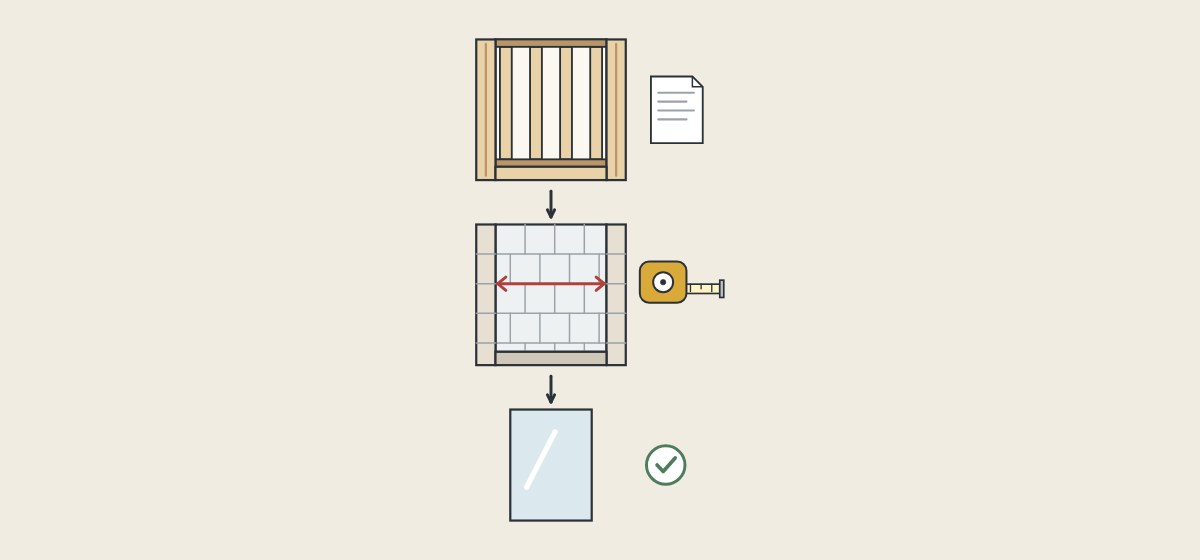
Treat selection, purchase and glass release as three separate commitments. These steps are procurement guidance.
- Plan before the walls close. Enclosure type, door operation, hinge side and backing positions.
- Select a stock model provisionally. Compare the designed opening with the model’s stated size and plumb allowance.
- Ask for a readiness notice per room. Wall tile, curb or shower base and any trim are at their final position.
- Measure the finished opening. Widths at each height, plumb and level readings, by a named measurer.
- Release glass room by room. Only against that room’s measure and the approved drawing revision.
- Reopen approval after any change. A late trim, threshold or wall build-up changes the opening.
If tiling runs late
Before fabrication, move the measure date. After release, ask the supplier at once whether cutting can be held; it has not stopped until the hold is acknowledged. Hold a delayed room; do not copy dimensions from a room that looks identical.
What should you send and ask before a quotation?
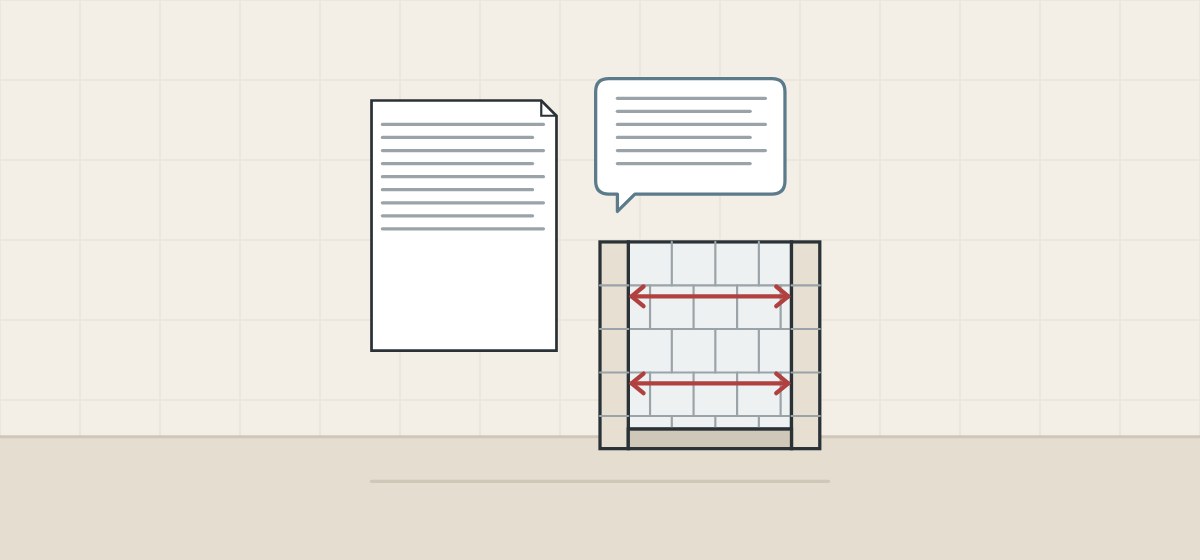
A complete request says what was measured, where and when.
| Question | Why it matters |
|---|---|
| Which dimensions do you need, and at which heights? | Each maker’s form sets its own measuring points and checks. |
| What out-of-plumb allowance does this model have? | One model named here has none. |
| Is the glass cut to my readings or to a stock size? | Tempered glass cannot be cut afterwards. |
| Where must backing be, and of what kind? | It is difficult to add after tiling. |
| What flat, level surface does the door need? | Kohler’s sliding door states a minimum. |
Include with your request
- Plan with door type and hinge side
- Finished-opening record per room
- Plumb and level readings
- Backing and curb or shower base detail
- Room types, quantities, readiness dates
WNS Global confirms any offered enclosure, its measuring requirements and commercial terms separately in writing. This guide does not state that WNS Global products have the adjustment ranges, allowances or fixing requirements named above.