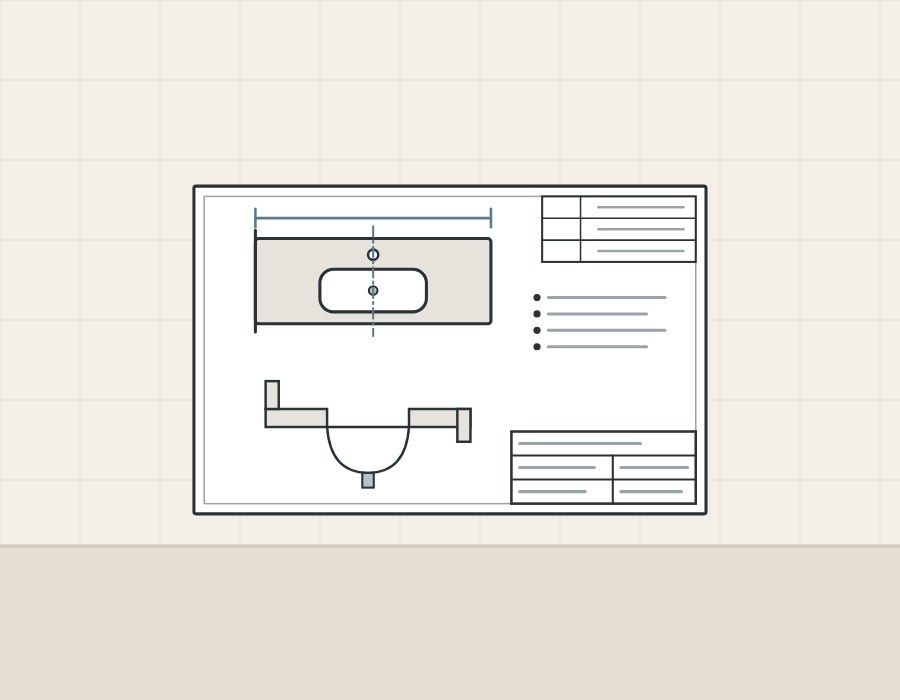
From title block to signature
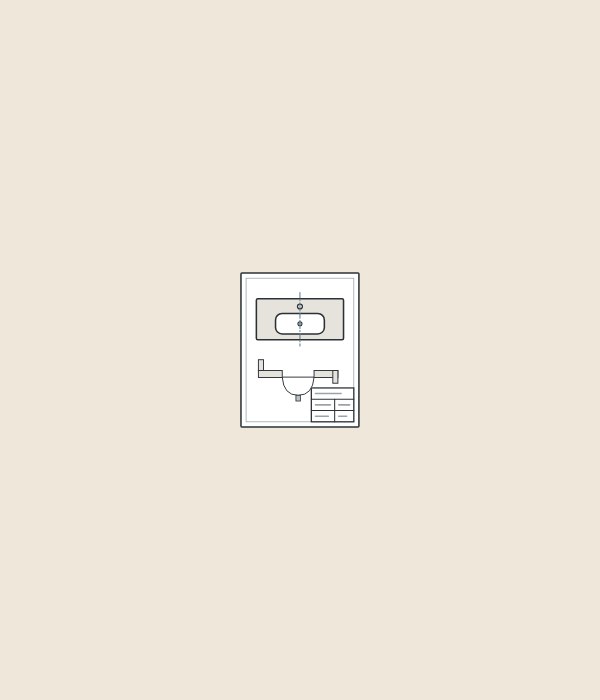
What is a vanity top shop drawing?
A shop drawing shows how the maker intends to fabricate and fit the top. The US Federal Acquisition Regulation, in clause 52.236-21, defines shop drawings as drawings submitted by the contractor that show in detail the proposed fabrication and assembly of structural elements and the installation (fit and attachment details) of materials or equipment.
AWI 100 requires each component to be shown in plan, elevation and section as needed to show what is provided, where it goes and how it is built and attached.
Both were written for other work: federal construction contracts, and architectural woodwork.
| Part | What it carries |
|---|---|
| Title block | Project, sheet number, date. |
| Revision record | Which version this is. |
| Datum | Where positions are measured from. |
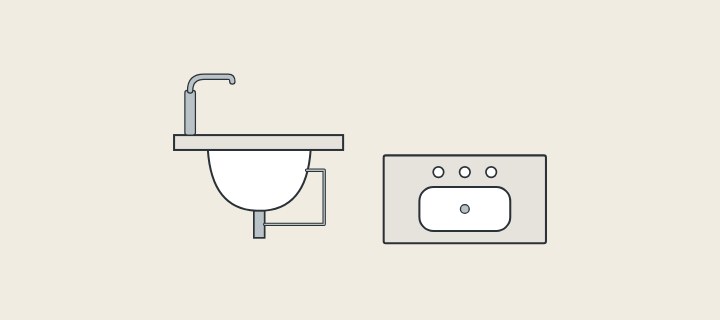
| Plan | Outline, bowls and holes from above. |
| Section | Thickness, edge and bowl, cut through. |
| Notes | Material, finish, tolerances, exclusions. |
In what order should you read the drawing?
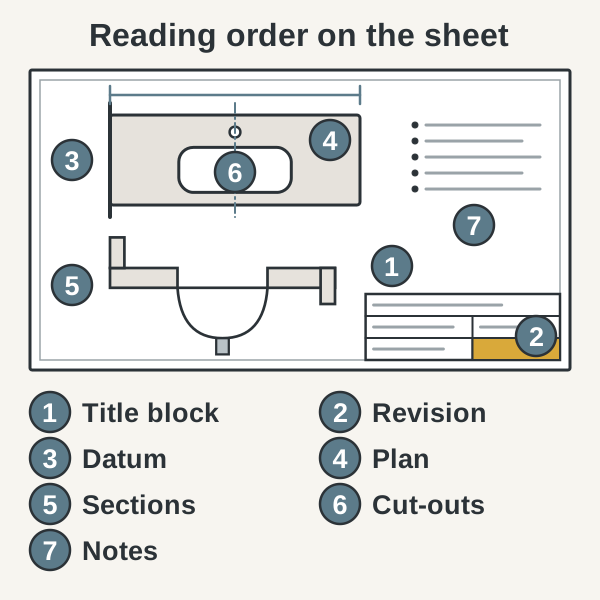
Read from the sheet’s identity down to its details. The order is this guide’s own; no standard cited here prescribes it.
- Title block: project, room type, quantity, material.
- Revision: the letter and date you are reviewing.
- Datum: the end, wall or centre line that is zero.
- Plan: length, depth, bowls, holes, drain.
- Sections: thickness, edge, apron, backsplash, bowl.
- Cut-outs: corner radius, hole sizes, seam distance.
- Notes: tolerances, finish and items by others.
If room type or quantity is wrong, stop and correct it first.
What should the title block and revision tell you?
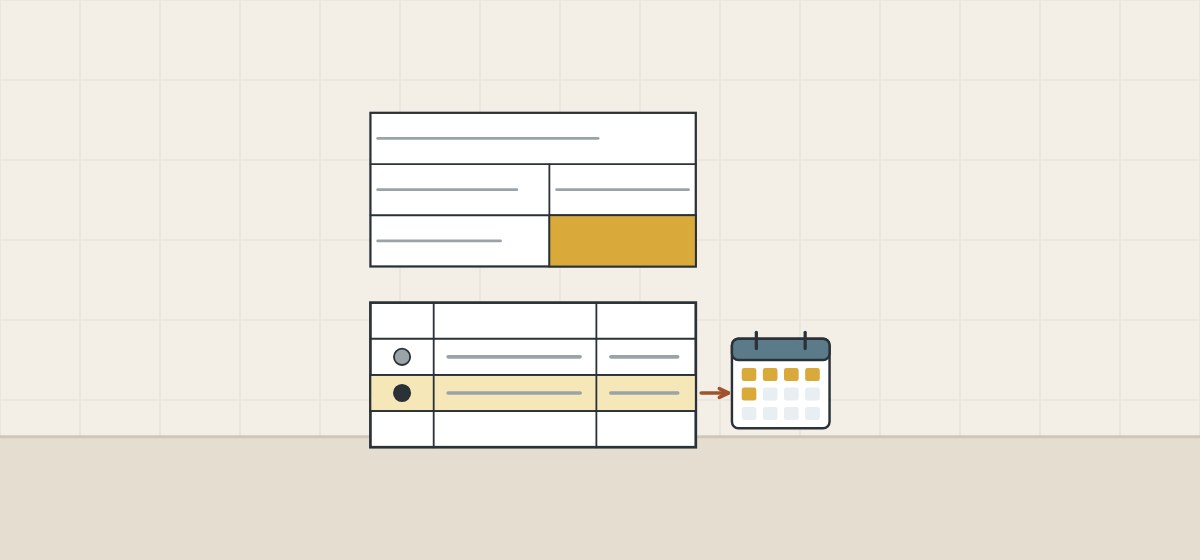
The title block says which project and sheet you hold; the revision record says which version. Published standards define both:
| Item | What the source says |
|---|---|
| Project and scope | AWI 100: a cover or title sheet with project name, address, specified AWI grade and scope. |
| Sheet number and date | AWI 100: each sheet sequentially numbered and dated. |
| Title block fields | ISO 7200:2004: field names, contents and lengths for title blocks. |
| Revision record | ASME Y14.35: practices for revising drawings and recording revisions. |
Room type, quantity, handing of mirrored rooms, material and colour are this guide’s additions; the sources above do not list them.
Where is the datum, and what should the plan show?
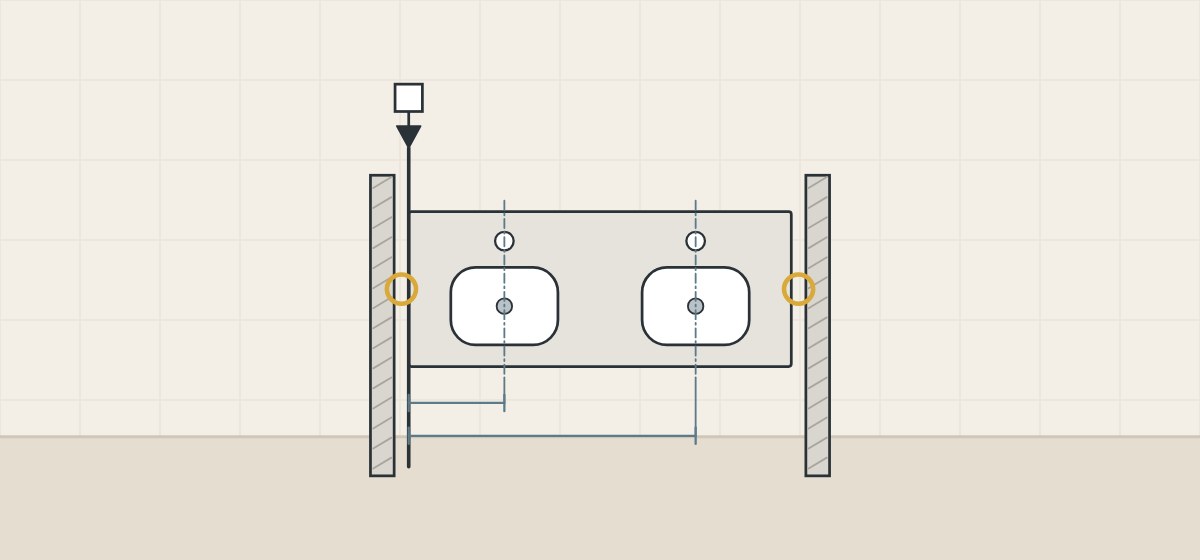
The datum is the line positions are measured from, so find it before reading any dimension. ISO 5459:2024 sets terminology and rules for indicating datums in technical product documentation; its abstract does not place a vanity top’s datum. Check that the drawing’s zero (an end, a wall face or a bowl centre line) matches how the room was measured.
| Plan item | Source | What it says |
|---|---|---|
| Location | AWI 100 | A reference plan relates each product to the building. |
| Sinks and cut-outs | LX Hausys HIMACS guideline | A template plan records sink identification, location and special cut-outs. |
| Edges and splashes | LX Hausys HIMACS | Finished edges, corner radii, and backsplash type and dimensions. |
| Fixture models | Natural Stone Institute consumer site | Fabricator needs exact make and model of sinks and faucets. |
| Scribe | ANSI/AWI 1236-2022 | A scribe allowance is to be provided. |
Between walls, makers state a gap: Cosentino’s Silestone manual asks for 3 mm on either side; Corian’s Solid Surface installation bulletin tells installers to check for a 1/16 in (1.5 mm) gap against all walls. Ask whether the drawn length includes it.
What do the sections and edge details show?
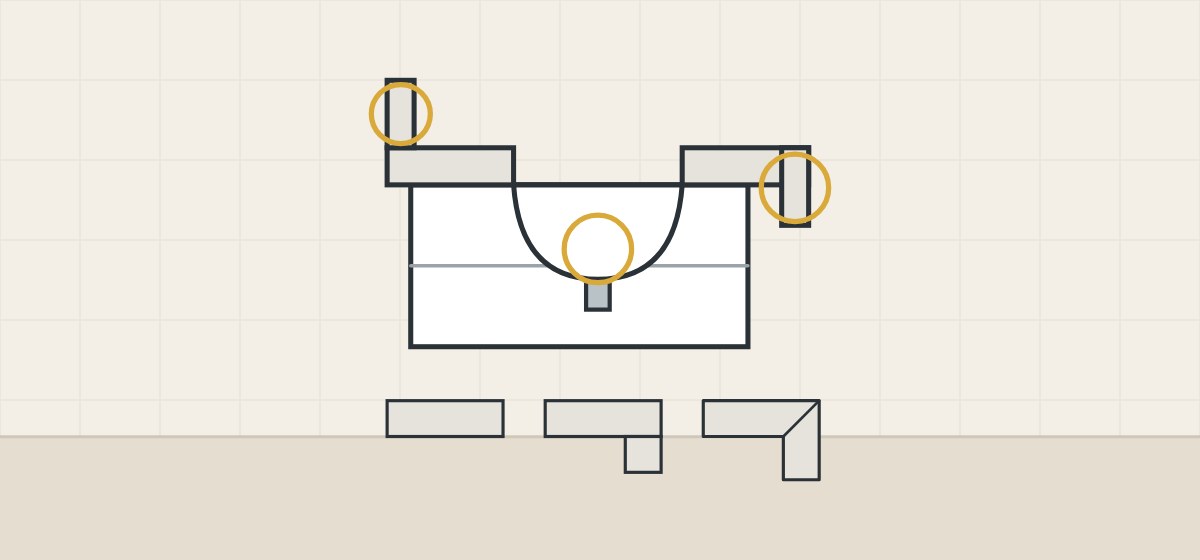
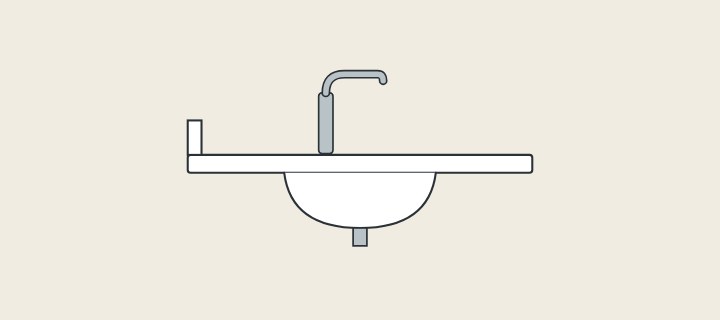
A section shows what the plan cannot: thickness, edge build-up, backsplash and bowl. ANSI/AWI 1236-2022, the AWI countertop standard, gives reference points:
Thickness
Natural and engineered stone: minimum nominal thickness 2 cm; variation across a project no more than 3.2 mm.
Edge
Solid surface: minimum edge height 24 mm, per the same standard.
Upstand
Stone backsplashes are separate pieces, butt joined. A solid surface splash is at least 76.2 mm high, and coved only when specified.
Overhang
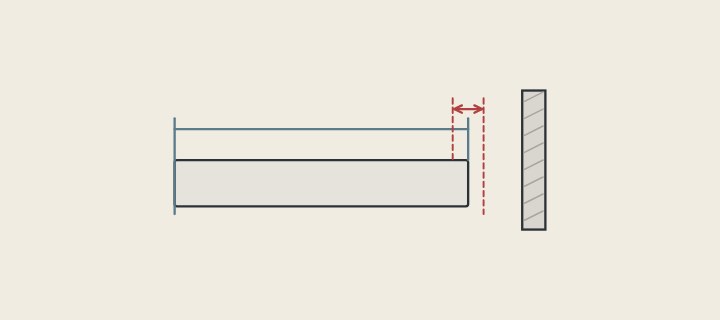
Per section 3.3.2, an overhang extends at least 12.7 mm and at most 31.8 mm over the outermost cabinet face or finished end, except where the top abuts an appliance.
- Thickness and edge build
- Apron height and joint
- Backsplash type and height
- Overhang past the cabinet
- Bowl depth and drain
How should cut-outs and faucet holes be drawn?
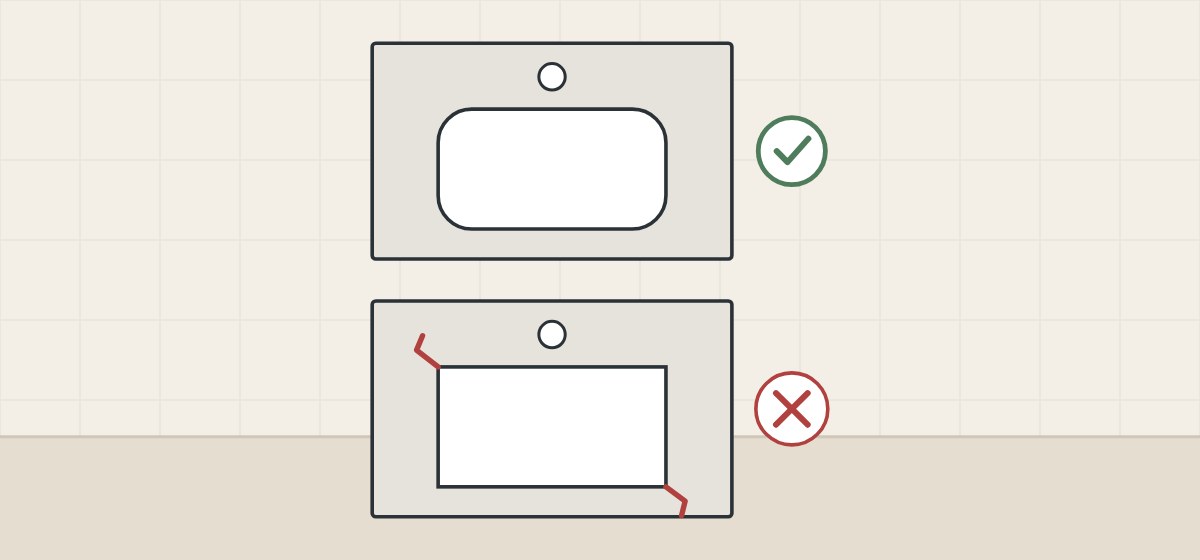
Each cut-out needs a size, a position from the datum and a corner radius. The four makers read here each require radiused corners:
Corner radius
Corian Quartz: minimum inside radii of 1/4 in (6 mm). HIMACS: all inside corners and cut-outs at least 5 mm. Silestone: never less than 4 mm. Cambria requires radius corners on fabricated cut-outs, but allows square corners cut on site for cooktops and drop-in sinks.
Seam distance
LX Hausys keeps seams at least 100 mm from any sink or other cut-out. Corian Quartz asks for 2.5 in (64 mm) between seams and cut-outs.
Faucet holes
Hole data comes from the faucet’s own sheet. For one model, Delta’s 559LF-MPU sheet gives a 1 or 3-hole mount, a hole size of 1 1/8 to 1 1/2 in and a maximum deck thickness of 2 1/4 in.
Corian’s Solid Surface installation bulletin has installers trial fit the inserted equipment to confirm cut-out size.
Which tolerances and notes belong on the drawing?
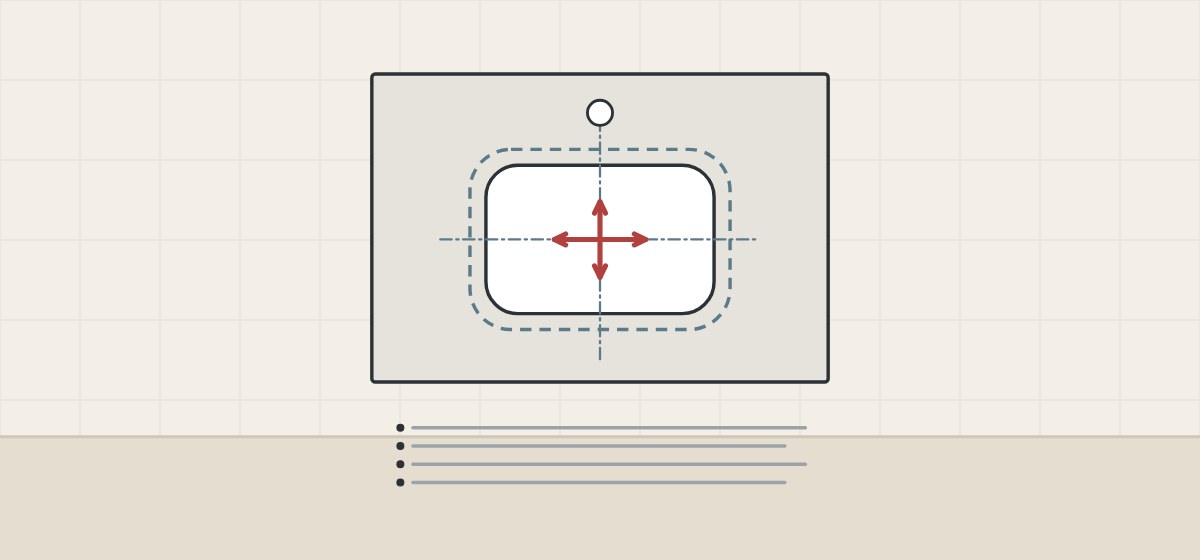
Look for a tolerance beside each critical dimension, or a general tolerance note. ISO 129-1:2018 covers how dimensions and tolerances are presented on drawings; other documents give figures:
| Source | What it states |
|---|---|
| ANSI/AWI 1236-2022, cut-outs | Location within ±3.2 mm; size +3.2 mm to 0 mm. |
| ANSI/AWI 1236-2022, squareness | Within ±0.4 mm for each 305 mm. |
| ANSI/AWI 1236-2022, stone flatness | Within ±1.6 mm for each 1219 mm span. |
| ANSI/AWI 1236-2022, section 3.1 | Its requirements govern unless the contract documents require otherwise. |
How should a buyer mark up and sign the drawing?
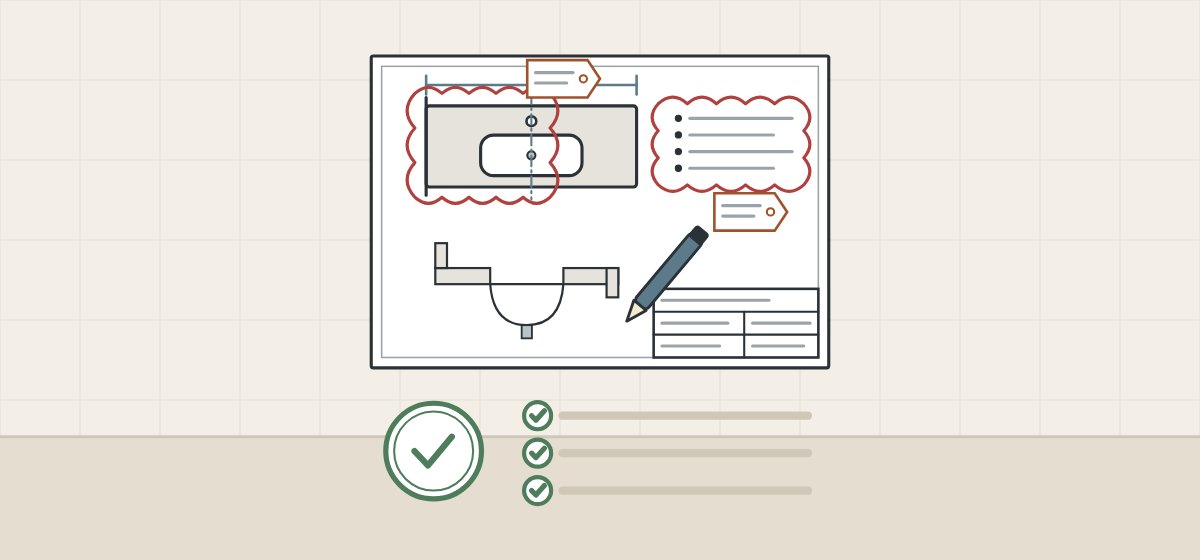
Compare the drawing with other documents, mark every change once and approve one revision. These steps are guidance, not a contract review.
- Check the sheet. Room type, quantity, handing, revision, date.
- Compare with the room. Survey lengths, from the same datum.
- Compare with fixture data. Basin and faucet sheets against cut-outs.
- Compare with the cabinet. Overhangs, support, drain against drawers.
- Read every note. Find anything marked “by others”.
- Mark up once. Cloud and number each change; send one set.
- Approve one revision. Check each comment, then sign and date it.
What approval means in the sources
AWI 100 defines “Approved” and “Approved as Noted” as proceed with production, and “Revise and Resubmit” as correct before production. Changes drawn into a shop drawing are not, it says, a request for approval; they must be identified and requested. For federal construction contracts, FAR 52.236-21 says approval does not relieve the contractor of responsibility for errors or omissions. Your own contract decides what your signature commits to.
What should you send and ask before a quotation?
Send the drawing and its revision, then ask:
| Question | Why it matters |
|---|---|
| Which datum is used? | A shifted zero shifts every hole. |
| Does the length include a wall gap? | Makers state different gaps. |
| Which fixture data were used? | Cut-outs follow the fixture sheets. |
| What corner radius do cut-outs have? | Makers’ minimums differ; not every maker gives a figure. |
| Which tolerances apply? | Ask which standard or tolerance note the contract and the drawing refer to. |
| What does approval release? | AWI 100 ties “Approved” to production. |
Include with your request
- Site survey or room drawing
- Cabinet drawing
- Basin, faucet and drain data sheets
- Quantity per room type, with handing
- Material, colour and edge detail
After approval, check the first production top against the approved revision. WNS Global confirms any offered product, drawing and commercial terms separately in writing. This guide does not state that WNS Global products or drawings follow any standard or maker’s manual named above.